
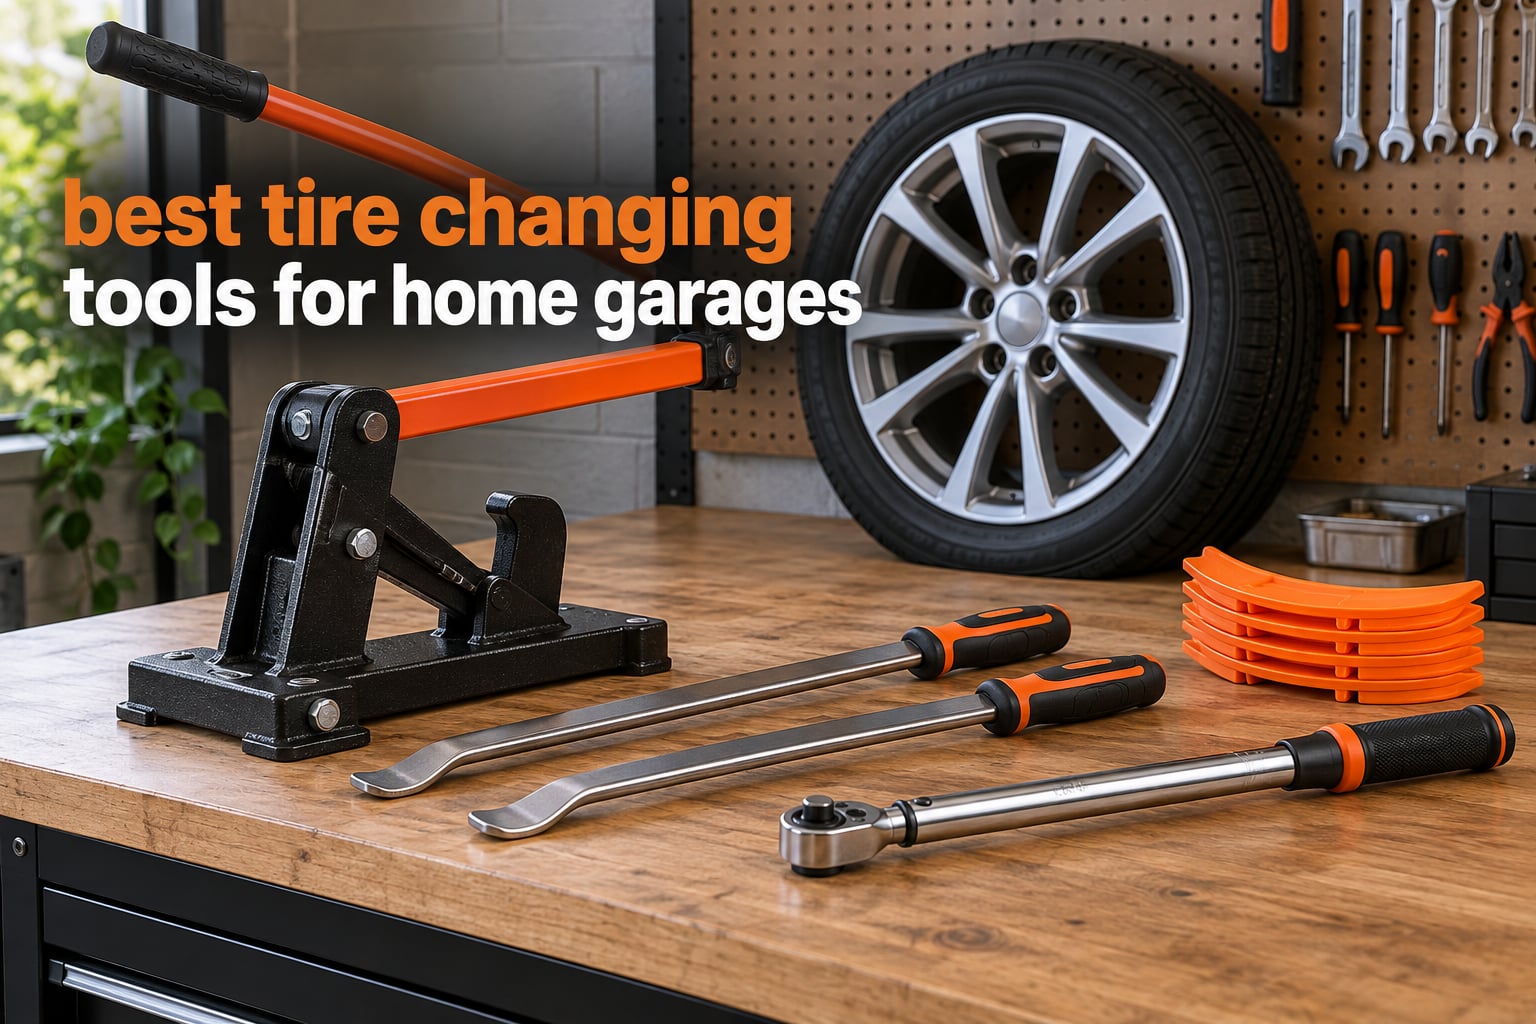
Changing your own tires used to mean dropping the car at a shop, waiting two hours, and paying a mounting fee for every wheel. That is still the default answer from most people, but it is the wrong one for anyone with a driveway and a weekend. The best tire changing tools for home garages are hand tools, not shop machines, and the right set costs less than a single shop visit.
We have been through this kit with a full seasonal swap, a slow leak, and a set of 17-inch wheels that were never meant to be pried off by hand. What we found is that the bead breaker is only a third of the job. The irons, the rim shields, the lubricant, and a real torque wrench are what separate a clean change from a scuffed rim and a stripped lug stud.
This guide covers twelve tools across six categories, with honest notes on where each one fails. We also flagged the two mistakes that cause most of the damage people blame on their own hands. If you are starting from absolutely nothing, [start with the small tire spoon kits and the torque wrench] before you buy anything with a frame bolted to the floor.
Table of Contents
Top 3 Best Tire Changing Tools for Home Garages (October 2026)
Three tools carry most of the weight in a home garage. The spoon kit handles the routine work on bikes, mowers, and small wheels. The forged steel handle tool handles stubborn car beads. The cast bead breaker handles the tires too big and too stiff to argue with by hand.

NEIKO 13-Piece Tire Spoon Kit
- 14.5 inch hardened steel spoons
- Three polypropylene rim protectors
- Includes valve tool and six valve cores
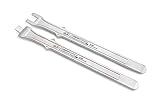
Motion Pro BeadPro Forged Steel Tool
- Chrome vanadium forged steel
- 16 inch handles with integrated spoons
- Cross guard keeps hands clear

BeadBuster XB-450i Bead Breaker
- 9.0 tons ram force
- Padded rim-safe clamp
- Folds to 7.5 inches with a 3 year warranty
The Best Tire Changing Tools for Home Garages in 2026
Here is the whole lineup at a glance. Every tool in this table comes from a category we explain in detail below, and every one has at least one honest drawback written next to it.
| Product | Specifications | Action |
|---|---|---|
| NEIKO 13-Piece Tire Spoon Kit |
|
Check Latest Price |
 Dr.Roc Tire Spoon Set with Bag Dr.Roc Tire Spoon Set with Bag |
|
Check Latest Price |
| Motion Pro BeadPro Forged Steel Tool |
|
Check Latest Price |
| BeadBuster XB-450i Bead Breaker |
|
Check Latest Price |
 VEVOR Tire Bead Breaker Slide Hammer VEVOR Tire Bead Breaker Slide Hammer |
|
Check Latest Price |
 QWORK Tire Changer Duck Head QWORK Tire Changer Duck Head |
|
Check Latest Price |
 TUFFIOM Manual Tire Changer TUFFIOM Manual Tire Changer |
|
Check Latest Price |
 EXODIOS Manual Tire Changer Duck Head Kit EXODIOS Manual Tire Changer Duck Head Kit |
|
Check Latest Price |
 Hedume 4-Pack Bead Clamp Set Hedume 4-Pack Bead Clamp Set |
|
Check Latest Price |
 DEWALT 50-250 FT-LB Torque Wrench Kit DEWALT 50-250 FT-LB Torque Wrench Kit |
|
Check Latest Price |
 Orion Motor Tech 20-Piece Spoon Kit Orion Motor Tech 20-Piece Spoon Kit |
|
Check Latest Price |
 Calvana Angled Tire Lube Bucket Kit Calvana Angled Tire Lube Bucket Kit |
|
Check Latest Price |
The Essential Tire Changing Toolkit Explained
Most people buying tire changing tools start with a bead breaker because it looks like the main event. It is not. It is one of six categories, and it is the only one you could buy later without breaking the rest of the kit.
Bead breaker. A bead breaker pushes the tire bead down into the wheel drop center so the slack rubber clears the rim flange. That is all it does. It does not remove the tire, it does not lever anything, and it cannot mount a tire. What it does is create the slack that makes the rest of the job possible. If the bead never gets into the drop center, no amount of levering will help.
Tire iron, tire spoon, or tire lever. This is the pry tool that levers the bead over the rim flange once the bead breaker has done its share. Long irons give you more force and reach further into the drop well, which is why almost every working mechanic reaches for the longest iron they own. Short spoons are for motorcycle, mower, and ATV tires where the wheel is small and the bead is thin.
Torque wrench. Lug nuts tightened with an impact gun or a four-way cross are the leading cause of warped brake rotors and rounded lug studs. A click-type torque wrench costs a fraction of a rotor. This is the one safety-critical tool in the list, and the only one where a cheaper model is a bad trade.
Rim protectors and bead clamps. Rim shields slip over the rim flange so the iron rests on plastic instead of aluminum. Bead clamps push the top bead into the drop center and hold it there while you fit the bottom bead. Different jobs, same goal, which is keeping steel off your wheel face.
Mounting lubricant. A dry bead stretched over a rim is a bead that cracks. Purpose-made mount lube, or a bowl of soapy water, cuts the friction enough that the bead rolls into place instead of fighting you.
Duck heads and tire changer accessories. If you own a portable changer, the duck head is the part that actually touches the rim, and it wears. Replacement inserts are cheap and are the difference between smooth mounting and a wheel face covered in scuffs.
Put the six categories together and you have a kit that handles seasonal swaps, punctures, rotations, and the roadside emergency, without a single powered machine. That is the same conclusion we reached on our [110V MIG welders roundup] the right hand tools beat the wrong big ones for the work most people actually do.
1. NEIKO 13-Piece Tire Spoon Kit – Best All-Round Starter Set
NEIKO 20601A 14.5” Steel Tire Spoons Tool Set, Tire Tools Include 3 Piece Tire Spoons, 3 Piece Rim Protector, Valve Tool, 6 Piece Valve Cores, Motorcycle Tire Changer, Dirt Bike Tire Levers
14.5 inch spoons
1.76 lb
13 piece
Three rim shields
Pros
- Hardened steel survives heavy levering without bending
- 14.5 inch length gives real leverage under the rim
- Textured grips stay comfortable under load
- Includes a valve tool and six spare valve cores
Cons
- Rim protectors are soft and wear out
- Can flex on very stiff car and mower beads
- May slide off the rim without extra clamping
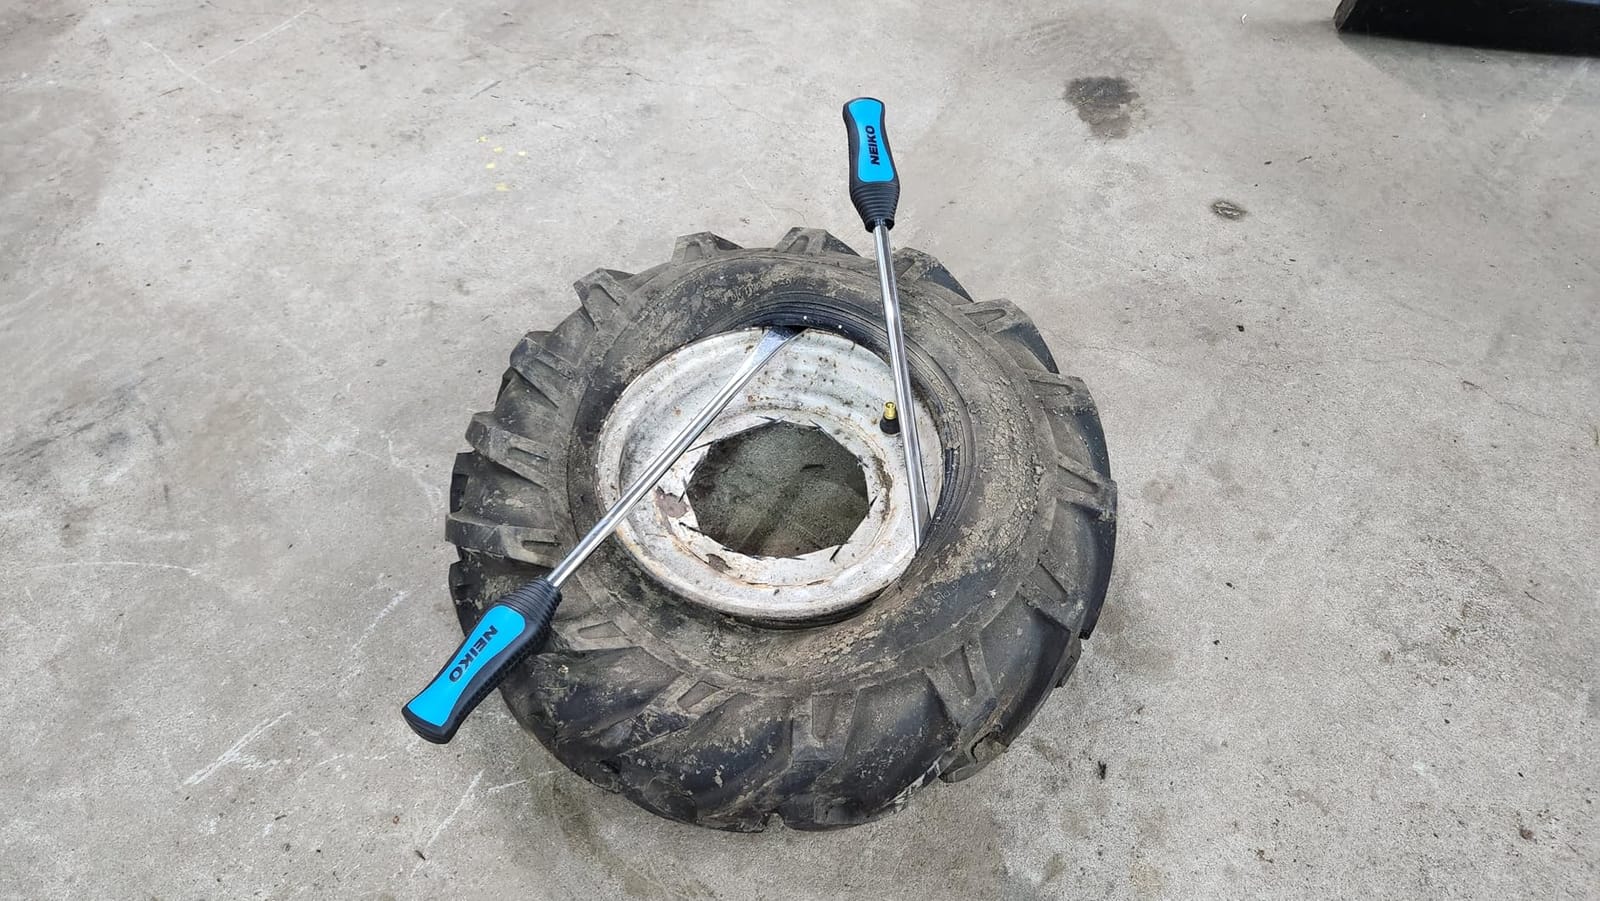
This is the kit we hand to friends who own a motorcycle, a mower, and a scooter and want one box that covers all three. Thirteen pieces, and the useful ones are the three spoons: 14.5 inches of hardened steel with curved tips, which is long enough to stay under the rim rather than slipping off the edge.
The build is genuinely better than the price suggests. Owners using it on dirt bikes, e-bikes, and lawn tractors report that the spoons do not bend on stiff beads, and the grips stay comfortable when you are leaning your whole body weight onto the lever. That combination, force plus grip, is where most cheap spoon kits fail.
At 1.76 pounds the whole thing fits in a glovebox. For anyone doing roadside work on a bike or a mower, that matters more than any feature in the box.
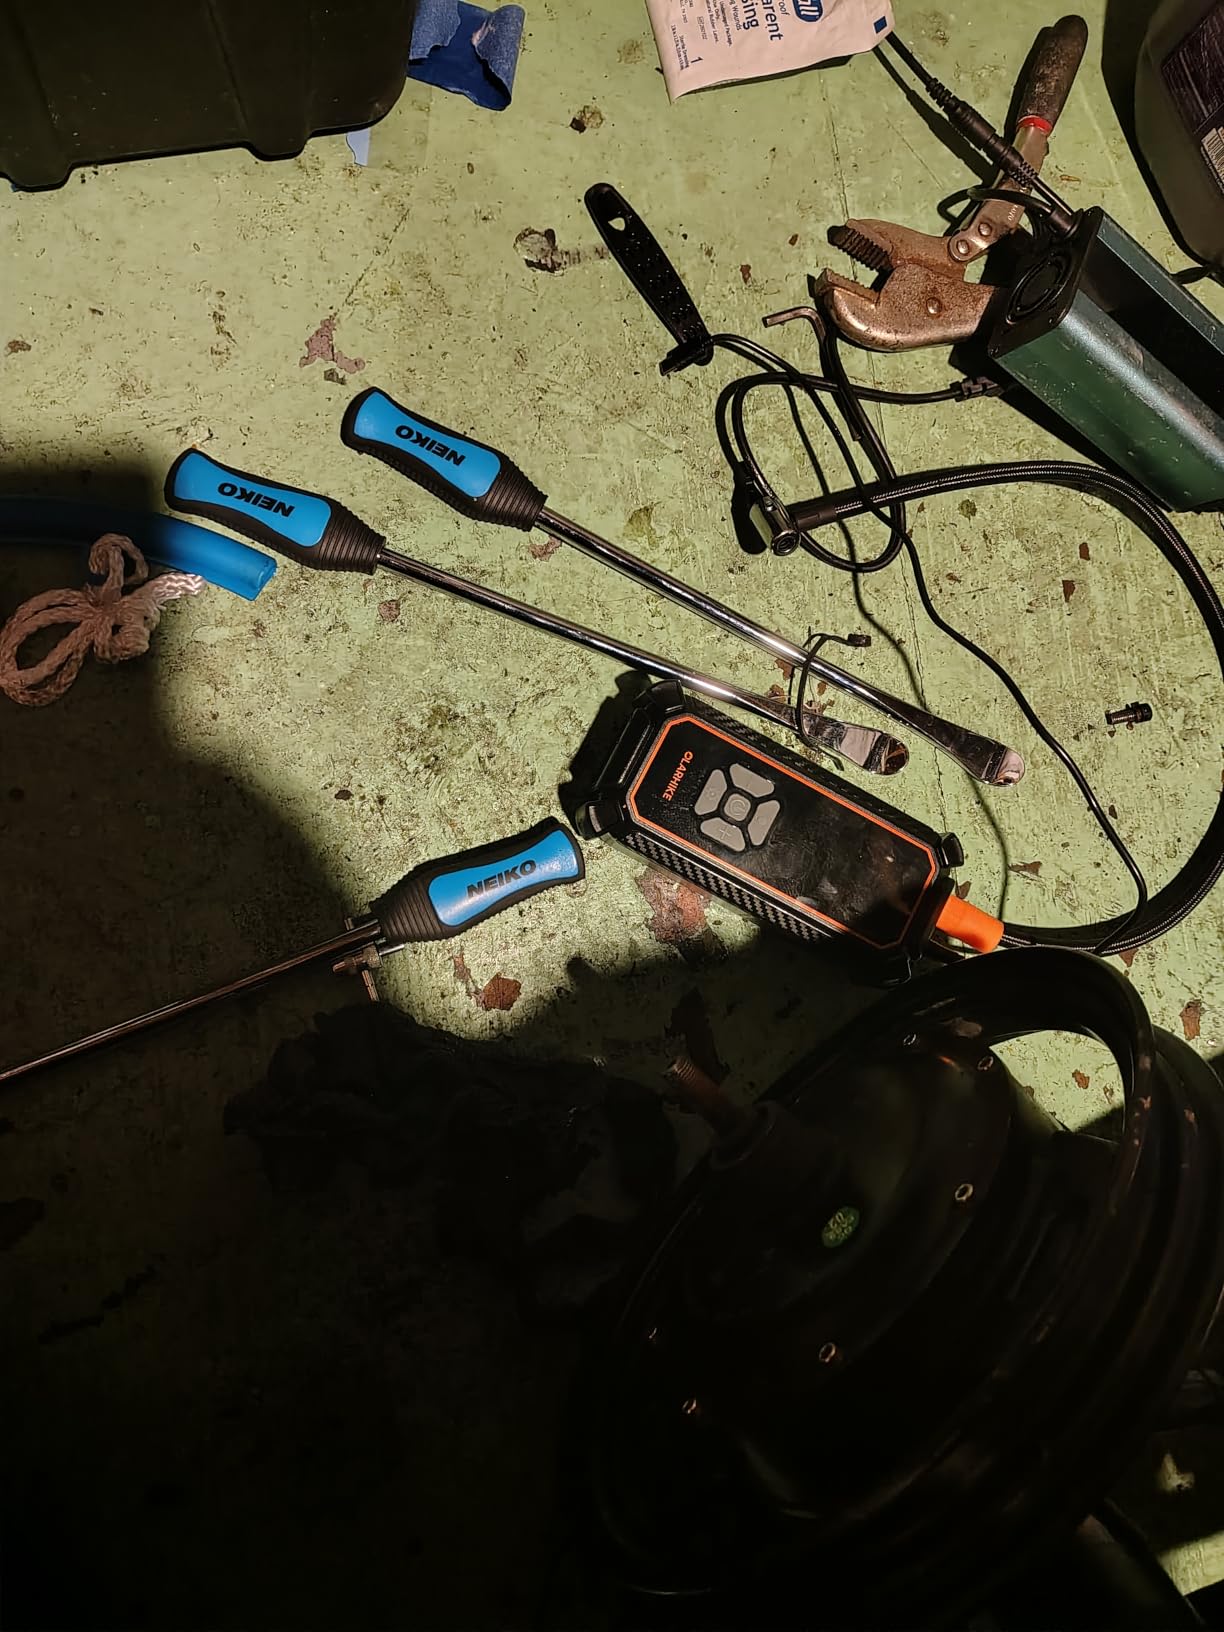
The honest problems are all in the accessories rather than the spoons. The polypropylene rim protectors are thin, and owners report they degrade after limited use, so plan to treat them as consumables rather than permanent parts. On high-force car and mower mounts, some spoons can flex at the tip under real load, which means the leverage is not unlimited.
One more practical note: on certain car rims with a narrow drop well, the spoon is too wide to sit fully down in the channel. It works, but you get less of the bite you would get on a wide-spoke design. If your wheels are modern large-diameter alloys, buy a longer shop iron for the car and keep this one for everything else.
When the NEIKO kit is the right call
Buy this if you own a motorcycle, dirt bike, e-bike, ATV, lawnmower, or garden tractor and want one inexpensive box that covers all of them. It also works on smaller car tires, though a 14.5 inch spoon on a stiff passenger bead takes more technique than a purpose-made car iron.
The included four-point valve tool and six valve cores are the quiet bonus. Having spare cores and a cap tool in the same case means a slow leak is a five-minute fix rather than a trip.
When to skip it
Skip it if your only vehicle is a car with 17-inch or larger wheels and a stiff sidewall. The rim protectors wear out, the spoons are narrower than a proper car iron, and you will be doing the job with the wrong geometry. In that case put your money into a forged steel handle tool or a bead breaker instead.
Also skip it if you have ever split a tube and blamed the tool. The rounded tips help, but they are not a guarantee, and lubricating the bead is what actually prevents cuts.
2. Dr.Roc Tire Spoon Set with Carrying Bag – Best Value Drop-Forged Kit
Dr.Roc Tire Spoon Lever Dirt Bike Lawn Mower Motorcycle Tire Changing Tools with Stable Bag 3 Tire Irons 2 Rim Protectors 1 Valve Stems Set TR412 TR413
Drop-forged CrV steel
14.5 and 11 inch spoons
Two rim shields
Pros
- Drop-forged automotive grade steel with chrome finish
- Rounded spoon edges will not pinch inner tubes
- Two spoon lengths in one set
- Oxford carrying case plus valve stems
Cons
- The 11 inch spoons lack leverage on stiff tires
- Chrome coating chips and can shred tubes
- Loose rim protectors versus rigid molded clamps
Two spoon lengths in one set is the idea that sells this kit, and after using it for two seasons it is the idea that holds up. The 14.5 inch spoon handles the normal work while the 11 inch one covers tight wheel wells and thin bicycle and mower beads that a long iron cannot reach cleanly.
Drop-forged automotive grade steel with a polished chrome finish feels like a step up from stamped plate spoons. Reviewers consistently rate the build quality, the grip, and the fact that the whole thing lives in an Oxford carrying bag rather than loose in a drawer.
The valve hardware is unusually generous for a kit at this level. You get four TR412 and two TR413 stems, a four-way valve tool, and four caps, which covers the tube-type tires most lawn equipment and older motorcycles still run.
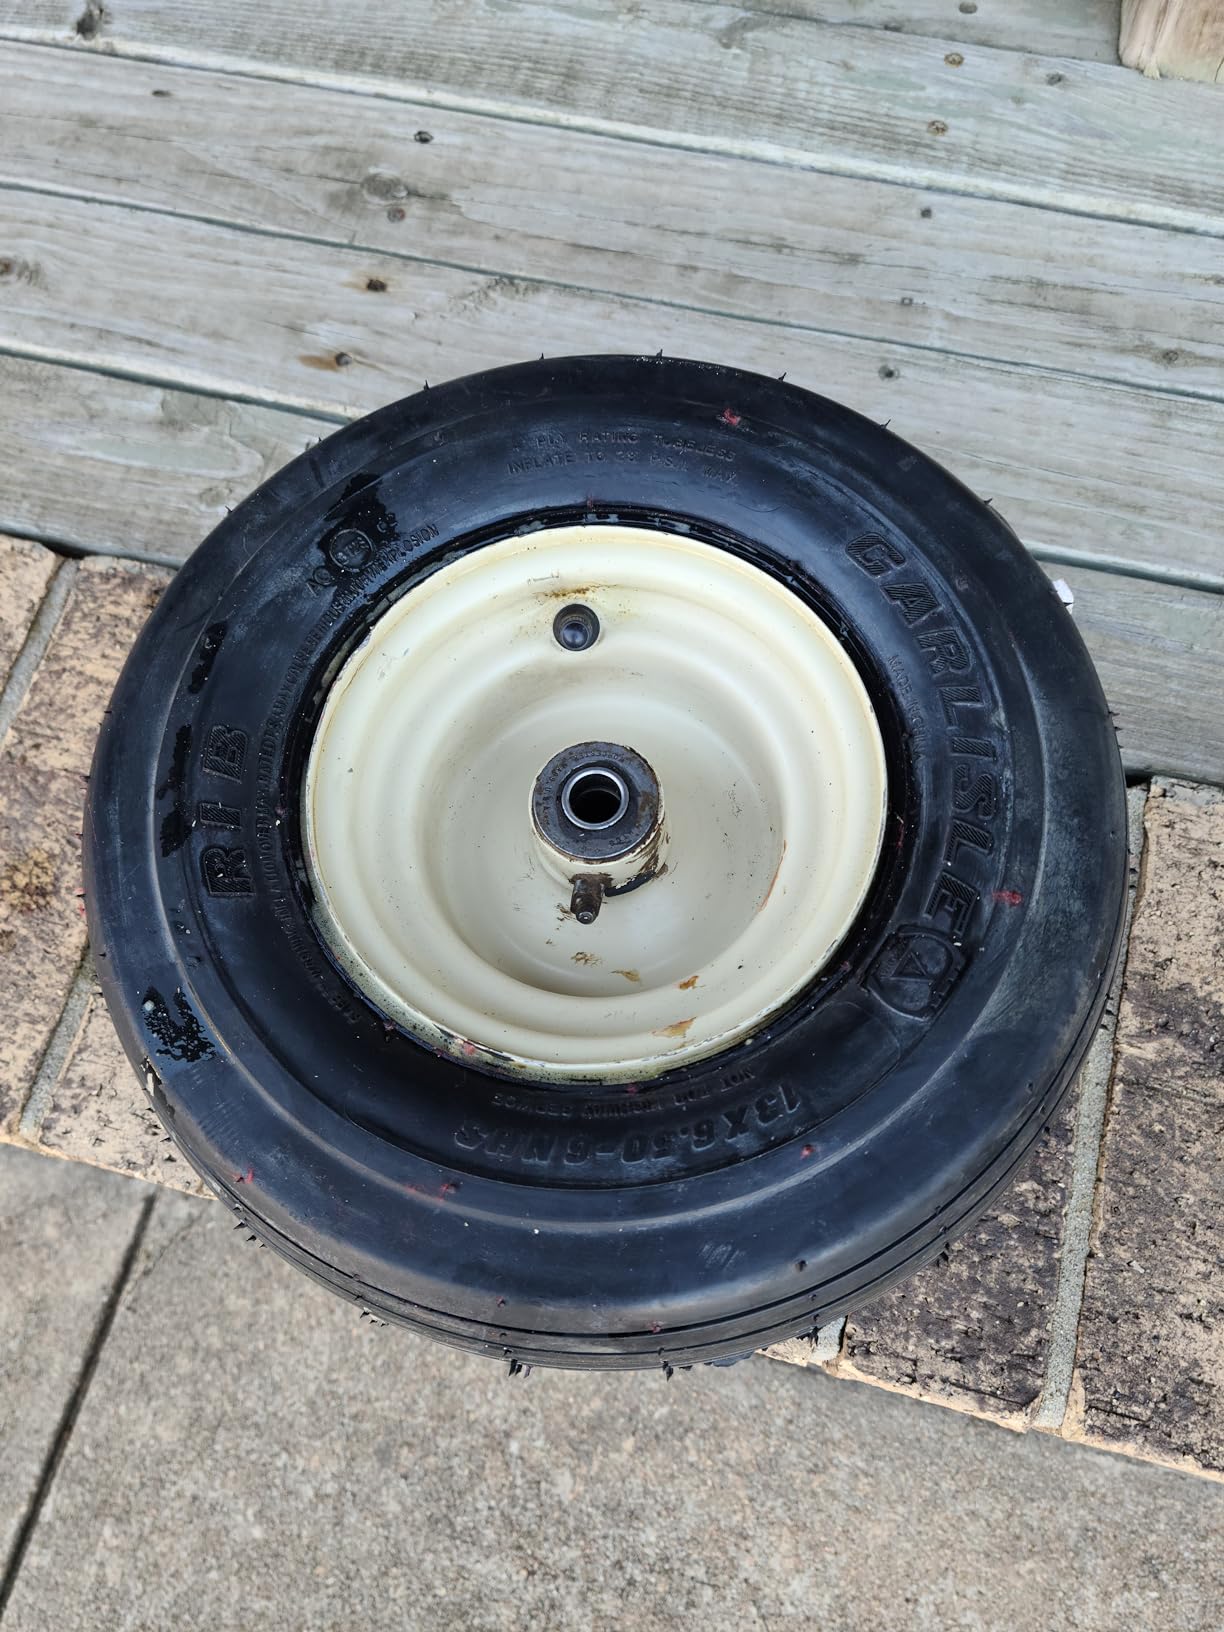
Two real cautions. First, the chrome finish chips with use, and those flakes end up against the inside of a tube, which is exactly where you do not want hard debris. Owners who saw this sanded the tips smooth before fitting a tube, and that is the sensible fix.
Second, the short spoons. The 11 inch pair is genuinely too small to get meaningful force on a stiff lawnmower or tractor tire, and reviewers call that out directly. Treat them as reach tools rather than power tools, and switch to the long spoon when the bead resists.

Who this kit suits
This is the pick for someone who changes tube-type tires on a motorcycle, a bicycle, a mower, or a garden tractor, and who wants the tools to survive a damp shed. Mixed spoon lengths handle the mix of wheel sizes that older equipment tends to have.
If you work on tube tires at all, keep it in the bag and take it with you. A tire lever set is the cheapest roadside insurance you can own, and this one already has valve stems in it.
Where it falls short
The rim protectors are rope-and-plastic helpers rather than rigid molded clamps, so they deflect under a hard push and give you less certainty about where the iron is resting. For low-profile car tires on alloy wheels, the Hedume clamps or the NEIKO molded shields are a better layer of protection.
And while the material is good, there is no stated warranty on this set. That is common at this level and matters most if you intend to mount car tires rather than small equipment tires.
3. Motion Pro BeadPro Forged Steel Tool – Best for Stubborn Car Beads
Motion Pro 08-0536 BeadPro Forged Steel Tire Bead Breaker and Lever Tool Set
Chrome vanadium forged steel
16 inch handles
2 lb
Black oxide finish
Pros
- Forged chrome vanadium steel built for heavy work
- 16 inch handles give serious leverage
- Integrated spoons handle both removal and fitting
- Cross guard keeps your hand off the bead
Cons
- Heavier and pricier than spoon-only kits
- Needs correct technique and lube to avoid pinching the bead
This is the tool that made tire work stop being frustrating for us. The handles are 16 inches of chrome vanadium forged steel with a black oxide finish, and the tire spoons are integrated into the handles, so one tool does the levering for both removal and fitting. There is no second thing to pick up mid-job.
The cross guard is the feature people mention first. Under real load, a hand that has slid forward on a smooth steel handle ends up in the path of the moving bead. The guard stops that from happening, which is a genuine safety improvement rather than a comfort gimmick.
With a 4.7 star rating across nearly two thousand reviews, the consistency here stands out. Most kits have a rating ceiling around 4.5, and the gap usually comes down to a fraction of owners having one bad experience. The complaints on this one cluster on weight and technique rather than breakage.
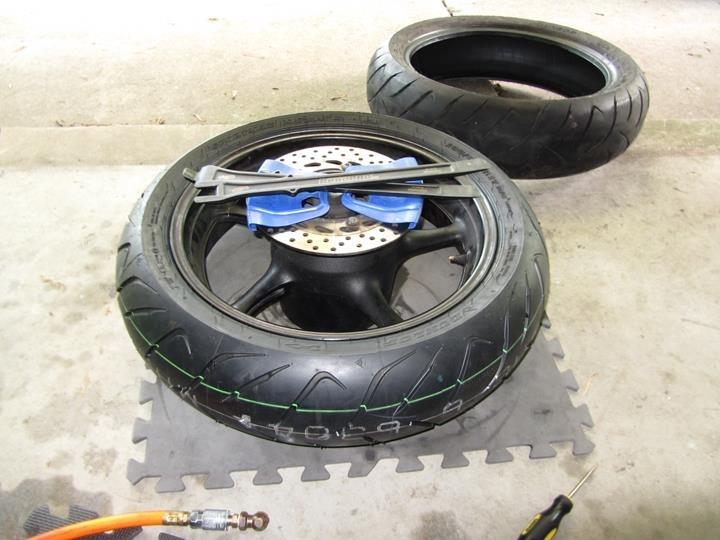
It weighs 2 pounds, which sounds heavy next to a plastic spoon kit and is not. It is heavy relative to a nine-dollar set of levers, and that is the correct trade. This is the tool for street and off-road motorcycle work, and it also has the mass to handle a car tire that a light spoon will only skate across.
The technique point is the real caveat. Like every bead tool, it will pinch or cut a dry bead if you force it. Lube the bead, work in sections rather than all the way around, and it behaves exactly as advertised.
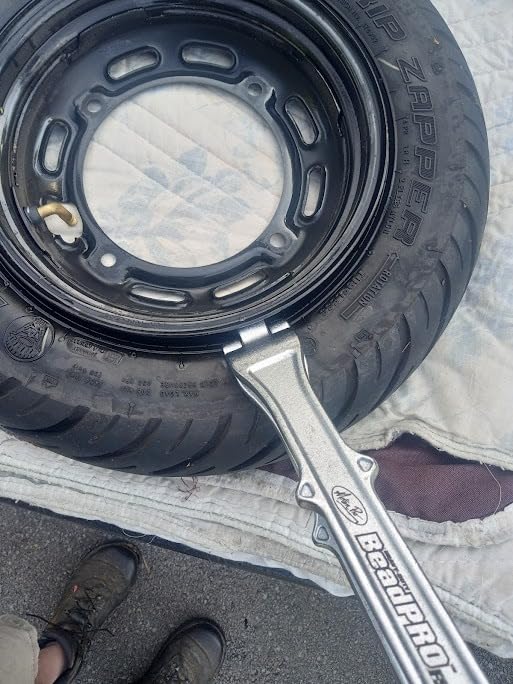
When this is the right tool
Buy it if you change tires regularly, if your wheels are 17 inches or larger, or if you have ever bent a cheap spoon forcing a bead. The 16 inch handles are long enough that you rarely need to stand or kneel awkwardly, and the integrated spoon means the tool travels as a single piece.
It also pairs well with a small bead breaker for car-sized tires that need the initial slack, then handles the rest by hand.
Where it will disappoint you
It will not break a bead by itself. Owners who bought this expecting a bead breaker report the same frustration, and that is the most common misunderstanding we see. It is a lever and a handler, not a breaker.
For a one-time emergency repair of a bicycle tire it is overkill, and for the price you would pay here you could get a complete spoon kit plus a torque wrench instead.
4. BeadBuster XB-450i Bead Breaker – Best Warranty Coverage
BeadBuster XB-450i Bead Breaker MADE-IN-USA for ATV/Motorcycle / 4×4 / Truck/Auto/Lawn Mower
4140 chrome-moly casting
3 lb
9.0 tons ram force
3 year warranty
Pros
- Padded clamp protects rims from dents and scratches
- One-person operation with hand tools
- At 3 lb it folds to 7.5 inches and travels
- Handles wheels up to 32 inch tire outside diameter
Cons
- 20 inch truck rims may need the separate ram extension
- Threads need greasing and slow working
- Extension is sold separately
Forum complaints about cheap bead breakers center on one thing: the duckbill claw sits too close to the wheel and the lever bends under load. This is the tool that fixes that class of problem, and the reason is the padded clamp. Owners consistently report that it grips the tire without denting or scratching the rim, which is the failure everyone fears.
The numbers are substantial. Max clamp force is 4.2 tons, max ram force is 9.0 tons, and it works on any small wheel up to a 32 inch tire outside diameter. That covers cars, trucks, ATVs, motorcycles, and mowers in one unit, and it is a single-piece investment casting in hardened 4140 chrome-moly steel with Grade-8 zinc coated hardware.
Two details make it practical rather than just strong. The 3 lb weight and 7.5 inch folded size mean it lives in a truck bed or a trail box, and one-person operation with simple hand tools means you are not waiting for a second pair of hands.
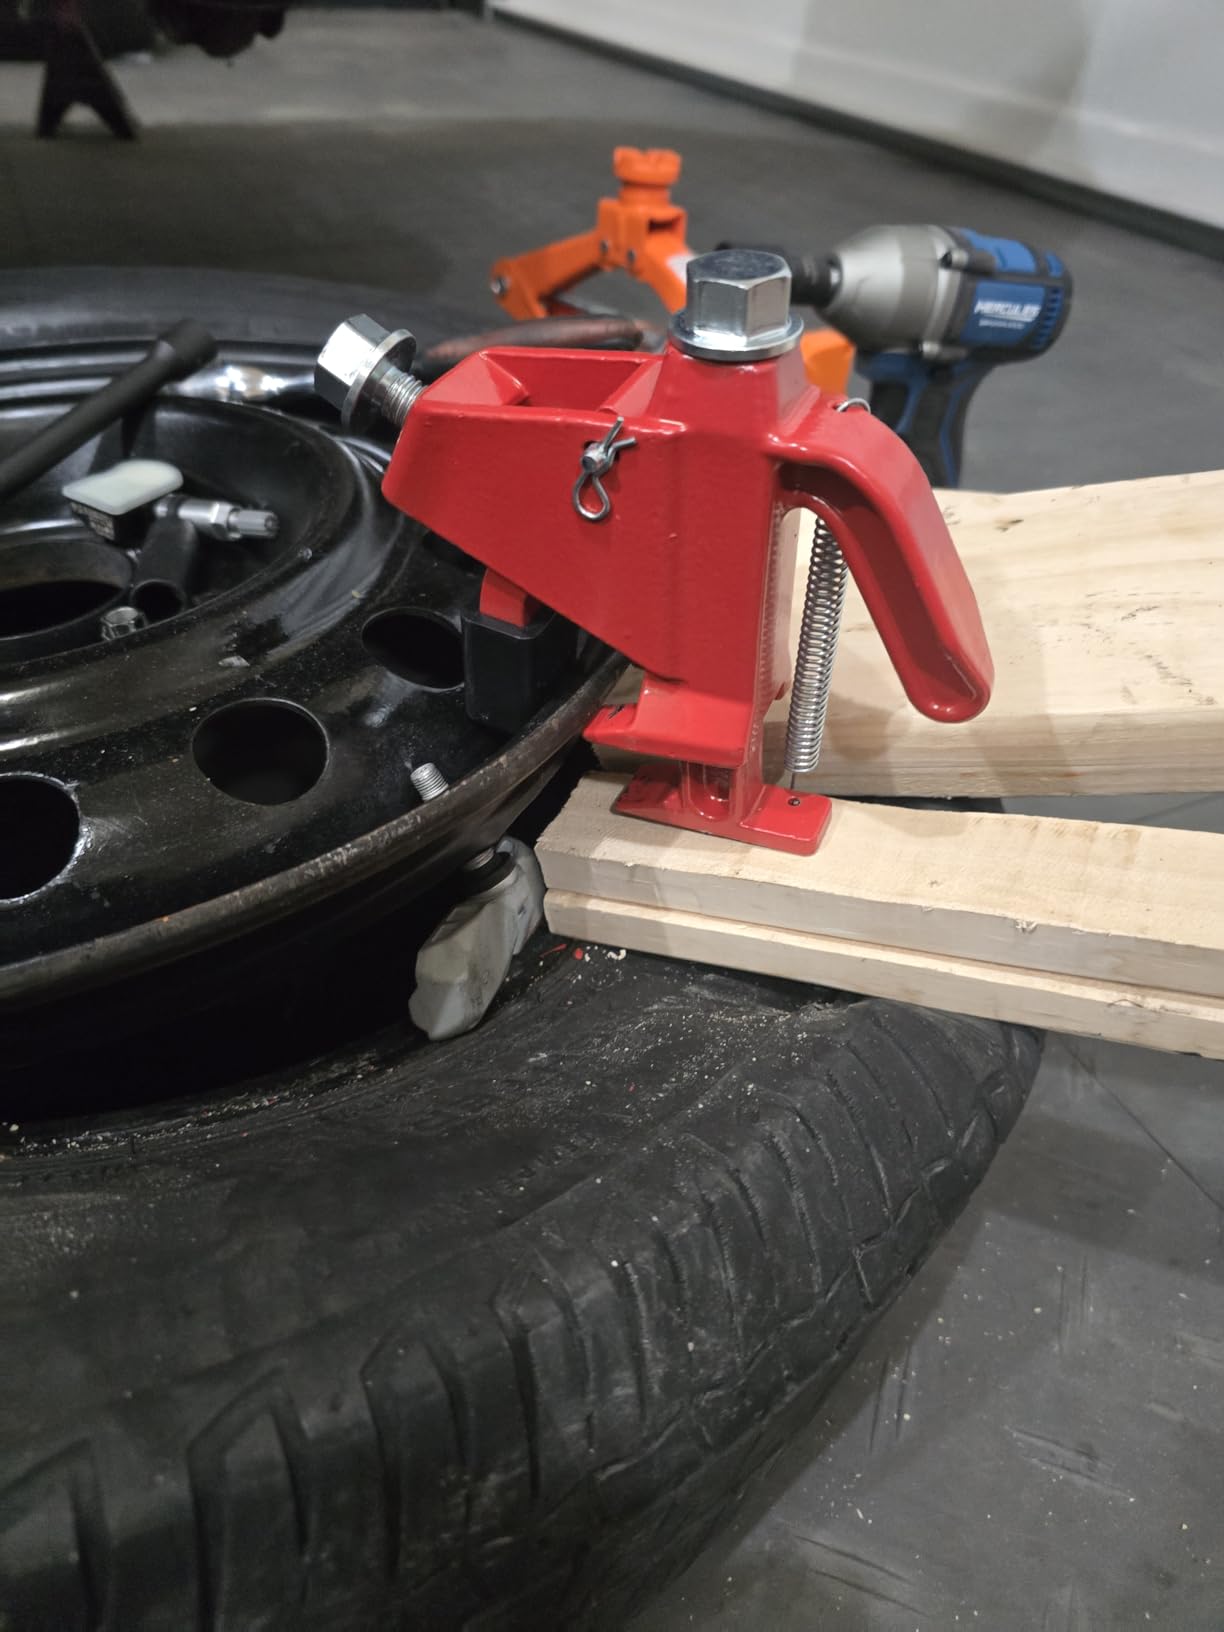
There was a recent design update with major improvements over the previous version, so what you receive now is not the model that earned some of the older complaints. It is made in the USA with a 3 year warranty, which is the only written warranty in this entire guide.
The recurring advice from owners is unglamorous and correct: grease the bolts and work slowly the first few times. Thread damage on the hub is the failure mode that actually shows up over years, and it comes from forcing the bolts dry.
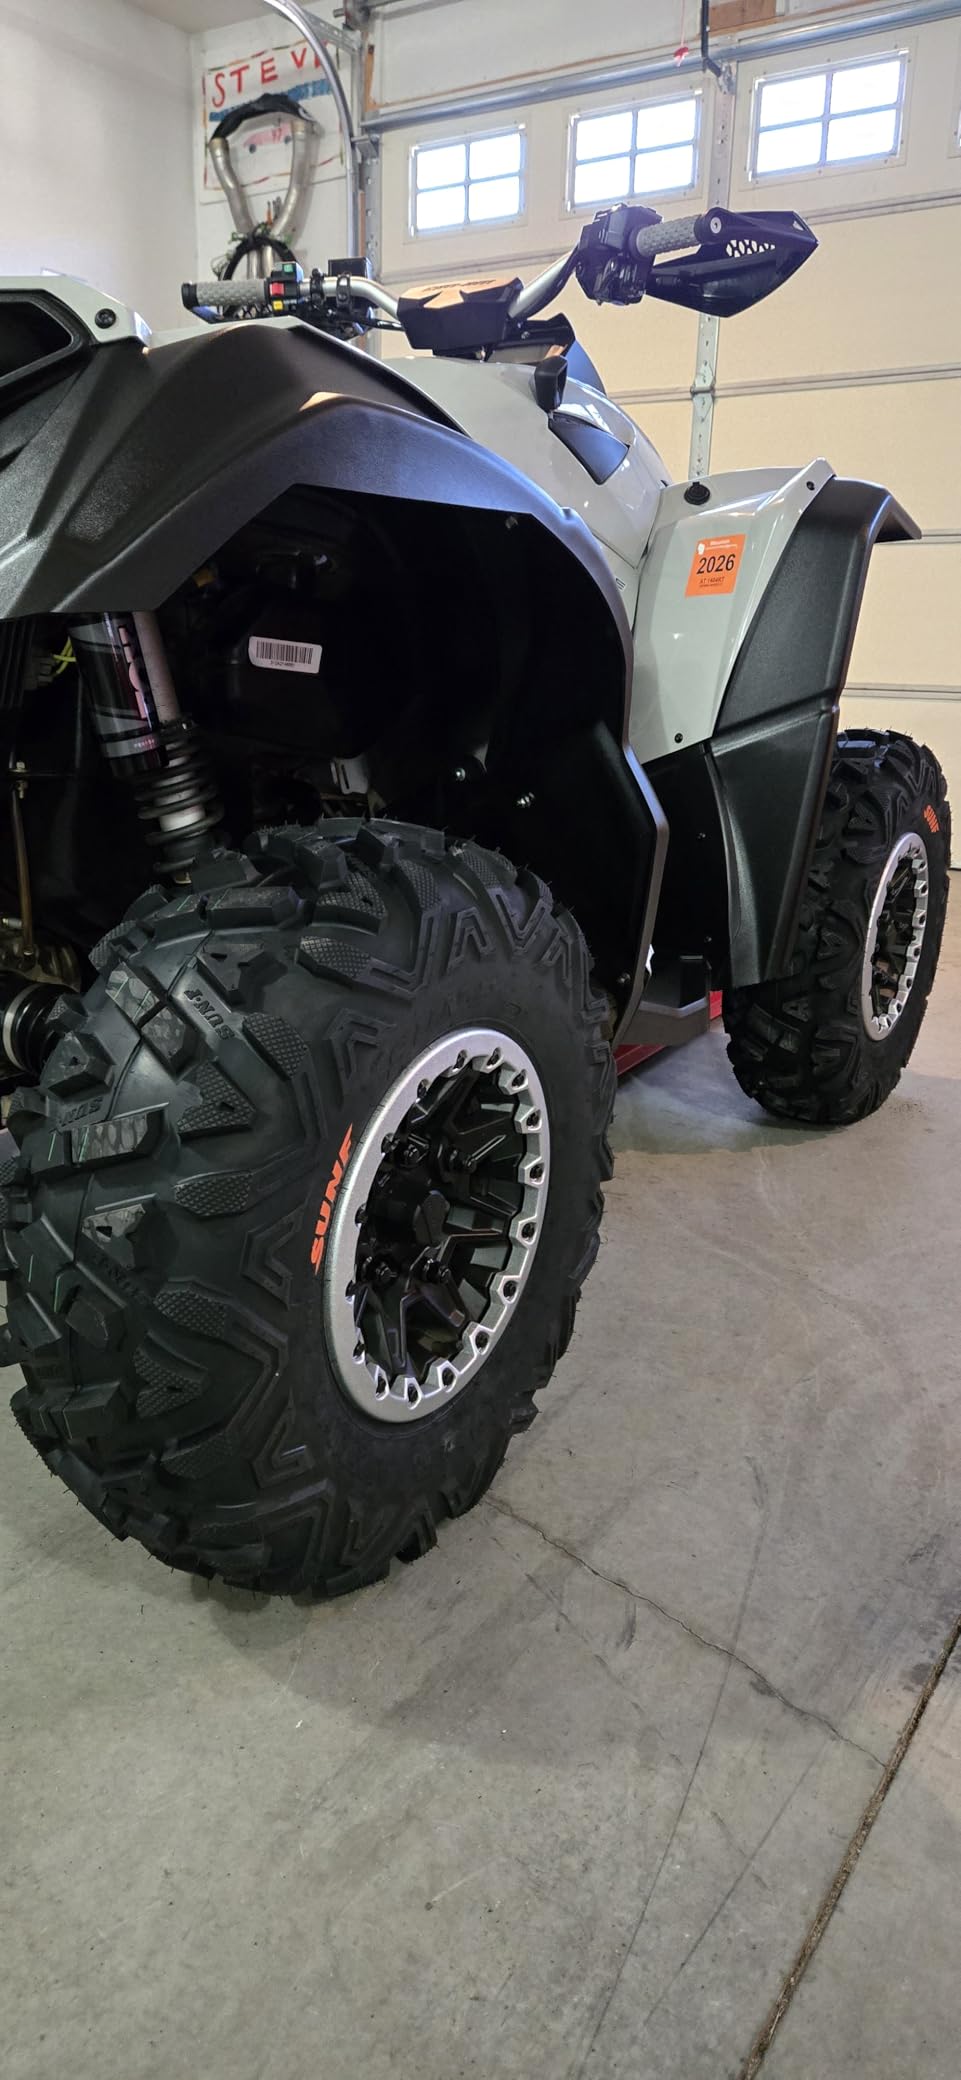
When this earns its place
This is the right buy if you are stuck on stiff modern car or truck tires, if you have alloy wheels you are genuinely nervous about, or if you want to change a tire sensor without pulling the whole wheel off the vehicle. The padded clamp and the portability are the two reasons owners defend it.
Owners also note it pays for itself against shop labor quickly, which is the argument that matters most if you were only going to use it twice.
Where you might need more
If you work on 20 inch truck wheels, the 1.438 inch ram extension is sold separately and you will want it. Without it you can get the bead loose but the geometry is fighting you the whole way.
It also does not lever tires off rims. Pair it with a Motion Pro handle tool or a long tire iron, and the combination covers a full car tire change from a single purchase.
5. VEVOR Tire Bead Breaker Slide Hammer – Best for Trucks and RVs
VEVOR Tire Bead Breaker Slide Hammer 46.3″ Length Heavy Duty Steel
19.8 lb
46.3 inch handle
#45 steel slide hammer
Pros
- Spring-loaded slide hammer delivers serious impact
- 46.3 inch handle reduces bending and arm strain
- Wedge tip seats in the hub gap without marring it
- Covers car through tractor and RV tires
Cons
- 19.8 lb is heavy and awkward to carry
- Shorter than professional shop slide hammers
- Not a match for a powered machine on trailer beads
Impact is a different mechanism from clamping, and for very large tires it is often the one that works. The spring mechanism in this slide hammer drives a wedge tip into the gap between the tire and the wheel, and the momentum of the 19.8 pound mass does the work in a fraction of a second. Beads that no lever can shift will give up to it.
The handle is 46.3 inches of solid number 45 steel with a Q235B lever, high-frequency quenched, and finished with a protective spray treatment against rust. Users repeatedly compare the build favorably against name-brand slide hammers they have seen at auto parts stores, which is the point: this is a tool that feels like a shop tool at a fraction of the cost.
The wedge tip profile is worth noting. It seats in the hub gap without damaging the hub, so the damage risk is on the tire side where it belongs rather than on the wheel face.
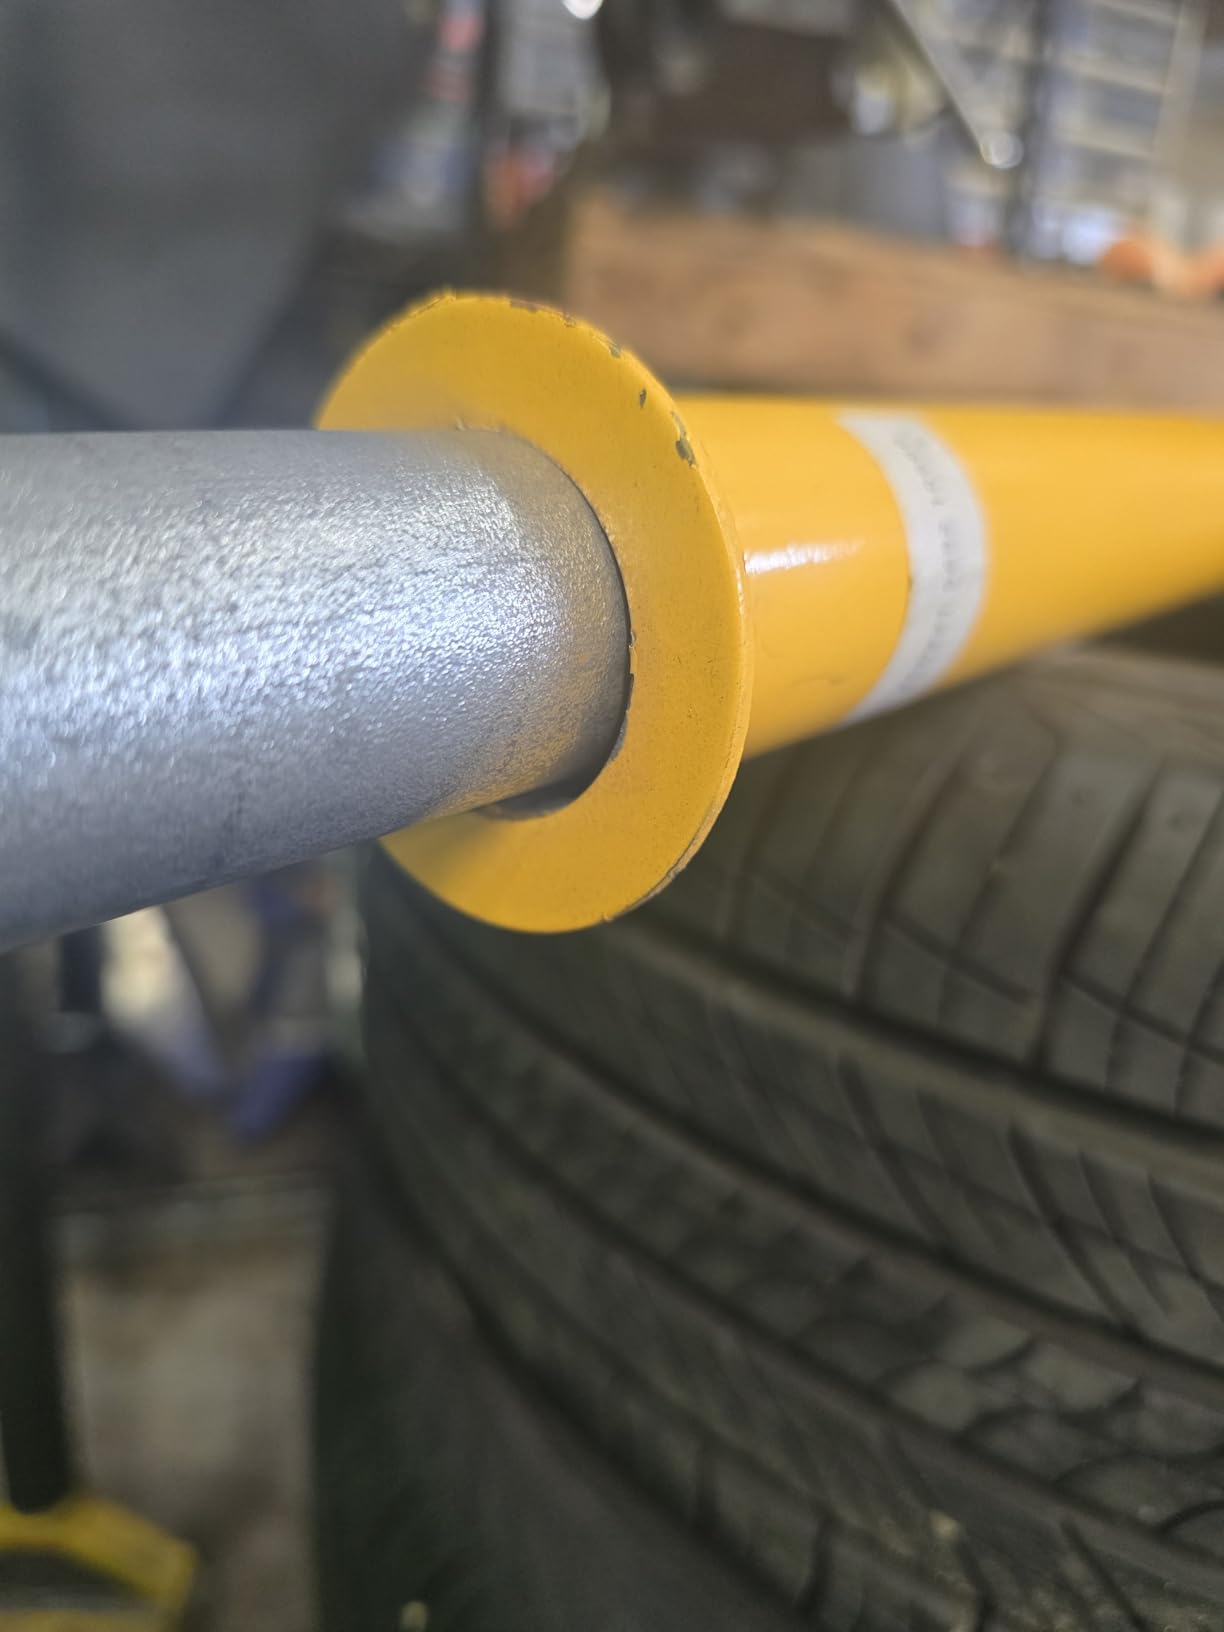
The weight is the honest drawback. At 19.8 pounds this is not a roadside emergency tool, and anyone who has carried one across a driveway knows it. It does disassemble for compact storage, but assembling it in a parking lot at night is a different proposition than doing it on a bench.
It is also shorter than the units a commercial tire shop uses, and reviewers are candid that on stubborn truck or trailer beads it is not the equal of a powered machine. If you work on semi tires regularly, this is a helper rather than a solution.
When this is the right tool
Buy it if you run a pickup, a work van, an RV, or a tractor and hit tires that ordinary bead breakers slide off. The stated range covers household cars, SUVs, trucks, tractors, lawnmowers, ATVs, RVs, and commercial vehicles, so one tool covers the whole fleet.
For most home mechanics it pairs best with a smaller clamp-style bead breaker, using the slide hammer first on the worst tire and the clamp on the rest.
Where it falls short
It does nothing after the bead is loose. You still need irons to lever the tire off and a wrench to refit it, so this is never a complete kit on its own.
And if your garage is a one-car setup with 15 inch wheels, the weight buys you capability you will never use. Check your tire sizes before committing to something you have to lift over a sill.
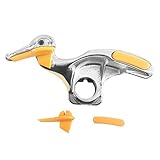
6. QWORK Tire Changer Duck Head – Best for Replacing a Worn Insert
QWORK Tire Changer, Automobile Tire Changer Mount Demount Duck Head Tool with 1 Pair Rim Protector for Replacement, Cast Steel, 30mm
Cast steel
30mm duck head
1.63 lb
Includes rim shield pair
Pros
- Cast steel holds up under repeated mounting cycles
- Insert profile follows the duck head and rim edge
- Drop-in replacement for 30mm machines
- Included rim protectors shield the wheel face
Cons
- Only fits machines with a 30mm duck head mount
- This is an accessory insert and not a standalone changer
- Mount diameter must be confirmed before ordering
Once you own a portable tire changer, the duck head is the part that wears. It is the piece that rides the rim edge while the tire rolls on, and after a few seasonal changes the original insert develops a burr that marks every wheel face. Replacing it is one of the cheapest quality upgrades available.
This insert is cast steel with a 30mm diameter interface, and the profile is shaped to follow both the duck head and the rim edge. Buyers rate it as an affordable way to get back to smooth, non-marring mounting, and the difference from a scuffed wheel face is immediate.
At 1.63 pounds it is a spare part rather than a tool, and the package includes a pair of rim protectors, which is a useful addition on a machine that did not come with any.
Compatibility is the whole story
This fits machines with a 30mm duck head mount, and the reviewers are unusually clear that buyers should confirm their machine mount diameter before ordering. A replacement insert that does not match its mount is a wasted purchase, so measure first.
It is also worth being clear about what this is. It is not a tire changer. It will not break a bead and it will not mount anything by itself. It is the last twenty percent of quality in a machine you already own.
When it makes sense and when it does not
Buy it if you already run a portable changer and your wheel faces are coming out marked after each swap. That is a known, predictable wear pattern and this fixes it directly.
Skip it if you do not own a changer with a 30mm mount, or if you are shopping for a first machine. In the first case it will not fit, and in the second you would be buying a spare part before you have a machine that needs one.
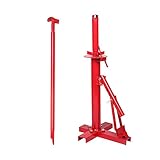
7. TUFFIOM Manual Tire Changer – Best for a Bolt-Down Garage Setup
TUFFIOM Manual Tire Changer, Portable Hand Bead Breaker Mounting Tool for 8” to 16” Tires, for Home Garage Small Auto Shop
8 to 16 inch tire range
34.6 lb
Steel and powder coat
Locking collar
Pros
- Adjustable bead breaker position covers 8 to 16 inch tires
- Locking collar holds the tire so you can work hands-free
- Steel frame with a red powder-coated finish
- Simple assembly with instructions included
Cons
- 34.6 lb is heavy and meant to be fixed down
- Two people to carry it outdoors
- No capacity above 16 inch tires
This is the closest thing to a small shop machine you can bolt to a home garage floor. Three tube holes adjust the bead breaker position to handle most tires from 8 to 16 inches, and a locking collar holds the tire in place so you are not fighting it with one hand while levering with the other.
Owners treat it as a practical floor-mounted manual changer rather than a portable tool, and the reviews are consistent about that framing. The steel frame with a red powder-coated finish is straightforward to assemble with the included instructions, and once it is down it stays put.
The locking collar is the feature that separates it from the simplest manual units. Freeing both hands to work the bead is the difference between a controlled job and a fast one, and it is the reason this keeps coming up in garage setups.
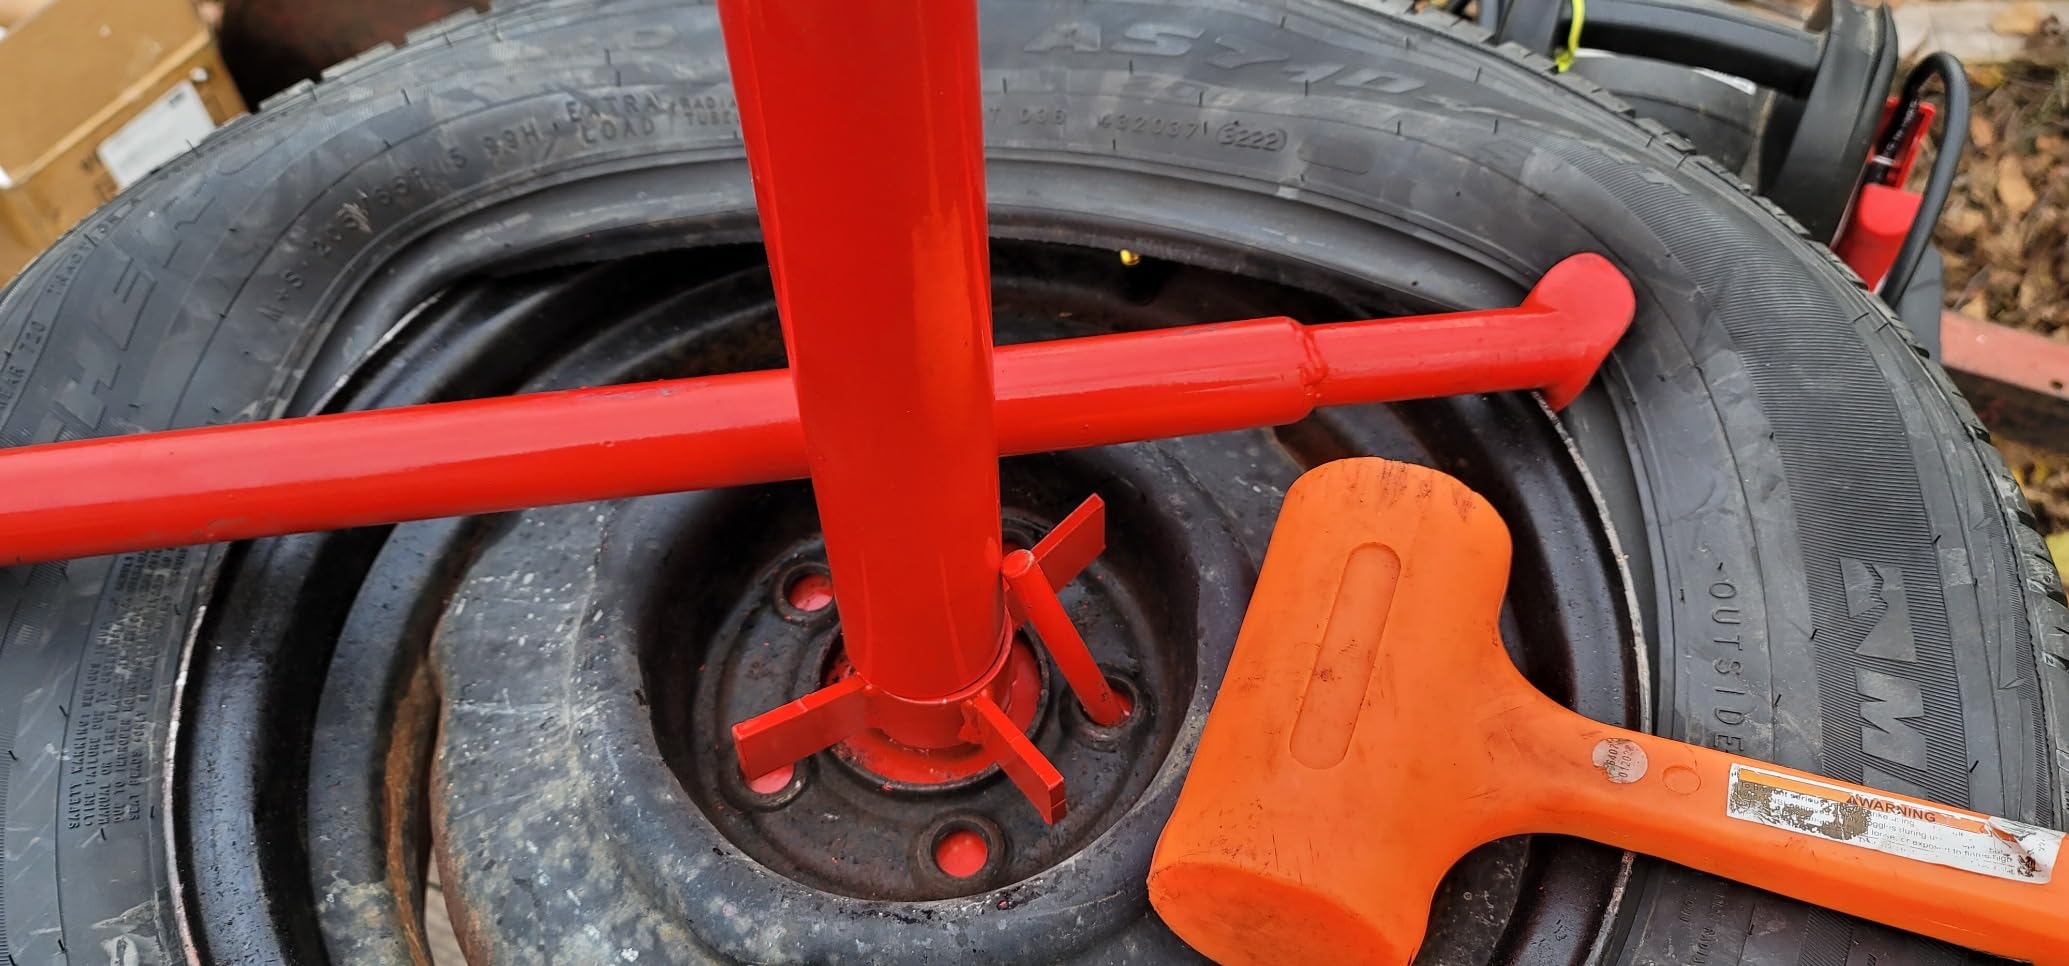
The weight is the whole conversation. At 34.6 pounds this is not something you reposition each time you need it, and the consistent advice is to bolt it down or set it on a pallet. Taking it outside for a roadside change needs two people, which cancels much of the emergency use case.
The 16 inch ceiling is equally important. If your vehicle runs 17 inch or larger wheels, this unit simply does not reach, and several forum users describe learning that lesson only after buying. Check your wheel diameters before you commit.
Who should buy this
Buy it if you have a dedicated corner of a garage and a vehicle on 8 to 16 inch wheels, and you want repeatable bead breaking without a powered machine. The adjustable range covers everything from a small mower wheel up through most compact car tires.
It is also a sensible companion to a torque wrench and a good tire iron, since the changer only handles the breaking step and the rest is still manual.
Where it will not work
It is wrong for anyone with truck or larger SUV wheel sizes above 16 inches, and wrong for anyone who wants a portable tool. The weight forces a permanent installation, so plan the floor space before you buy.
And as with the other manual changers here, expect no written warranty. Forum readers treat that as a genuine risk signal when buying steel tools, and it is worth weighing.
8. EXODIOS Manual Tire Changer Duck Head Kit – Best Portable Changer Upgrade
EXODIOS Manual Tire Changer Duck Head Kit, Portable Tire Changer
16 to 21 inch tires
10.28 lb
Spring-loaded handle
Centering cone
Pros
- Noticeably easier on rims than a stock duck head
- Thickened steel tube resists deformation
- Spring-loaded handle readjusts height quickly
- Square tubing accepts standard tire irons
Cons
- Adjustment bolts are soft steel and can strip
- The centering cone is too small for some 6-lug hubs
- Long sliding bar cannot lift a 20 inch tire high enough
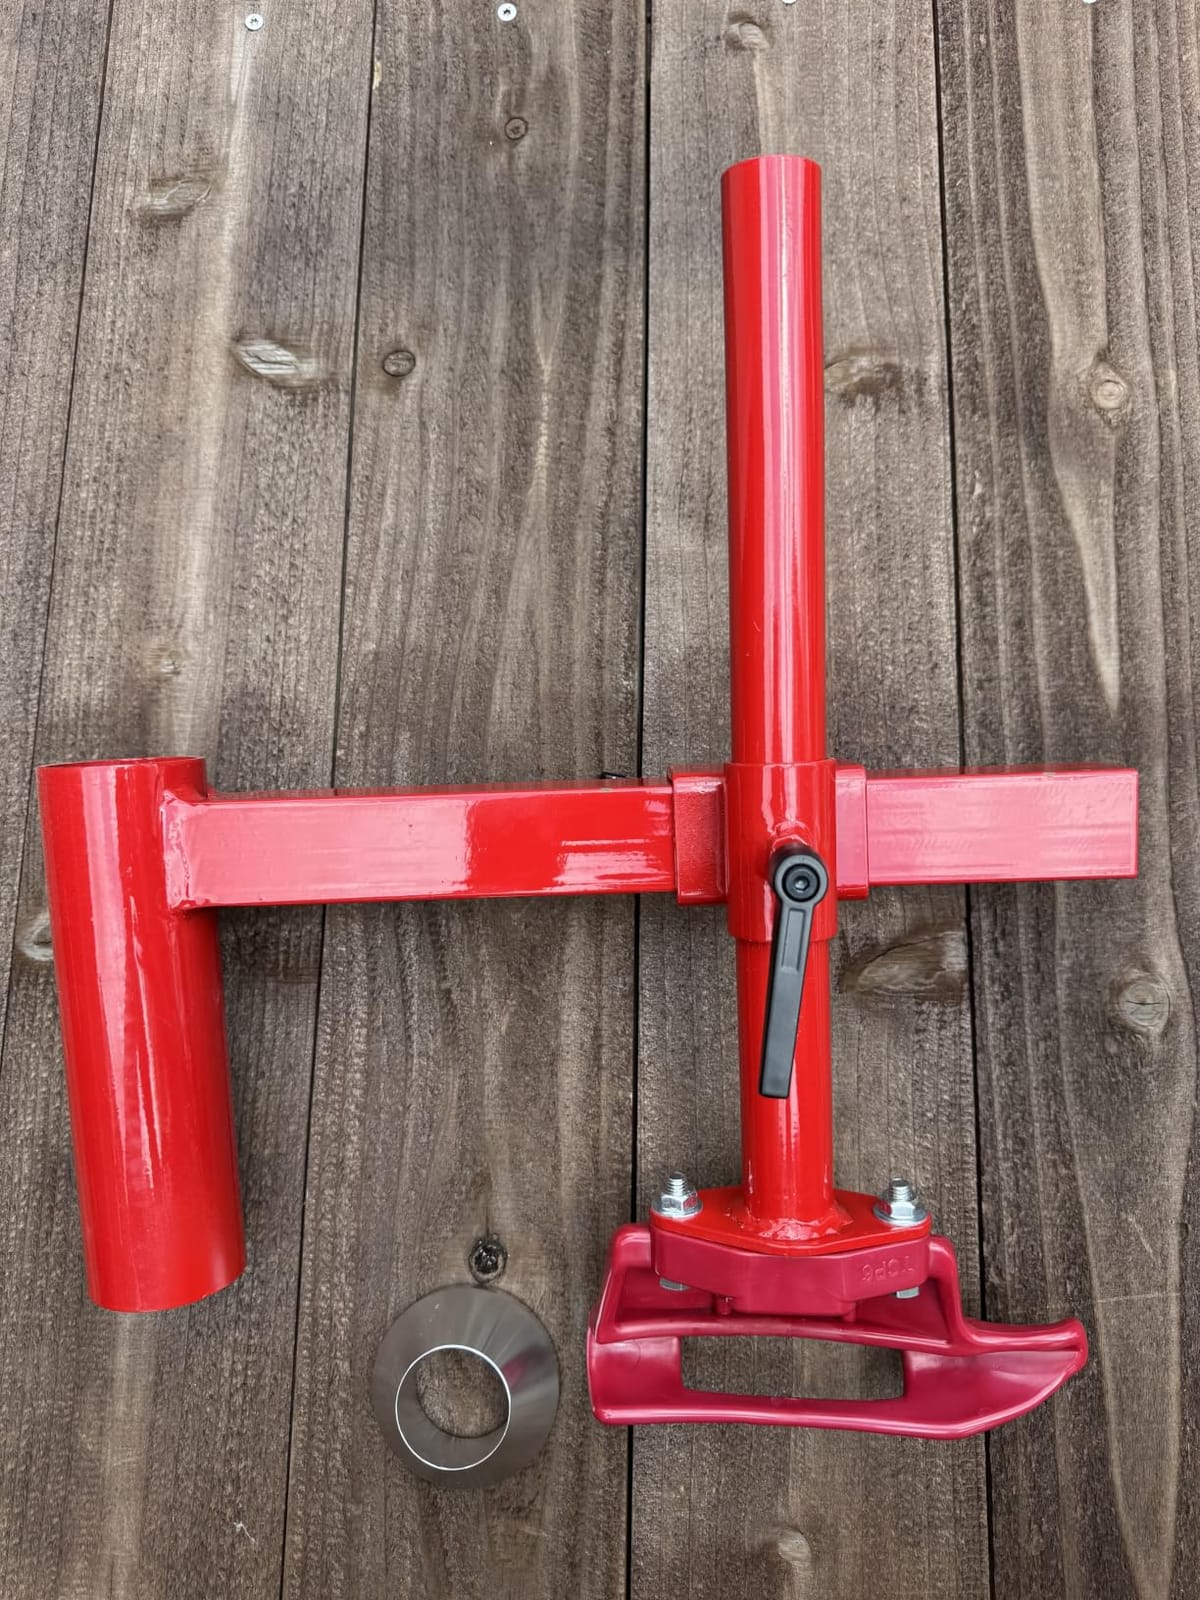
Owners overwhelmingly describe this as an upgrade to the duck head that came with a portable tire changer, and the reported effect is straightforward: mounting gets easier and the rims stay cleaner. The thickened steel tube with a heavier wall is the core of that, since it does not flex under a hard pull.
The spring-loaded aluminum alloy handle is a small design decision with a big effect in practice. Instead of cranking a clamp down every time you change position, you pull and reposition, which owners call fast and convenient.
It is rated for 16 to 21 inch tires, which puts it into the car and light truck range that the smaller manual changers cannot reach. The square tubing on the end of the bar accepts the square end of a standard tire iron, so it borrows leverage from tools you already own.
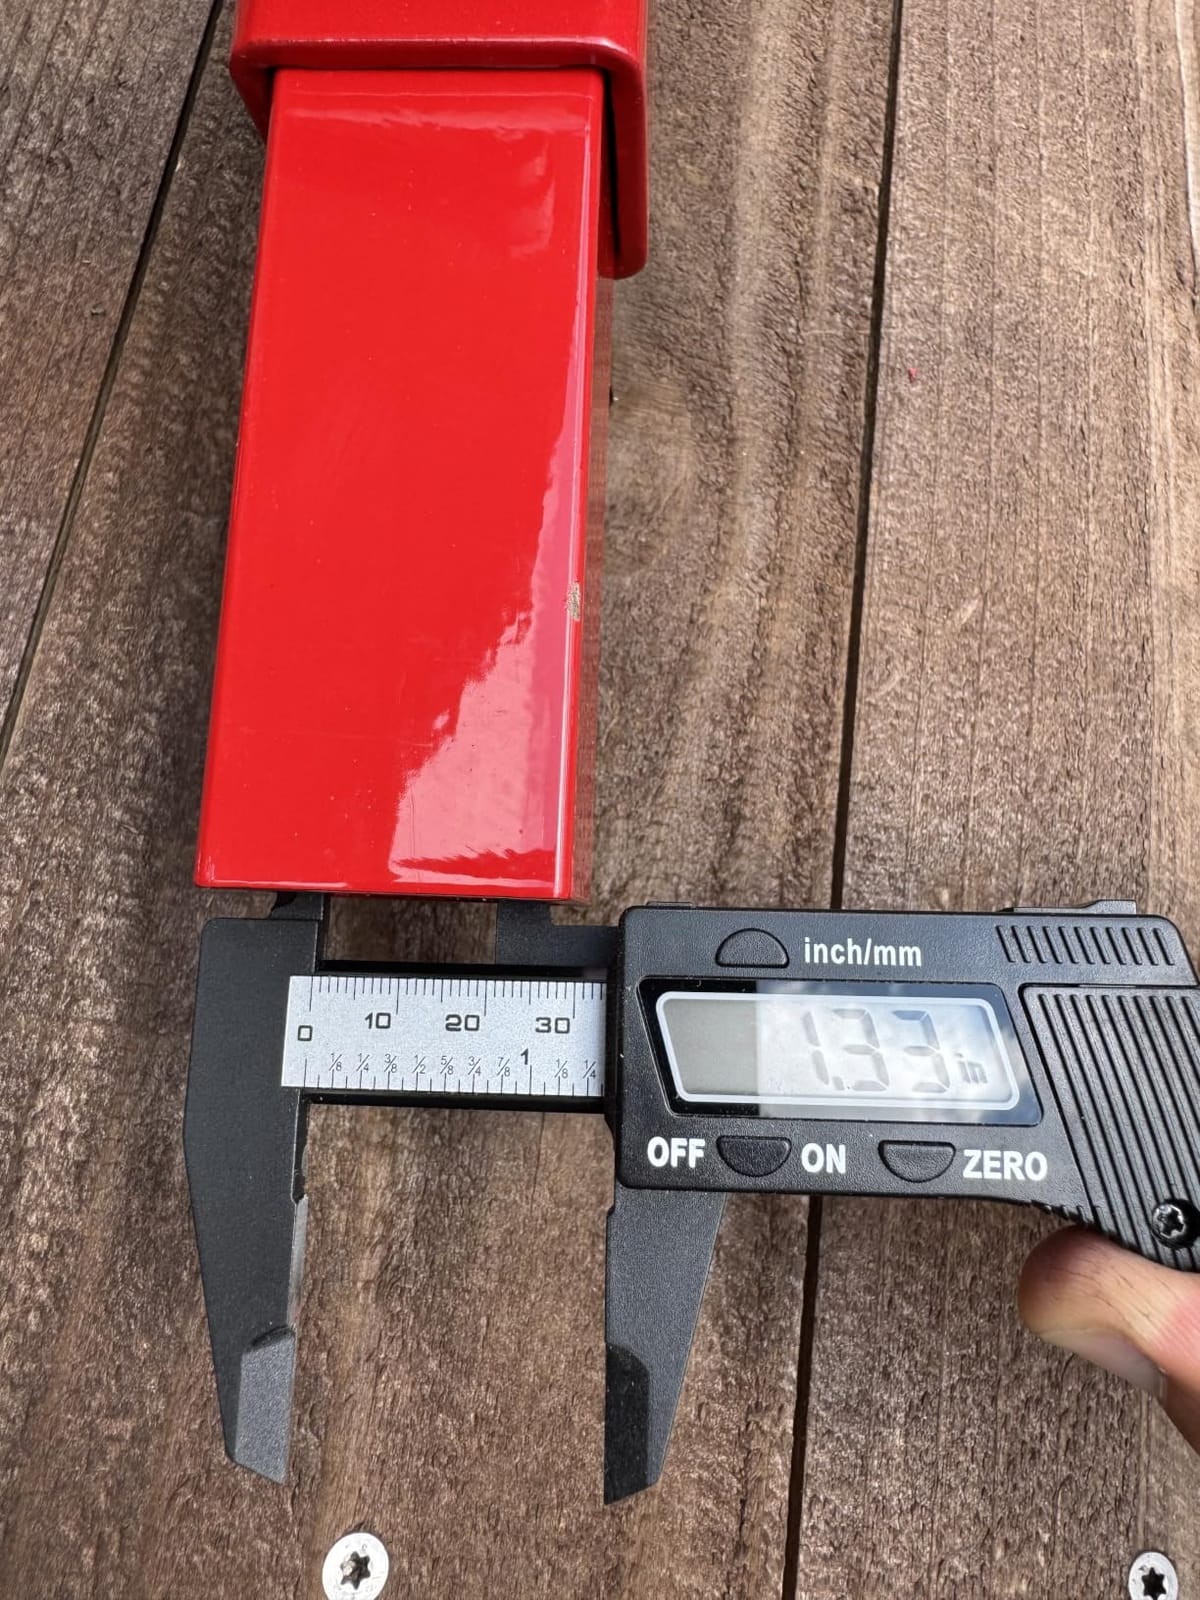
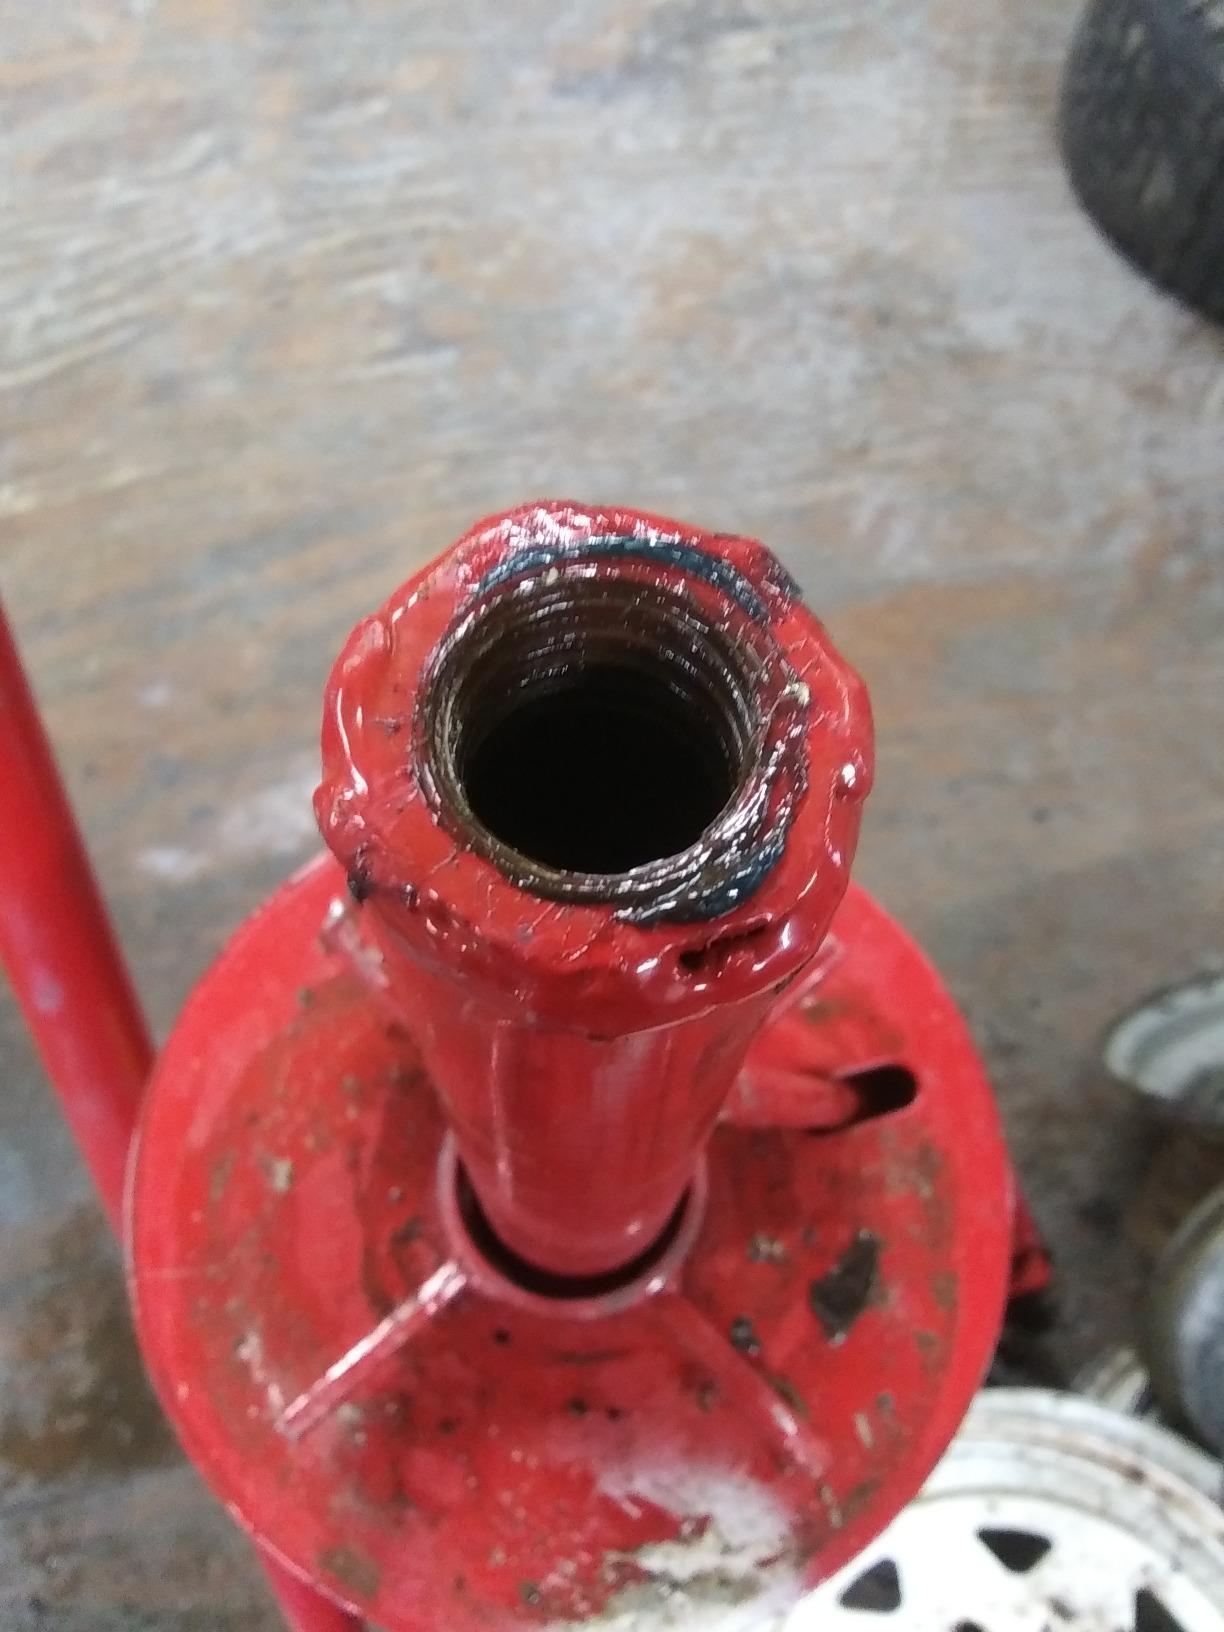
There are more real complaints on this one than on the other kits, and they are worth reading before you buy. The adjustment bolts are soft steel and will strip if you overtighten them, which several owners did. The included silver cone that helps center the tire is too small for some 6-lug truck and trailer centers.
The most common issue is geometry. On 20 inch tires, the long sliding bar will not lift the tire high enough to clear the duck head, and some users found the swivel needed filing to fit a worn center post on first assembly. In short, budget a little fitting work and avoid over-torquing the adjusters.
When this upgrade is worth it
Buy it if you already own a portable tire changer, your wheels are 16 to 21 inches, and you find mounting slow or hard on the rim. This is the upgrade that fixes the complaint people have with those machines rather than replacing them.
The after-sales support is also better than most at this level, with a 6 month replacement on the duck head and online support, which is a meaningful difference on a part that sees direct load.
Where it falls short
It is not a bead breaker and not a tire changer on its own. It is a head and a handle assembly, and it only pays off if you pair it with the machine it is designed for.
At a 4.2 star rating it is the lowest-scoring product in this guide, and the reviews explain why: the concept works and the fit is specific. Verify compatibility with your machine before ordering, and if you work on large truck wheels regularly, the bar length will work against you.
9. Hedume 4-Pack Bead Clamp Set – Best for Low-Profile Bead Control
Hedume 4 Pack Tire Changer, Nylon Tire Bead Clamp Drop Center Tool, Universal Rim Pry Tire Changer Wheel Changing Helper Heavy Duty
Nylon and plastic composite
2.16 lb
Four clamps
Spring-loaded plunger
Pros
- Will not scratch or mark alloy or steel wheels
- Holds the bead in the drop center during mounting
- Spring plunger adjusts by hand
- Four clamps let you keep two on the machine
Cons
- Unthreaded T-handle can lose clamping force
- Not strong enough for industrial or ag tractor tires
- Can pop out on stiff low-profile tires
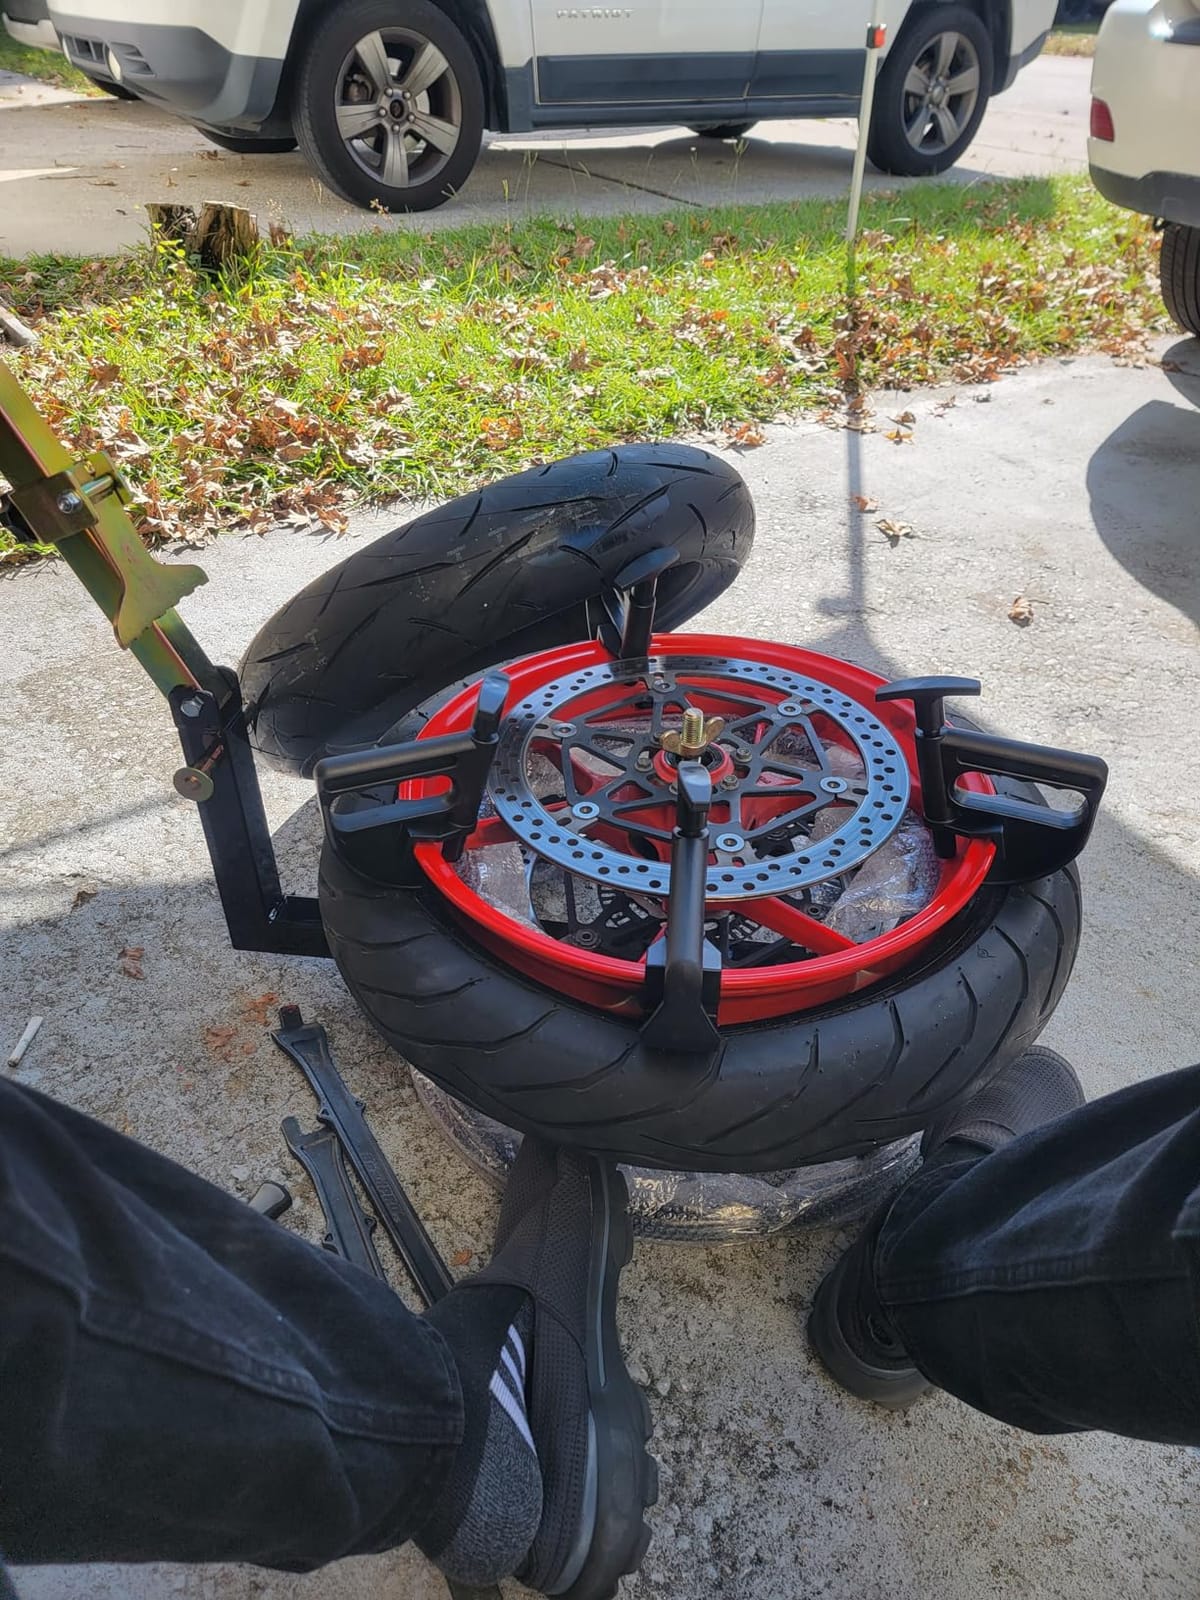
The reason a low-profile tire fights you is that the bead is stiff and the wheel has a shallow drop well. When the top bead keeps popping back out as you work around the bottom one, the whole job stalls. These clamps solve exactly that by holding the top bead down in the drop center while you work.
They are made from high-grade nylon and plastic composite, which is the entire selling point. They will not mark an alloy or steel wheel, and for anyone who has already scuffed a set of expensive rims, a tool that physically cannot scratch them is worth having regardless of price.
The spring-loaded plunger stays where you put it and adjusts by hand with little effort, so repositioning around the rim takes seconds. The four-pack sizing also makes sense: two stay on the machine, two live in the toolbox.
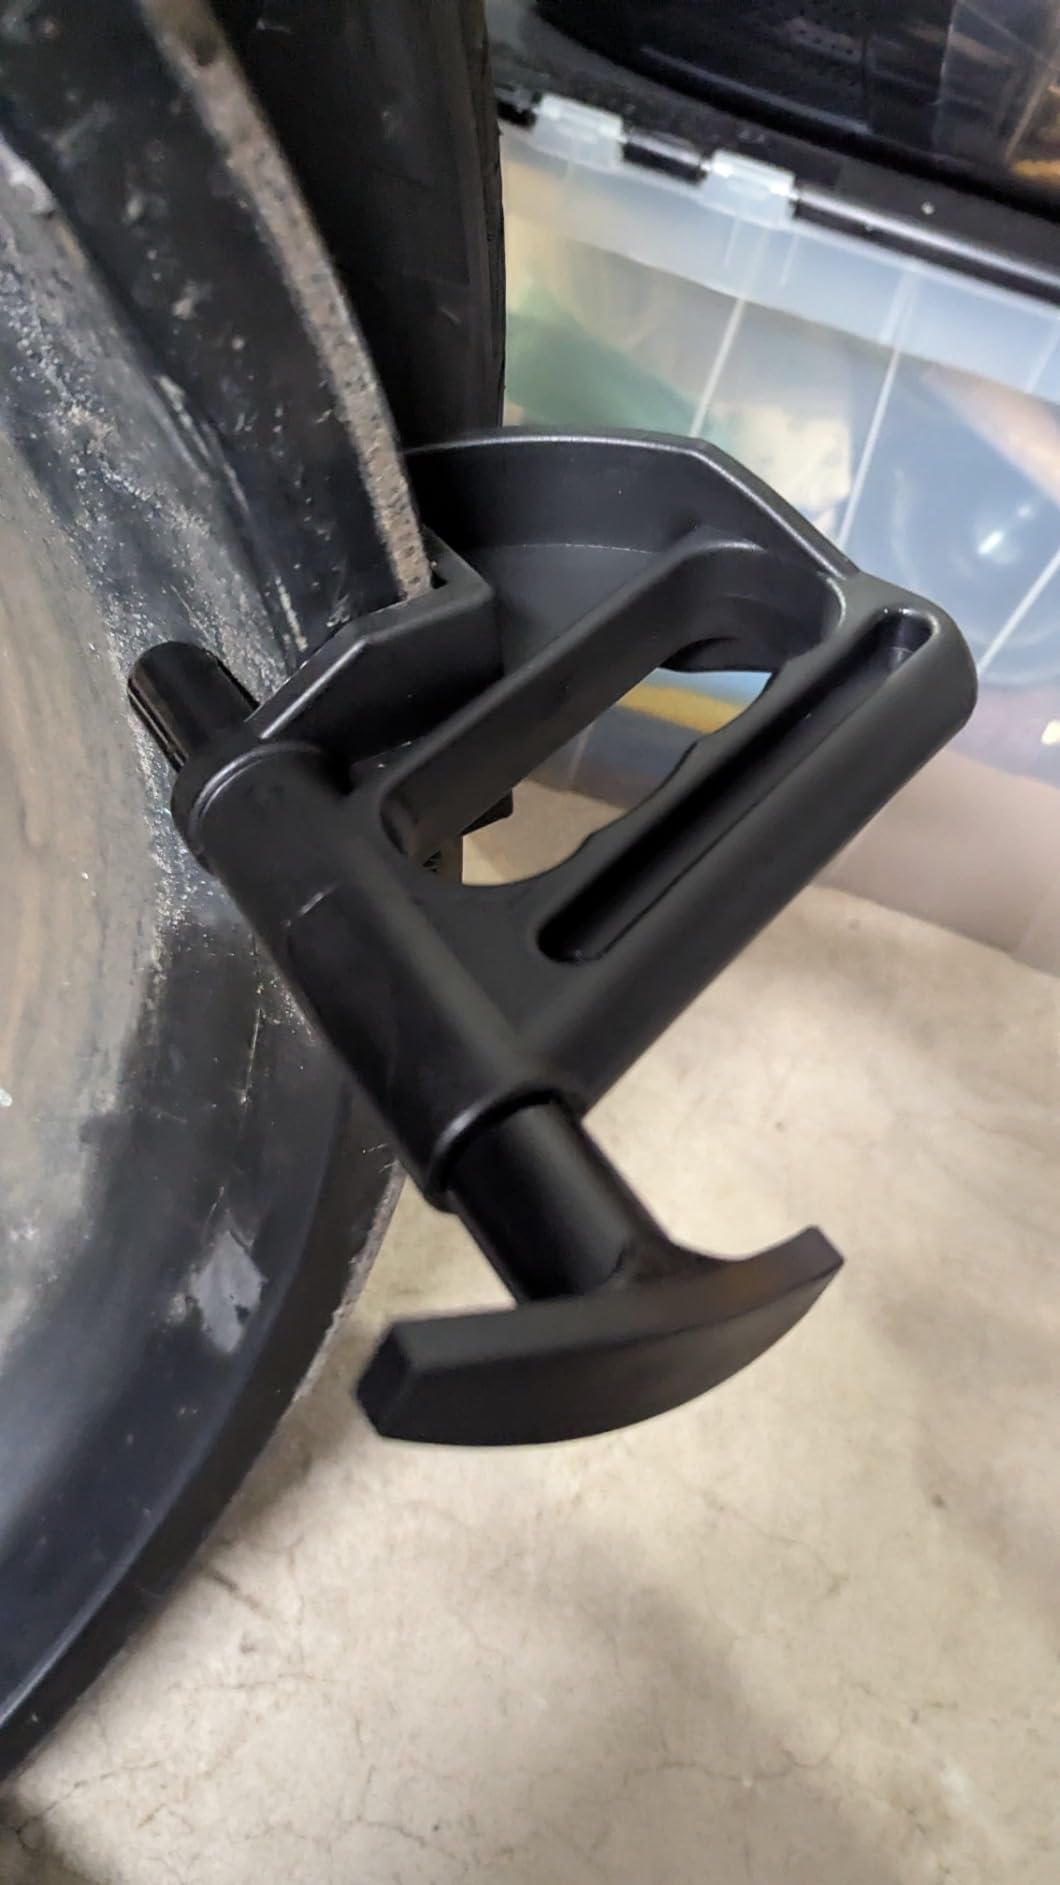
The design flaw owners point to is the unthreaded T-handle. Because the handle does not screw down, the spring can lose clamping force over time, and on stiff low-profile car tires the clamp can pop out mid-mount. It is not a dangerous failure, but it is an irritating one that shows up at the worst moment.
They are also plainly not industrial tools. Nobody should be using these on ag tractor tires, and reviewers say so directly. Within that limit they do their stated job well.
Where these earn their space
Buy them if you mount low-profile or high-performance tires on alloy wheels, or if you have a portable changer you keep in the garage. Keeping a bead seated is the hardest part of mounting a stiff tire, and this is the cheapest way to solve it.
Users report it pays for itself against shop mounting fees on low-profile work, which is the return that makes a small accessory feel like a real purchase.
When they will not be enough
Do not lean on these as your only rim protection. They hold the bead, but they do not shield the rim flange from an iron, and that is the contact that causes scratches. Use molded rim shields for that job and the clamps for this one.
Check the spring tension periodically, and if you work on very stiff tires, buy a spare set rather than discovering a weak clamp halfway through a mount.
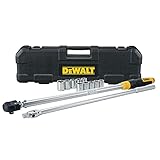
10. DEWALT 50-250 FT-LB Torque Wrench Kit – Best for Lug Torque Accuracy
DEWALT Torque Wrench Tool Set, Tire Change Kit, 50-250 FT-LB, 12 Piece with Storage Case (DWMT45012)
50 to 250 ft-lb
1/2 inch drive
12 piece
30 inch length
Pros
- 4.8 star rating with 89 percent five-star reviews
- Owners confirm accurate readings on lug and strut work
- Includes a 1/2 inch breaker bar for stubborn studs
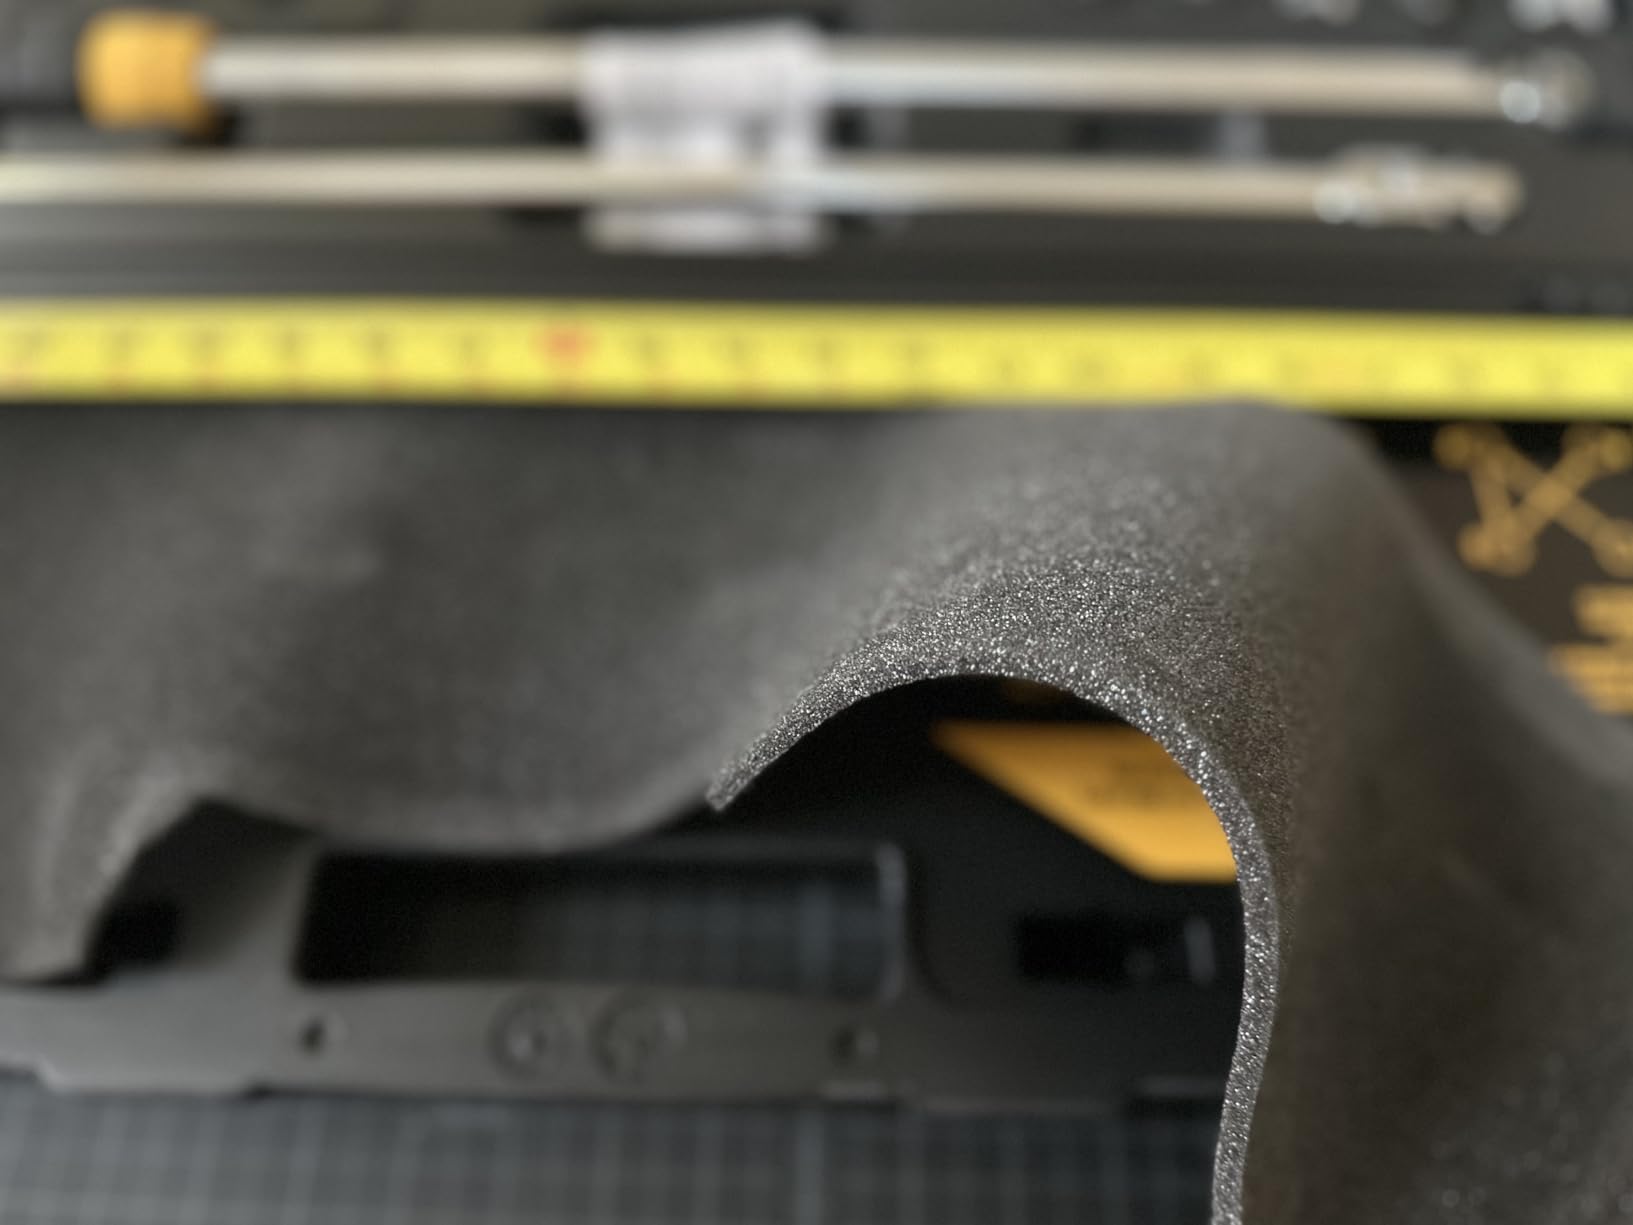
- Hard case keeps the full set organised
Cons
- Included sockets are short on some vehicles
- No straight extension included
- Included sockets are not impact rated
To answer the question people keep searching: no, 250 foot-pounds is not what you put on a passenger car lug nut. Most cars are specified between 100 and 120 foot-pounds, and some lighter vehicles are lower still. Over-torquing is how lug studs stretch and wheel faces warp, and it is the reason this tool is in a tire kit rather than in a toolbox.
The useful part of this set is the range, not the maximum. A 50 to 250 foot-pound scale at 1/2 inch drive covers everything from a small car through a light truck, and forward and reverse torque settings mean you can tighten and check without flipping the wrench around.
Owners repeatedly confirm the readings against known values on lug nuts and strut work, which is the only test that matters. With 89 percent five-star reviews, this is the highest-rated tool in the guide, and the accuracy is why.
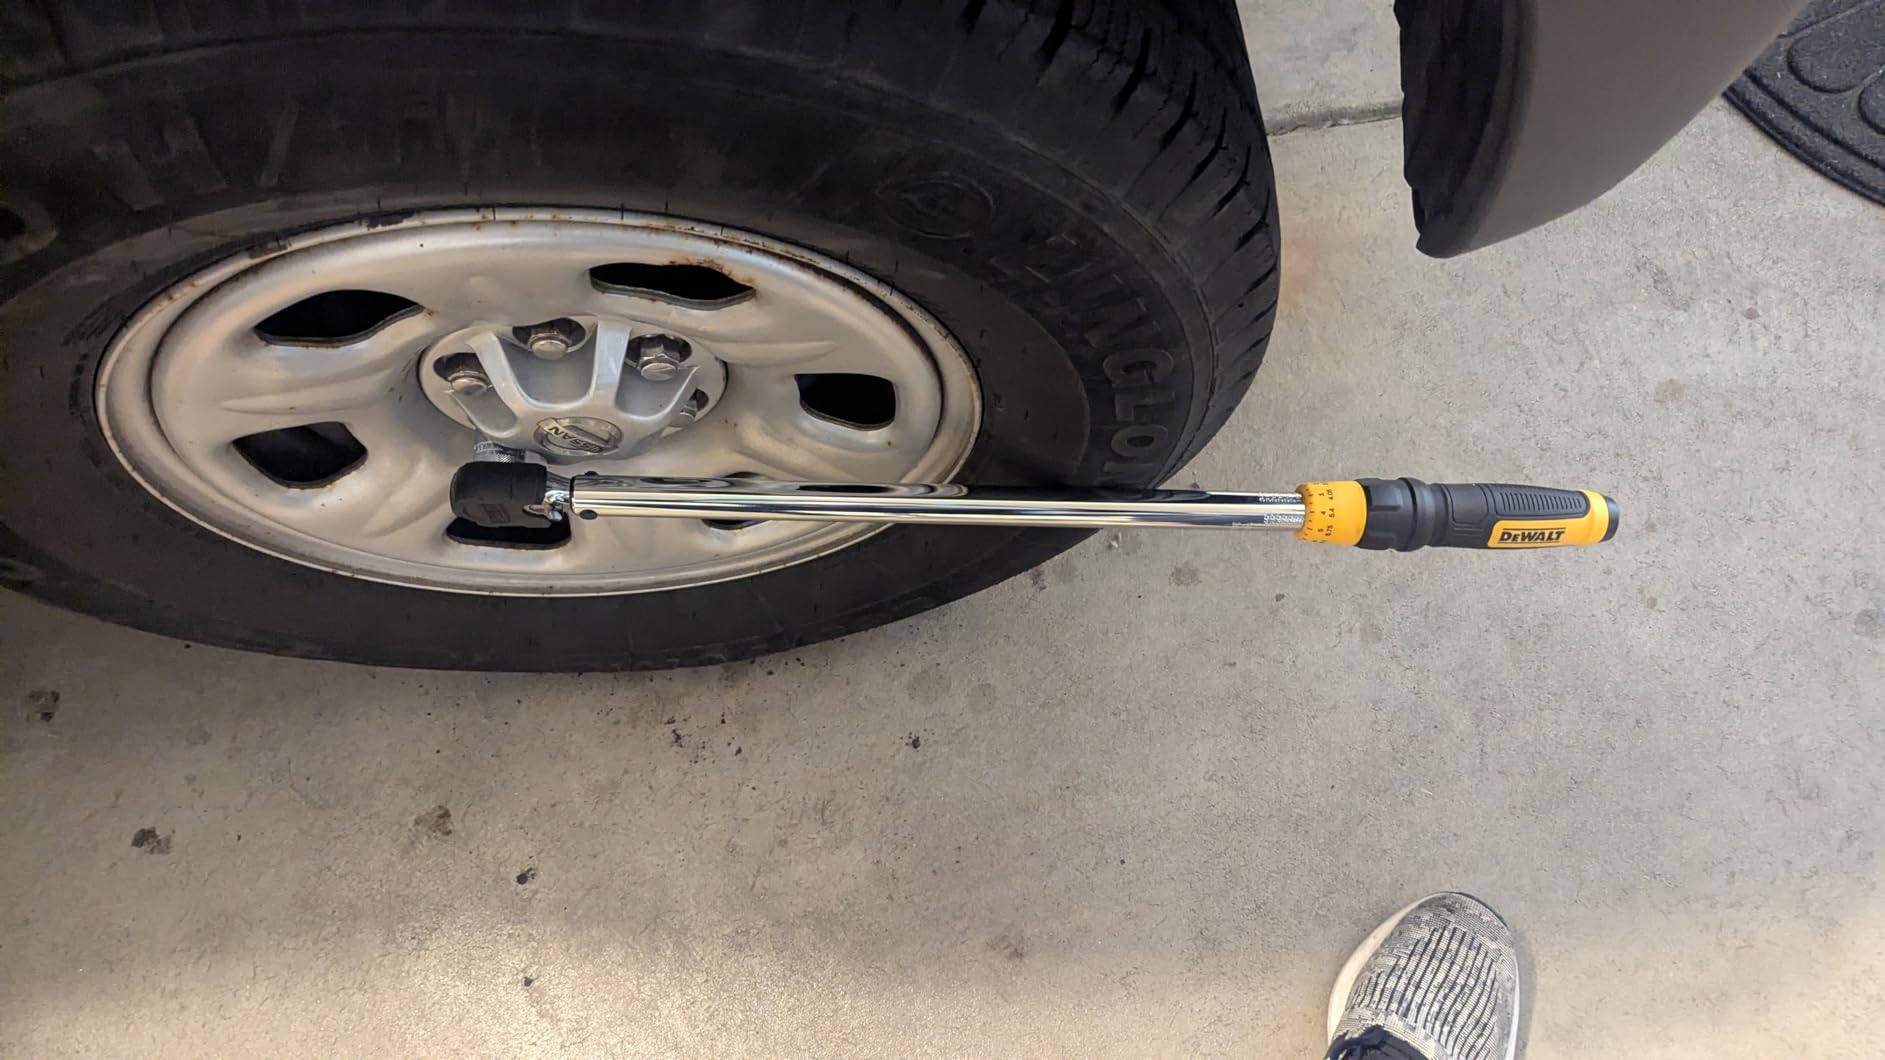
There is one complaint worth acting on before you buy. The included sockets are too short on some vehicles, so the wrench body can contact the tire and skew the reading. Several reviewers note this and still rate the set highly, but the fix is simple and known: use a straight extension.
Also note the included sockets are not impact rated, which is fine here since you are hand tightening, and the set carries a locking trigger and bi-material grip that made it comfortable on a long session.
How to use it correctly
Set the torque to the figure on the door jamb placard for your vehicle, not a number from a forum or a guess. Break the nuts loose with the breaker bar while the wheel is still on the ground, then tighten in a star pattern so the wheel seats evenly against the hub.
Check the torque in the same star pattern after a short drive, because the wheel settles onto the hub face and the reading can change.
When to buy it anyway
Buy it even if you only change tires twice a year. This is the tool where a cheap alternative is a false economy, because the failure mode is a warped rotor or a rounded stud, and both cost far more than the wrench.
It is also the one tool here that serves the whole job rather than the tire work. If you also do brake or suspension jobs, the same 1/2 inch drive covers all of it.
11. Orion Motor Tech 20-Piece Spoon Kit – Best Value for Small Wheels
OMT 14.5″ Tire Spoon Kit, 20pc Motorcycle Changing Tool, 4pc Rim Covers
14.5 inch CrV spoons
20 piece
1.98 lb
Storage bag
Pros
- Solid CrV steel with corrosion-resistant chrome finish
- 14.5 inch spoons for strong leverage
- Four rim protectors plus rounded tips reduce damage
- Storage bag and valve tool included
Cons
- Not strong enough for car and truck tire work
- Rim protectors are basic compared to clamp kits
- Heavier and more costly than spoon-only kits
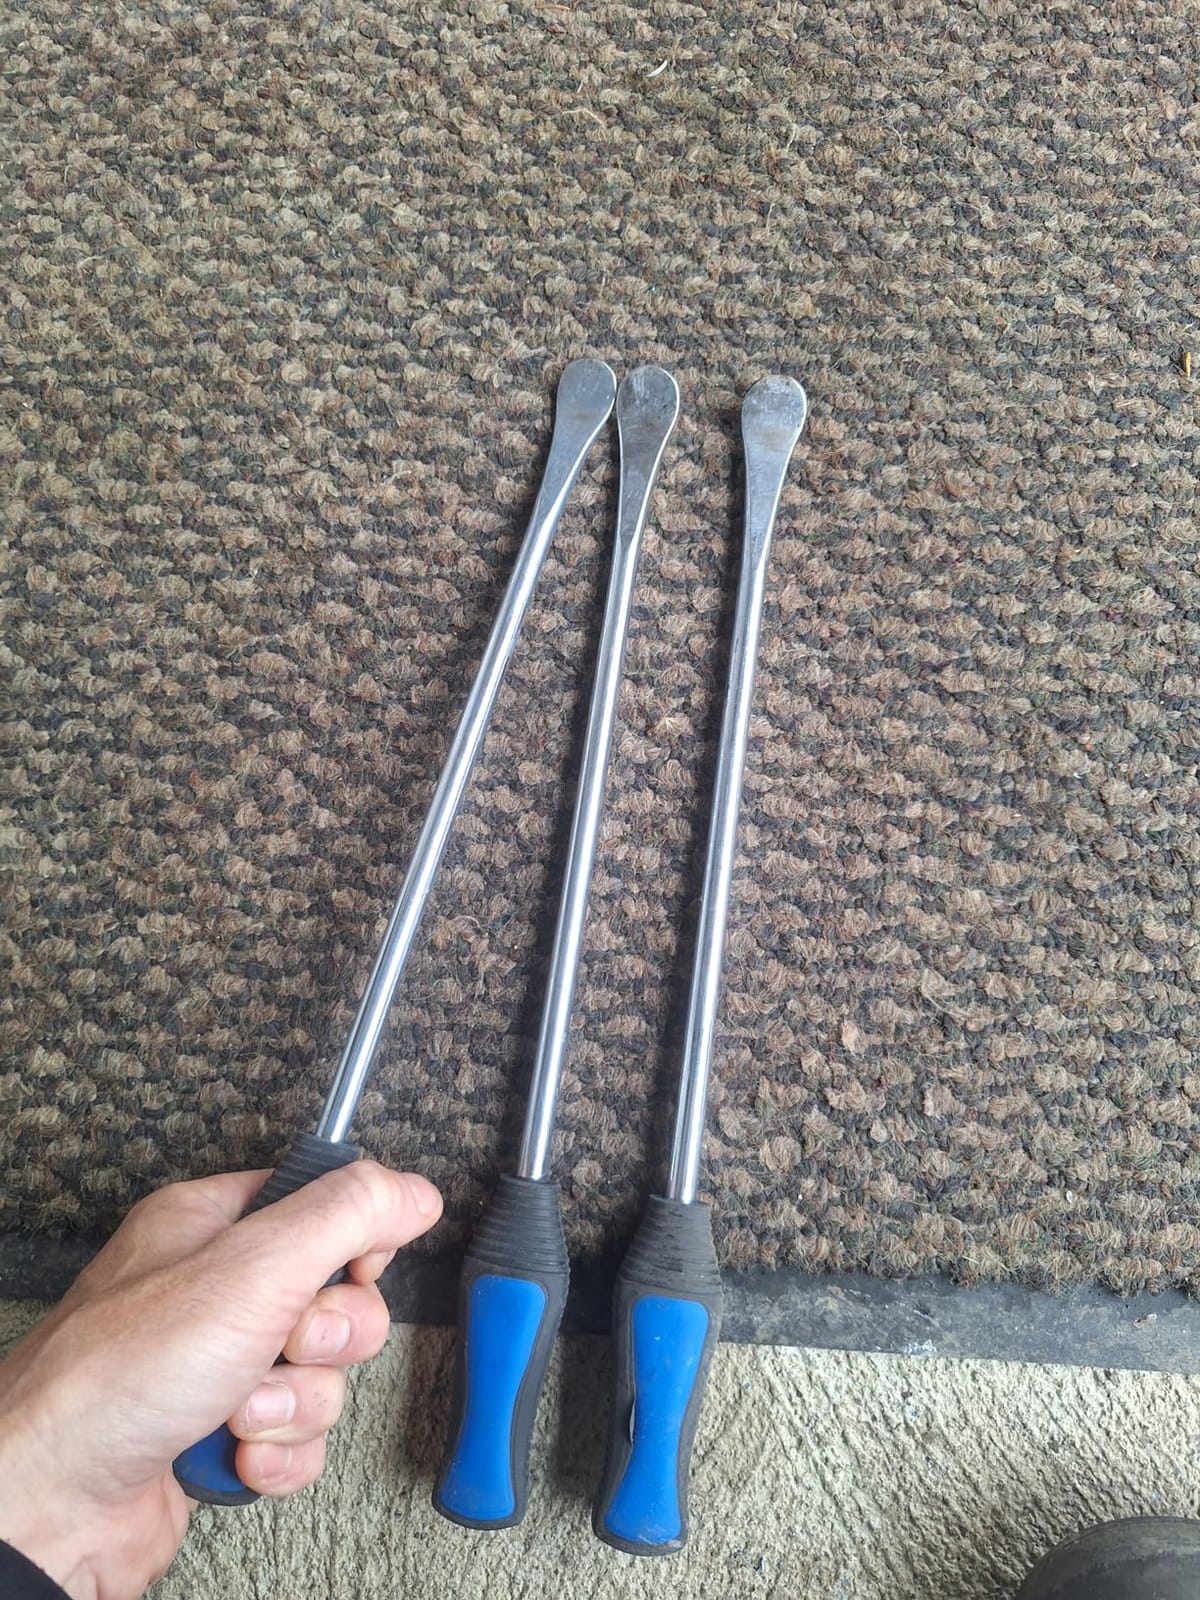
Twenty pieces is a lot in one bag, and most of them are the small parts that are annoying to replace individually. You get three 14.5 inch spoons, a valve removal tool, four rim protectors, valve accessories, and a storage bag.
The spoons are solid chrome vanadium steel with a corrosion-resistant chrome finish, and that resists bending in a way that stamped spoons do not. At 14.5 inches they give enough leverage for motorcycle, ATV, and lawn tractor tires, which is exactly the range this kit is built for.
PVC handles add grip and reduce hand fatigue, and the smooth rounded spoon tips work with the rim protectors to keep both the wheel and the tube free of scratches. Owners consistently rate the value and the completeness of the set highly.
Be clear about the ceiling. Reviewers note directly that this is aimed at smaller tires rather than car and truck work, and the rim protectors included are basic compared with dedicated bead clamp kits. For a family sedan with stiff sidewalls, reach for a longer iron and molded shields instead.
It is also the heaviest of the spoon kits here at 1.98 pounds, which is not a lot in absolute terms but is noticeable when the whole kit is meant to be portable.
Who this kit works for
This is a good single purchase for someone who changes tires on a motorcycle, a bicycle, an ATV, a lawn tractor, or a mower, and who wants the valve hardware in the same bag rather than in a drawer somewhere. The included storage bag makes it easy to keep together between jobs.
It also works well as a backup set to keep in a vehicle alongside a larger tool, since it covers the small wheels a full-size kit handles badly.
When something else fits better
If your only work is car tires, the spoons are the wrong geometry and the rim protection is thin. If your only work is bikes and mowers, the smaller NEIKO set does the same job with fewer pieces to lose.
The case for this one is completeness, not capability. That is a real reason to buy, just not always the right one.
12. Calvana Angled Tire Lube Bucket Kit – Best for Contained Lubrication
Calvana Ultra-Durable Angled Tire Lube Bucket Kit with 3 Lube Swabs for Coats Center Post Changers – 11.5″ Length, 1.25 Quart Capacity
1.25 quart angled bucket
11.5 inch handle
Three cotton swabs
Bracket and swabs
Pros
- Angled bucket keeps lube contained and off the machine
- Twisted wire handle and wound cotton swabs hold up
- Direct replacement for Coats 8106259 brackets
- Keeps the changer and floor cleaner during mounting
Cons
- Less precise than a drip bottle for spot work
- Bracket style only fits changers with a matching bucket mount
Lubrication is the step that gets skipped and then blamed when a bead cracks. A dry bead has far more friction against the rim, so you fight it, and the force you apply is what splits the sidewall. A working lube setup removes most of the fighting.
This kit is a 1.25 quart angled bucket with a reinforced twisted wire metal handle and three tightly wound cotton swabs. The angle matters more than it sounds: lube goes where your hand is, and the bucket catches what runs off, so the changer and the floor underneath stay clean through a full set of four tires.
It is a direct replacement for Coats 8106259 brackets, so it fits existing center-post changer setups rather than being a proprietary add-on. The swabs hold up under repeated use, which is the part that usually fails in a cheap brush.
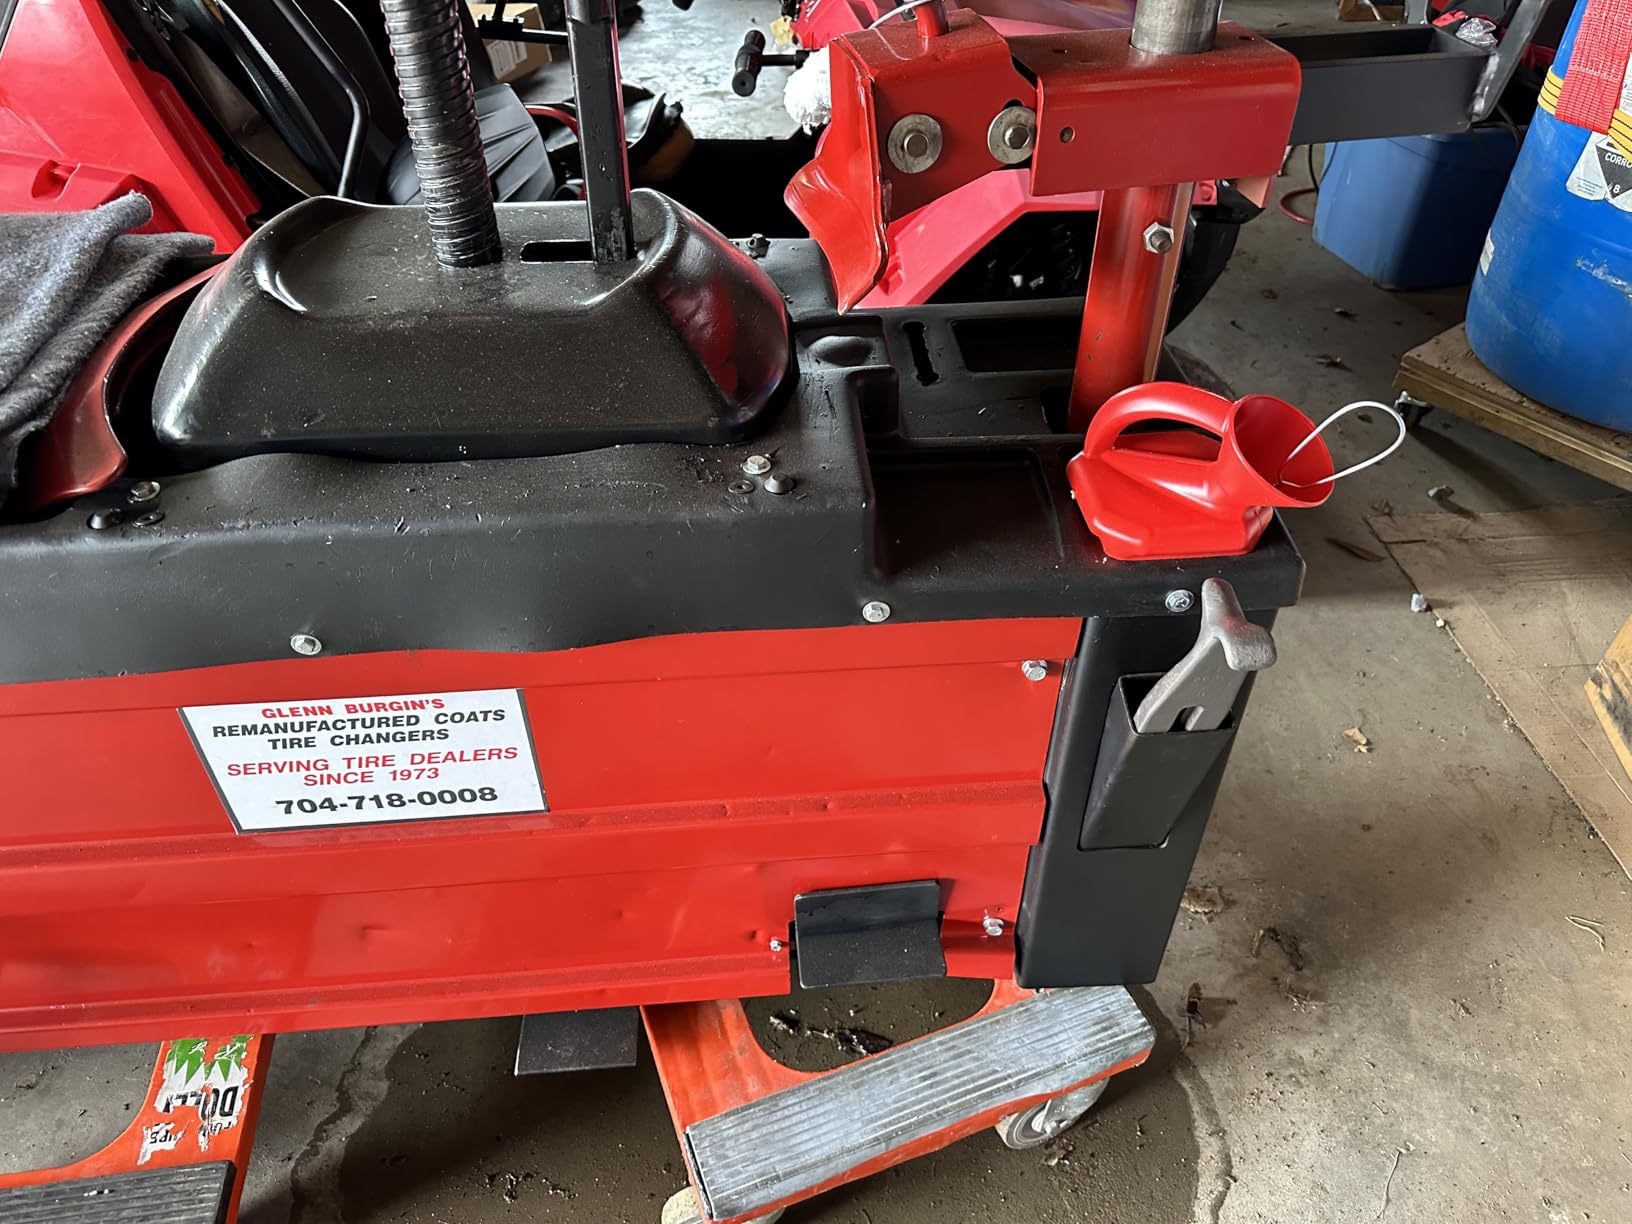
Two limits worth knowing. It is less precise than a drip-style bottle, so if you are lubricating one specific spot on a bead, the angled brush is the wrong instrument. And the bracket only fits changers with a matching bucket mount, so confirm your machine before ordering.
There is a 3 month warranty on this one, and the rating distribution shows no one-star reviews at all, which is unusual and reflects how little there is to complain about.
When a lube system matters
Buy it if you own a center-post changer and do full seasonal sets. Four tires means dozens of bead applications, and a bucket that keeps the lube on the bead instead of on the machine is a meaningful upgrade in both speed and mess.
It is also the right answer for anyone who has cracked a bead while mounting and assumed the tire irons were at fault.
When a bowl works just as well
If you change tires by hand with irons, you do not need a machine-mounted bucket. A wide bowl of soapy water and a brush costs almost nothing, and forum users report it works as well as commercial mount lube for home work. The advantage of the bracket is containment and repeatability, not lubrication power.
Either way, do not mount a tire dry. It is the cheapest protection in this entire guide.
How to Change a Tire in Your Garage, Step by Step
Here is the sequence we use, with the tool for each step named first. Budget 45 to 90 minutes for all four corners the first time, and about half that once you have done it twice.
1. Jack stand: support the vehicle on stands rated for its weight before anything else. Never work under a vehicle held up by a jack alone. Place the stands on level concrete and check that each one is fully engaged.
2. Lug wrench: break the lug nuts loose a quarter turn while the wheel is still bearing the vehicle weight. Cracking them at this stage means the wheel comes off easily later instead of fighting you with the car in the air.
3. Jack: raise the vehicle until the tire just clears the ground, then move the stands under the manufacturer-recommended support points.
4. Wheel chocks: chock the wheel diagonally opposite the one you are removing. If you rotate tires as part of the job, do that here, while all four are still accessible.
5. Lug wrench and socket: remove the lug nuts and pull the wheel off. If the wheel is stuck, do not lever against the tire. Tap the back of the wheel evenly with a rubber mallet to break the corrosion bond.
6. Valve core tool: deflate the tire completely. With the vehicle supported, unscrew the valve core rather than pushing the valve in, and check the tire for objects in the tread before you refit it.
7. Bead breaker: protect the rim with a shield, place the tool opposite the valve, and break one side of the bead only. One side is enough and it saves the effort of doing it twice.
8. Tire iron: start at the valve stem and work around the rim with the spoon, keeping the tip in the drop well so it does not slip off the flange. Stop before the last section and let the bead fall into place.
9. Mounting lubricant: clear both rim edges, inspect them for dents or cracks, then lubricate the new bead. Fit the bottom bead and roll it on by hand, starting opposite the valve stem and working both directions.
10. Air and torque wrench: inflate until the bead seats with an audible pop on both sides, checking that a bead line is visible all the way around. Refit the wheel, tighten the lug nuts in a star pattern, then re-torque to spec after a short drive.
Wheel chocks, stands rated for the vehicle, and a star pattern are the three things that turn a tire change from a risk into a job. Skipping any of them has cost people wheels, rotors, and fingers.
How to Choose Tire Changing Tools Without Buying Twice
Almost every disappointing purchase in this category comes from one of seven mistakes. Here is how to avoid each one.
1. Buy to your wheel diameter, not your tire size. This is the single most common error and the one forum readers regret most. A changer covering 8 to 16 inches is useless on 17.5 to 24.5 inch truck tires, and a tool rated 16 to 21 inches is wrong for a small car. Write down your actual wheel diameters before you shop.
2. Match the tool to the bead, not the brand. Motorcycle, mower, and ATV tires have thin beads that a heavy spoon handles easily. Modern car low-profile tires have stiff beads that punish thin steel. Know which tires you actually change.
3. Treat weight as a real specification. A 3 lb fold-up bead breaker and a 34.6 lb floor unit solve different problems. Ask where you will use it. A garage-only tool can be heavy and bolted down. A roadside tool must be light enough to lift one-handed.
4. Look for rim protection in the design, not in the marketing. A padded clamp, molded polypropylene shields, nylon bead clamps, and a wedge tip that does not touch the hub are all different ways of solving the same problem. Check which one your tool actually has.
5. Ask about the warranty, and accept the answer. The BeadBuster is the only product here with a written warranty, at 3 years. The rest carry none. That is normal for imported steel tools, and users treat the absence as a genuine risk signal rather than a detail.
6. Know the failure modes before you meet them. Common problems with tire changers are a duckbill that slips and marks the rim, a collar that will not hold, adjustment bolts that strip when overtightened, and a sliding bar too short for large tires. Each of these appeared in owner reviews across these products.
7. Consider working height before anything else. Floor-level work is what makes home tire changes hard on backs and knees. A stand, a pallet, or a portable changer that sits at waist height is a quality-of-life change that users rate higher than any feature.
If you are starting from nothing, order it this way: torque wrench first, then a spoon kit, then rim protection, then a bead breaker when you have a wheel size the irons cannot handle. Buying a floor-mounted changer before you own a torque wrench is spending money in the wrong order.
Mistakes That Crack Rims and How to Avoid Them
Does changing tires damage rims? It can, and almost always from a handful of avoidable causes. We have seen cracked and gouged wheel faces come out of the same four problems.
1. Levering with no rim protection. The iron is steel and the flange is aluminum, and the iron wins. Molded plastic shields or clamp-style protectors put a sacrificial surface between them. This is the cheapest fix on the list.
2. Letting the spoon tip slip off the rim. When the tip rides up onto the flange instead of sitting in the drop well, all your force goes into the wheel face. Longer irons help because they stay down in the channel. So does a second, clamped tool for stubborn beads.
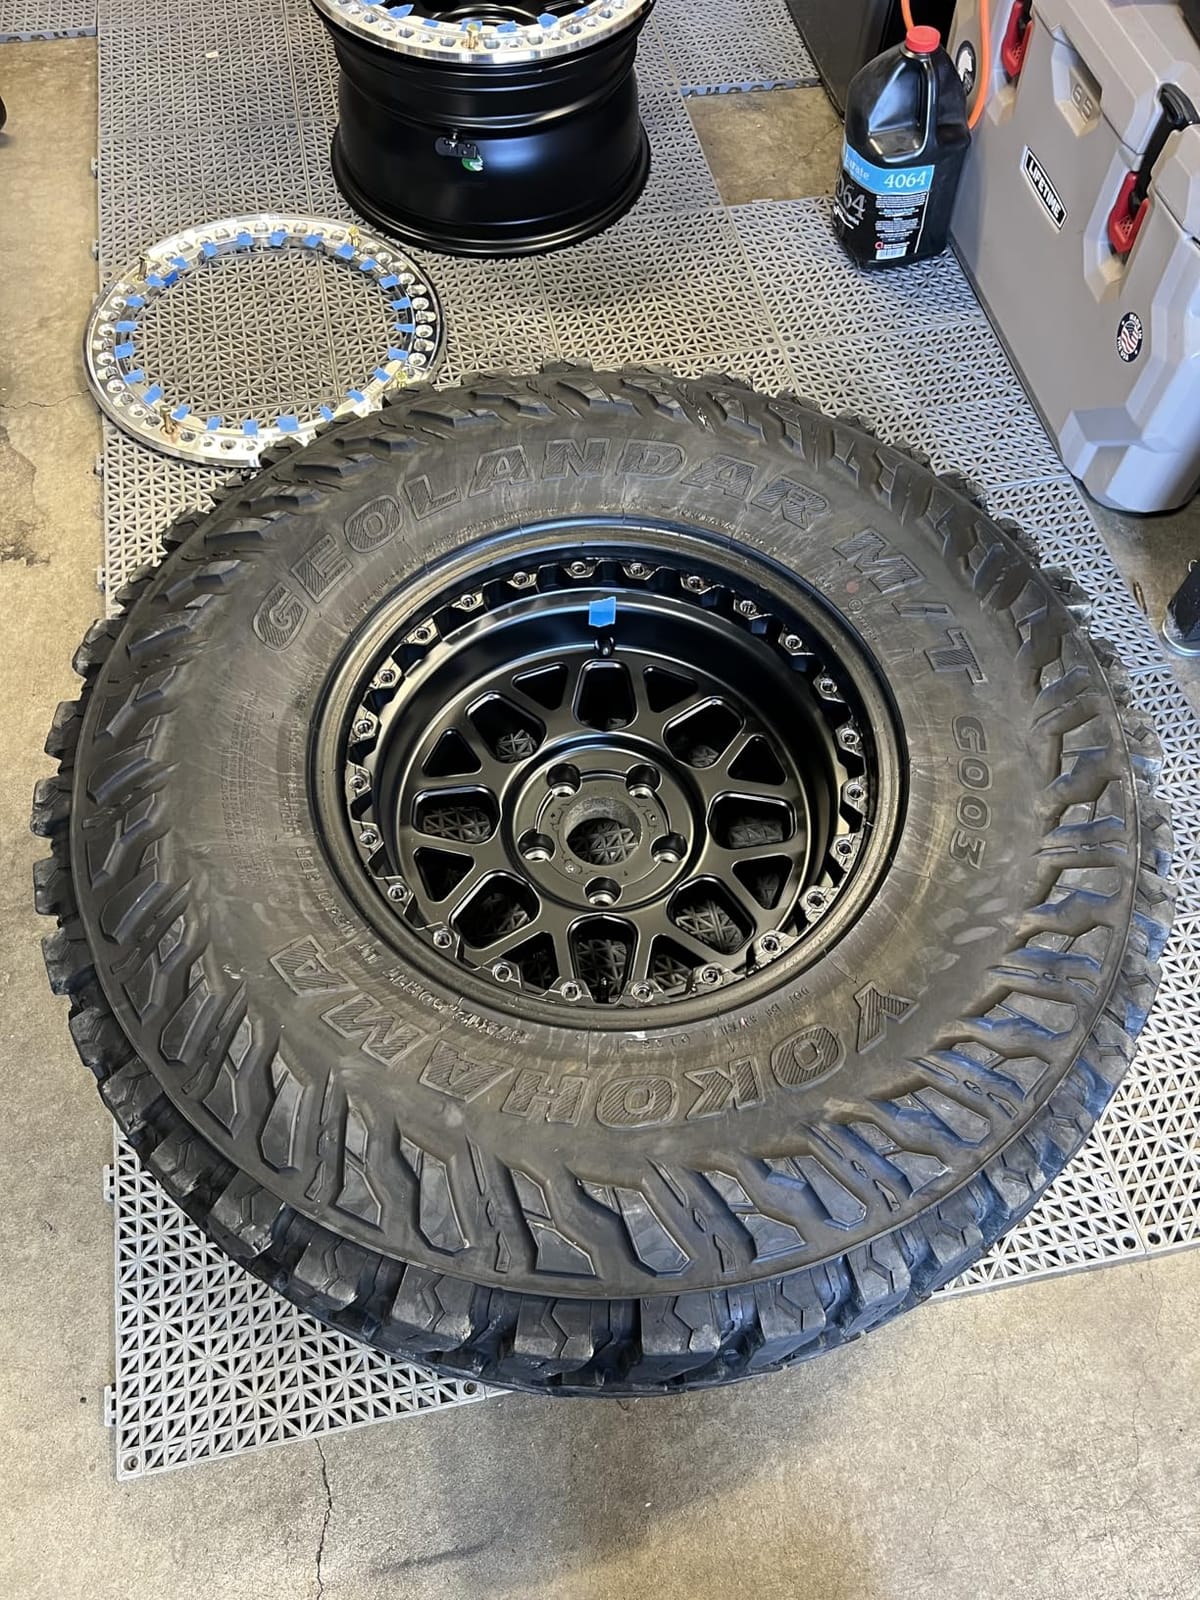
3. Mounting a dry bead. Dry rubber on a metal rim has enormous friction. You pull harder, the bead stretches further, and the sidewall cracks. Lube the bead with mount paste or soapy water, and the tire rolls into place instead of fighting you.
4. Forcing a cold tire. A tire that has sat in a cold garage is stiff. Warming it with warm water or a heat gun before mounting is a well established technique on the bike and ATV side, and it works on car tires too.
5. Letting the bead pop back out. When the top bead jumps out of the drop center mid-mount, you end up forcing the bottom bead over a tire that is already twisted. Bead clamps solve this for a few dollars.
6. Over-torquing the lug nuts. This one does not touch the rim face but it damages the wheel indirectly by warping the hub face and the rotor. Use a torque wrench and a star pattern.
Forums have developed fixes for some of these. The duckbill modification shared on r/harborfreight reshapes or supports the claw so it cannot reach the wheel, which is a direct answer to the first problem. If you hit a cracked rim, take it out of service, do not drive on it, and have it assessed before fitting another tire.
We also looked at this from a different angle when comparing tool categories on our [plasma cutter roundup]. The tools that survive repeated home use are the ones where the failure mode is a consumable part, not a destroyed component.
Do You Need a Wheel Balancer as Well?
This is the most common question on tire changer forums, and the honest answer is that balancing is a different job from changing. A changer and a balancer are two separate machines, and a home garage usually only needs one of them.
A wheel balancer spins a mounted wheel and measures where the weight is out of place, then applies weights to correct it. That matters most at highway speeds, where a half-ounce of imbalance causes vibration, faster tire wear, and stress on wheel bearings and suspension components.
What this means for you: if you only rotate tires between the front and rear of the same car, you do not need a balancer, because the wheel and tire combination stays the same. Balance matters when you fit a new tire or a new wheel, or when you move a tire to a different position on a different vehicle.
Balancing at home is possible but not convenient. You need a balancer, a run-out indicator, and generally more space than a one-car garage has, and mistakes show up as vibration rather than a visible defect. The practical compromise most home mechanics use is to have a shop balance new assemblies and handle everything else themselves.
One further note from forum discussion: an unbalanced wheel does not damage itself, but it destroys tire life. If you notice steering wheel shake that appears above a certain speed and disappears below it, that pattern is worth checking before you fit another set of tires.
Frequently Asked Questions
What tool can I use to remove a car tyre?
A tire iron, also called a tire spoon or tire lever, levers the bead over the rim flange. You break the bead down first with a bead breaker and a rim shield so the iron only has to move slack rubber.
What is the best tool to use for changing tires?
For most home garages the best set is a bead breaker sized to your wheel diameter, a pair of tire irons, plastic rim shields, mounting lubricant, and a torque wrench. The bead breaker creates the slack, the irons do the levering, and the torque wrench stops you damaging studs and rotors.
How do you change your tires at home?
Support the vehicle on jack stands rated for its weight, break the lug nuts loose while the wheel is on the ground, jack the vehicle up, remove the wheel, deflate the tire, break one side of the bead with a bead breaker, lever the tire off with a tire iron, lubricate the new bead, roll the tire on, inflate until the bead seats on both sides, then tighten the lug nuts in a star pattern and re-torque to spec.
Is 250 ft lbs enough for lug nuts?
No. Most passenger car lug nuts are specified between 100 and 120 ft-lb, so 250 ft-lb is well beyond what most vehicles need. Over-torquing stretches lug studs and can warp the wheel and brake rotor. Check the door jamb placard for your vehicle and tighten in a star pattern.
Does changing tires damage rims?
It can, and the usual causes are levering without plastic rim shields, letting the spoon tip ride up onto the rim flange, and mounting a dry bead. Use molded shields, keep long irons in the drop well, and lubricate the bead so the tire rolls on instead of being forced on.
What are the common problems with tire changers?
The most common failures are a duckbill claw that slips and marks the rim, a locking collar that will not hold the tire, adjustment bolts that strip when overtightened, and a sliding bar too short to lift large tires onto the head. Rim protection and correct tool sizing prevent most of them.
What size tire irons do I need?
Short spoons around 11 to 12 inches suit bicycles, motorcycles, and mower tires. Around 14.5 to 16 inches covers most passenger car work, and longer irons reach deeper into the drop well on modern alloy wheels where the bead needs to sit.
Is a portable tire changer worth it for home use?
For anyone doing seasonal swaps or handling punctures regularly it pays for itself against shop labor within a few changes. It is not worth it for a single puncture, and it is not a replacement for a shop machine on very stiff low-profile or truck tires.
The Best Tire Changing Tools for Home Garages: Final Verdict
The NEIKO 13-piece spoon kit is the Editor’s Choice because it is the most broadly useful tool in the guide. It covers motorcycles, bikes, ATVs, mowers, and smaller car tires, it holds up under real levering force, and it is light enough to live in a vehicle rather than a shelf. For anyone building a first kit, start there.
Add two things to it. The DEWALT torque wrench is the safety-critical purchase, because lug nuts tightened without a spec are how rotors warp. And the Hedume bead clamps are the cheapest insurance against a scuffed rim while mounting stiff low-profile tires.
Move up to the Motion Pro BeadPro when you start working on car-sized wheels, and to the BeadBuster XB-450i when a bead refuses to break by hand, since its padded clamp and 3 year warranty are the best combination of protection and accountability available in this category. The VEVOR slide hammer covers the truck and RV end of the range, and the Calvana lube bucket keeps the whole process clean.
Whatever you assemble, the best tire changing tools for home garages in 2026 share three traits: a wheel size range that matches your vehicle, real rim protection, and a torque wrench in the box. Get those right and the shop visit becomes optional.