
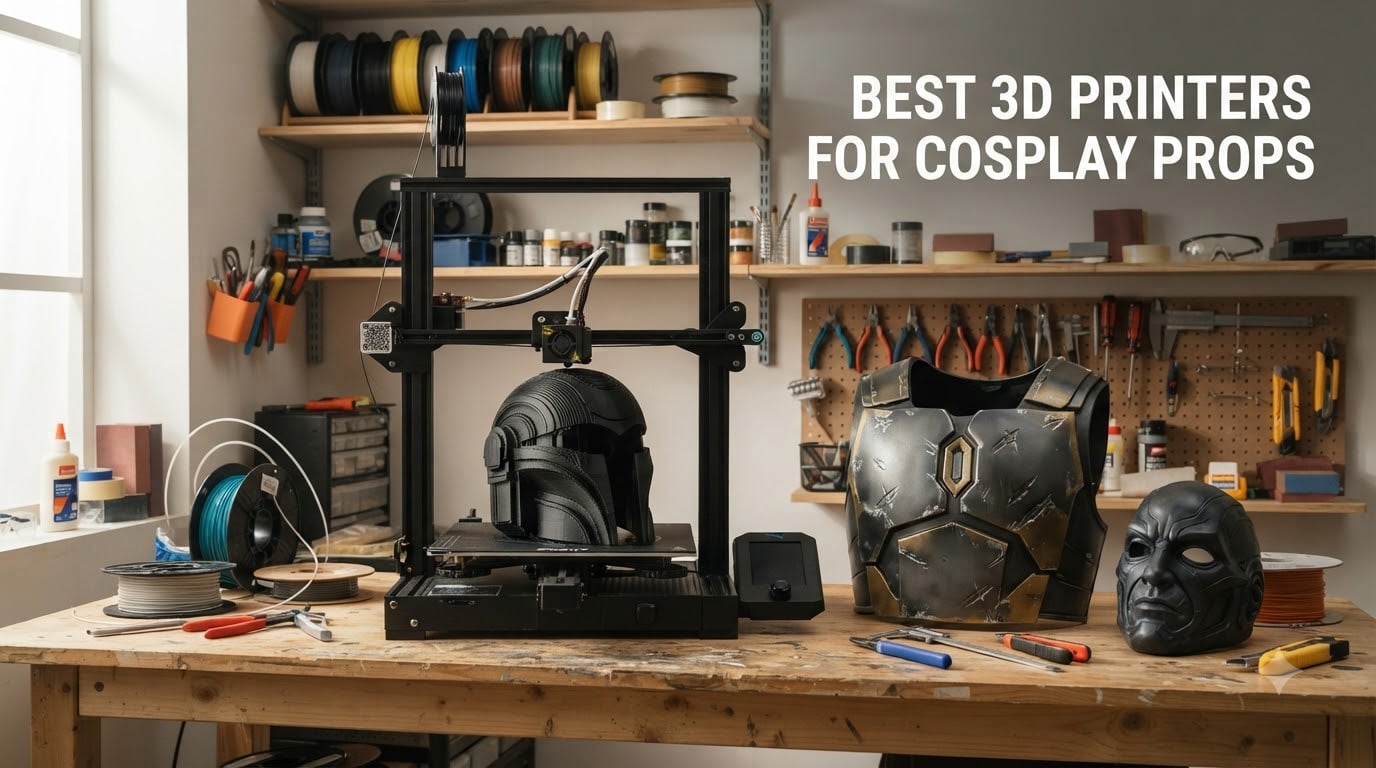
If you want one machine that handles almost any cosplay build, the Creality K2 Plus Combo is the one I would buy first. Its 350 mm cube build volume, 600 mm/s top speed, actively heated chamber and 16-colour CFS system cover the three things cosplay actually demands: fewer split seams on big pieces, materials that survive being worn, and insignia that print in colour without hand-painting.
That answer holds because cosplay printing is not really a hobby printer problem. A helmet shell that has to be split into six sections means six seam lines, and every seam is 30 to 60 minutes of sanding, filler and blending before paint. On the 405th Halo costume and prop forums, the single most repeated beginner mistake is printing a full helmet as your very first job, then losing a day of filament when it fails. The printer you pick sets your seam count, your filament choice and your post-processing workload before you ever download an STL file.
This roundup covers 12 machines across the full range – enclosed CoreXY large-format workhorses, four-toolhead multi-colour machines, belt printers for absurdly tall props, and two resin printers for masks, visors and small detail work. We compared build volume, maximum speed, kinematics, enclosure, filament compatibility and real review patterns across all of them, and we flag the failure modes as clearly as the wins. Last updated October 2026.
New to the hobby entirely? Start with our beginner 3D printer picks first, then come back here once you know which size of build you actually need.
Table of Contents
Top 3 Picks for Best 3D Printers for Cosplay Props in 2026

Creality K2 Plus Combo
- 350 x 350 x 350 mm build volume
- 600 mm/s print speed
- 60 C heated chamber
- 16-colour CFS multi-material

Bambu Lab P1S Combo
- AMS multi-colour printing
- 500 mm/s print speed
- Enclosed body
- About 15-minute setup
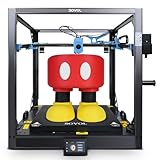
Sovol SV08 MAX
- Up to 500 mm cube build volume
- 700 mm/s CoreXY motion
- Eddy current bed scanning
- Built-in camera with failure detection
The K2 Plus Combo takes the overall slot because it is the only machine here that combines a 350 mm cube, a genuinely hot chamber and automatic multi-colour in one body, which is exactly the combination a full armour set needs. The P1S Combo is the smarter money move if you are printing chest plates and gauntlets rather than full helmets. The SV08 MAX wins on raw scale – a 500 mm cube means a chest plate or oversized weapon goes on the bed in one piece.
The 12 Best 3D Printers for Cosplay Props in 2026
| Product | Specifications | Action |
|---|---|---|
| Creality K2 Plus Combo |
|
Check Latest Price |
| Sovol SV08 MAX |
|
Check Latest Price |
 Creality Ender 5 Max Creality Ender 5 Max |
|
Check Latest Price |
 ANYCUBIC Photon Mono M7 MAX ANYCUBIC Photon Mono M7 MAX |
|
Check Latest Price |
 FLASHFORGE Creator 5 Pro FLASHFORGE Creator 5 Pro |
|
Check Latest Price |
 Snapmaker U1 Snapmaker U1 |
|
Check Latest Price |
| Bambu Lab P1S Combo |
|
Check Latest Price |
 IdeaFormer-3D IR3 V2 IdeaFormer-3D IR3 V2 |
|
Check Latest Price |
 ELEGOO Saturn 4 Ultra 16K ELEGOO Saturn 4 Ultra 16K |
|
Check Latest Price |
 FLASHFORGE Adventurer 5M FLASHFORGE Adventurer 5M |
|
Check Latest Price |
 LONGER LK5 Pro LONGER LK5 Pro |
|
Check Latest Price |
 ELEGOO Jupiter 2 ELEGOO Jupiter 2 |
|
Check Latest Price |
Read that table as a filter rather than a ranking. Three of these are resin machines, three are multi-toolhead machines, and only some can hold ABS or ASA without a separate enclosure. Everything else in this guide explains which of those differences actually matters once a helmet file is open on your screen.
1. Creality K2 Plus Combo – Best Overall for Cosplay Props
Creality K2 Plus Combo 3D Printer, Multi Color Printing with New CFS 600mm/s High-Speed Full Auto-Leveling Dual Al Camera Next-Gen Direct Drive Extruder Large Build Volume 13.78×13.78×13.78inch
Build: 350 x 350 x 350 mm
Speed: 600 mm/s
Chamber: up to 60 C
Colours: 16 via 4 CFS
Pros
- 350 mm cube suits large props and batch printing
- Sixteen colours via four CFS units remove painting work
- 600 mm/s with 30000 mm/s2 acceleration on a large-format body
- 60 C chamber and 350 C hardened nozzle handle ASA and PPA
- Dual AI cameras and 18 sensors catch spaghetti and flow faults
- Die-cast aluminium frame cuts resonance for fine detail
Cons
- Large 70.4 lb body suits a fixed installation spot
- Multi-colour needs chained CFS units and RFID-tagged filament
- 17 percent of ratings are one star on early units
The K2 Plus Combo is the machine I keep coming back to for full armour sets. A 350 mm cube fits a substantial helmet shell in one or two pieces instead of the five or six sections you would be gluing together on a 256 mm bed, and that alone removes hours of seam work. The die-cast aluminium frame is the part nobody mentions until they print something tall and thin – it holds position accuracy far better than a spool-and-frame bed slinger.
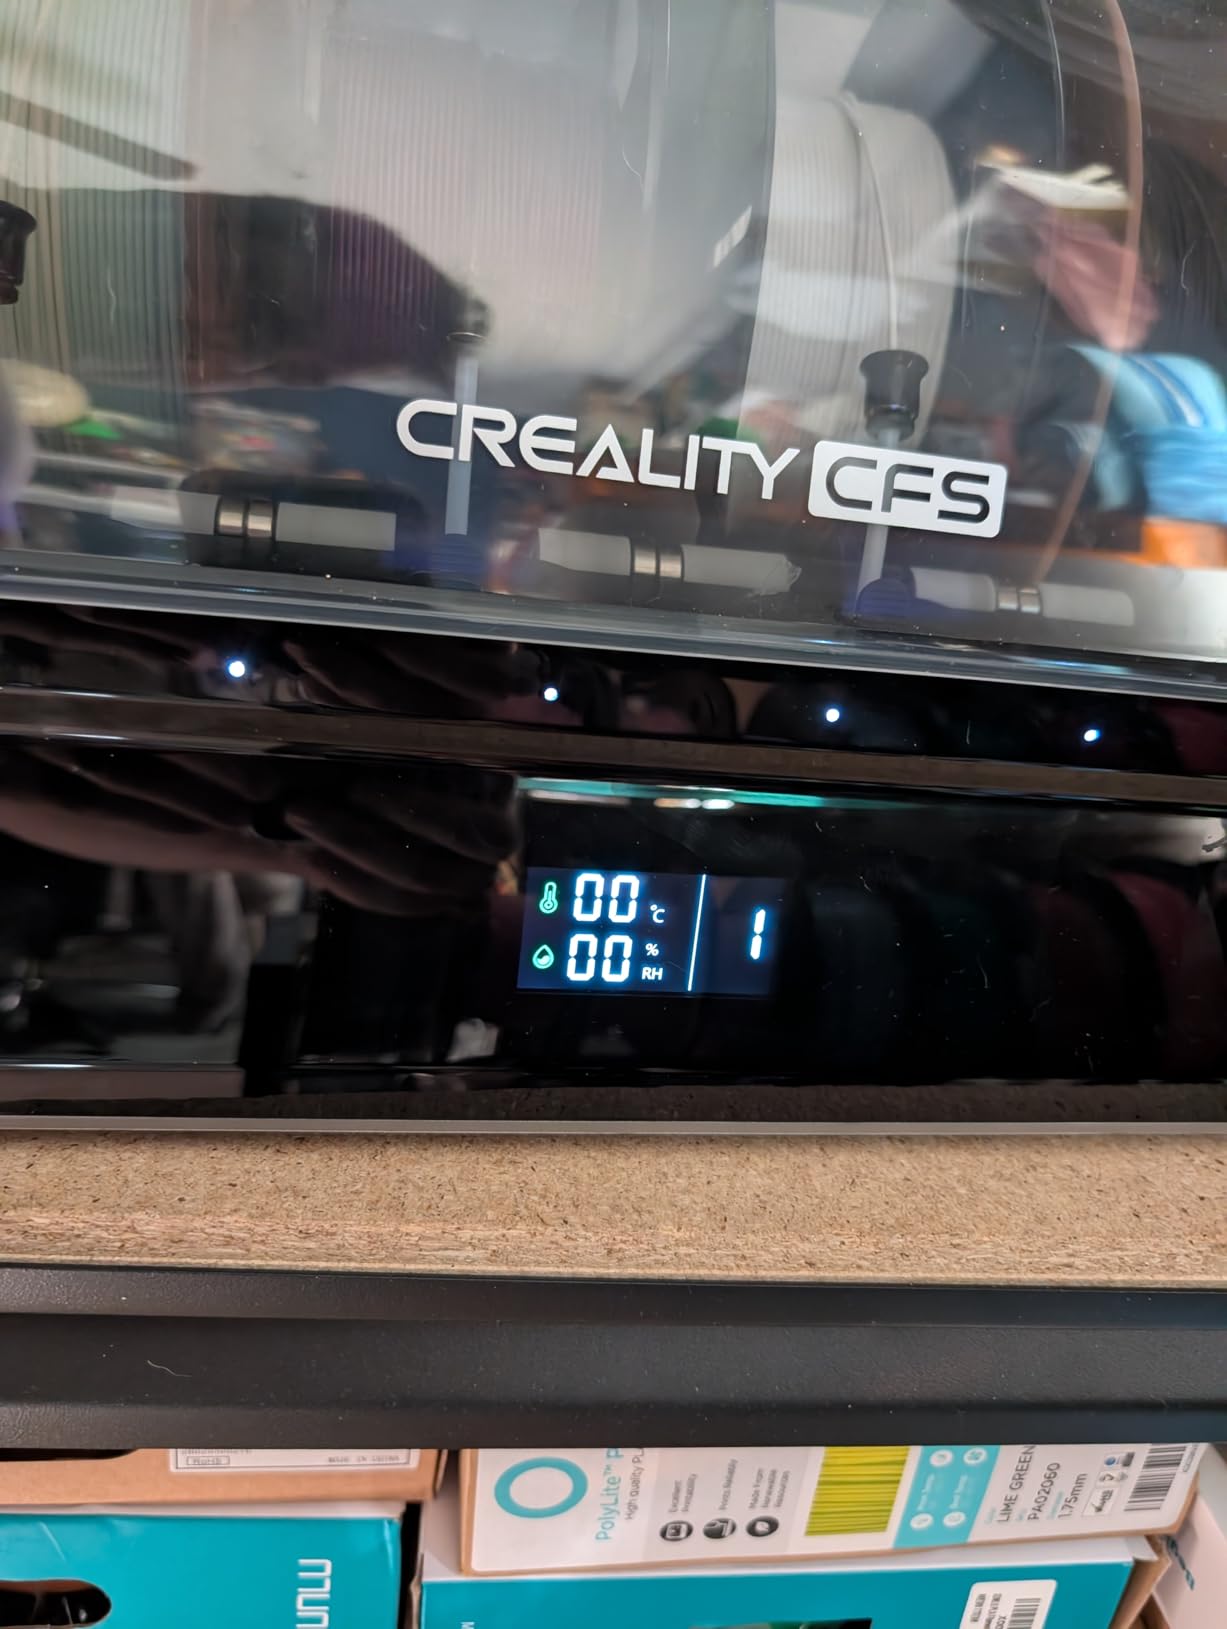
Multi-colour is the second reason. Four CFS units feed up to 16 colours with RFID filament auto-detection, which means an emblem, a trim stripe or a two-tone chest plate can come off the bed looking finished rather than looking like a grey shell waiting for a weekend of masking and spraying. Owners in the reviews describe exactly that use case – large multi-part cosplay sets printed in colour without a paint booth.
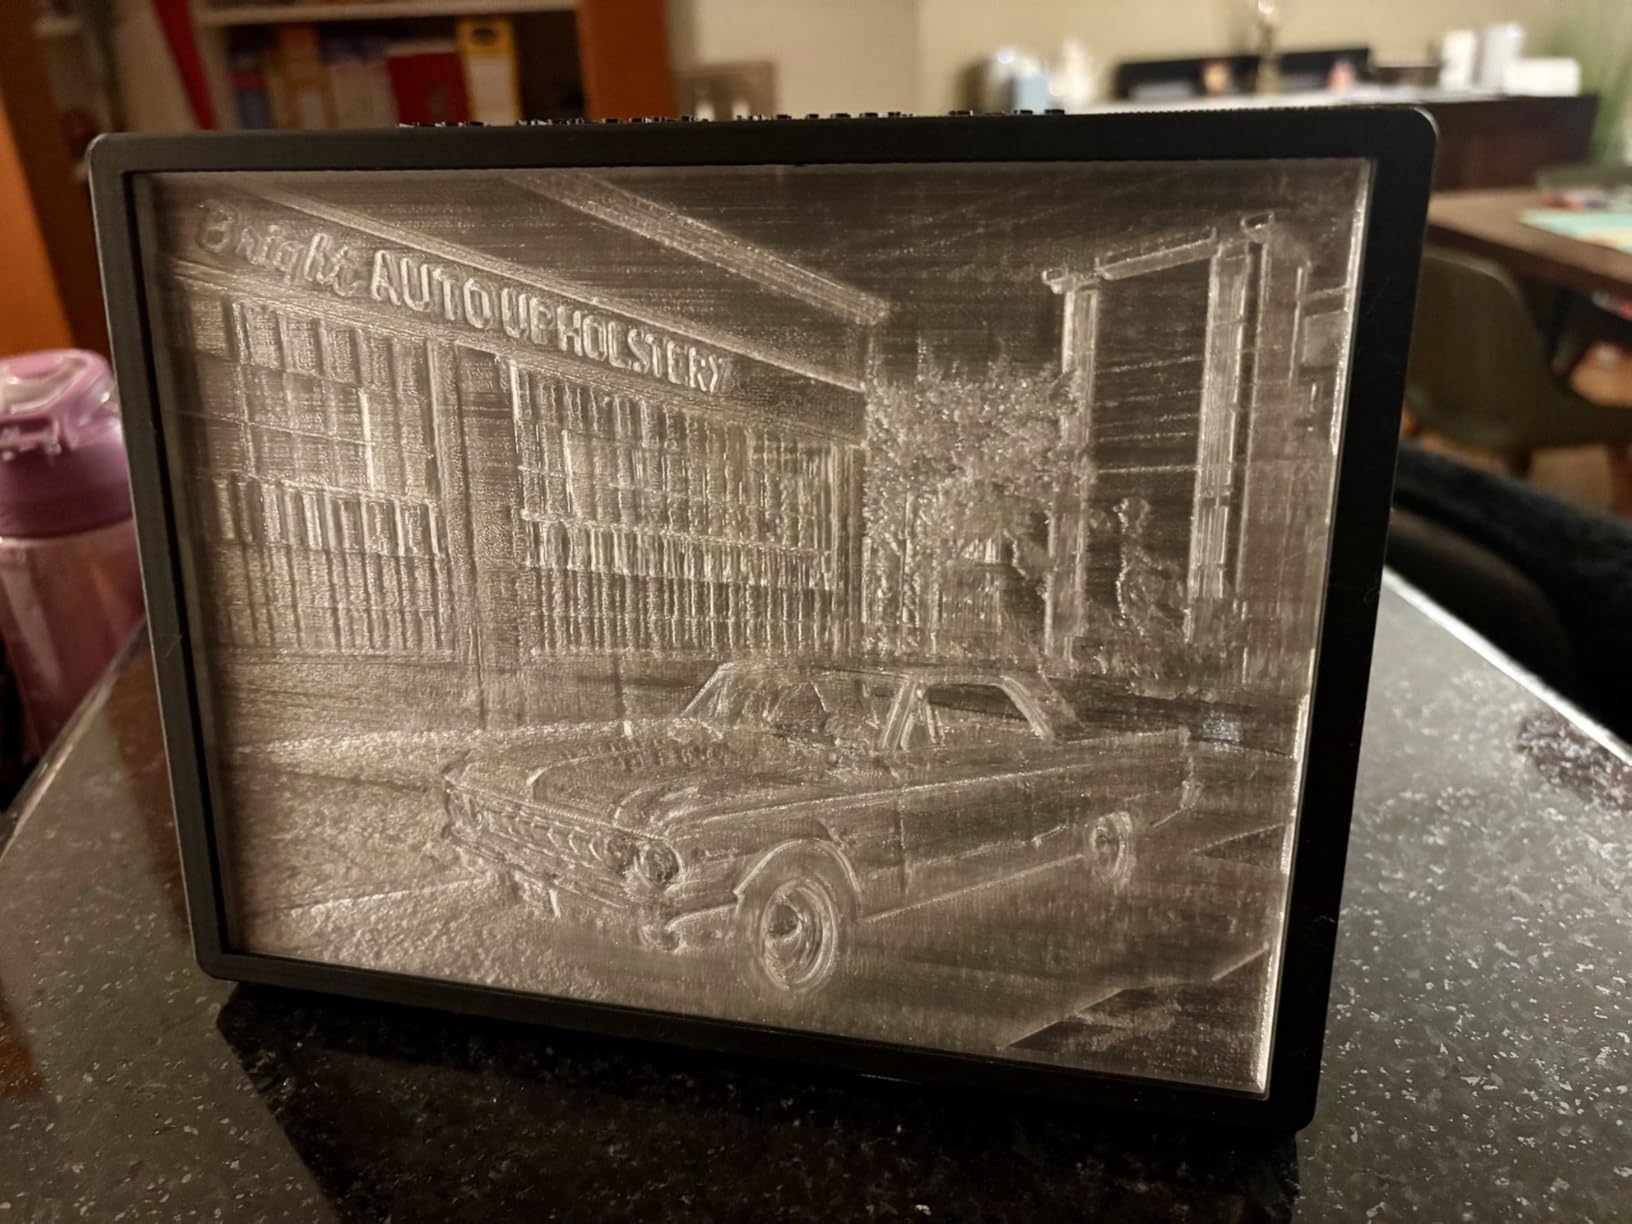
Why the heated chamber matters for worn armour
Chamber heating to 60 C with a 350 C hardened steel nozzle is the spec that separates this from every open-frame machine in this list. ABS, ASA, PPA and similar engineering filaments lift off the bed and crack at the corners when the chamber sits at room temperature, and a cracked chest plate is scrap no matter how good the walls are. On an actively heated machine you can print ASA for a prop that gets carried in a hot car without the layer adhesion punishing you.
The 18 sensors and dual AI cameras matter more than they sound. A cosplay print is a 20 to 40 hour commitment, and a first-layer adhesion failure discovered at hour six costs you the whole job. Automatic spaghetti and flow monitoring is the difference between checking the camera occasionally and babysitting the machine.
Where this machine disappoints
It weighs 70.4 pounds and needs a dedicated, sturdy table – this is a fixed-installation machine, not something you shuffle between a bedroom and a workbench. Multi-colour work also depends on chaining CFS units together and on RFID-tagged filament, so the headline 16-colour capability is an ecosystem commitment rather than a plug-and-play feature.
Owners also report that 17 percent of ratings are one star, concentrated in early units with reliability complaints. At a 4.0 average across 895 reviews that is a real caveat, not a rounding error. Buy it if you want one machine to do everything and you have the space and budget for it; buy the P1S Combo if you want most of the convenience at a lower tier.
2. Sovol SV08 MAX – Best for Large Format and Oversized Props
Sovol SV08 MAX CoreXY 3D Printer, Voron 2.4 700mm/s High Speed 3D Printers
Build: up to 500 x 500 x 500 mm
Speed: 700 mm/s
Motion: CoreXY, Voron 2.4 based
Hotend: 300 C
Pros
- 500 mm cube covers oversized props in a single job
- 700 mm/s with 40000 mm/s2 acceleration roughly halves print times
- CoreXY holds accuracy on tall complex models
- Eddy current scanning gives repeatable contactless first layers
- Built-in 1280x720 camera with Obico failure detection
- 300 C hotend accepts ABS ASA PA and PC
Cons
- Heated chamber sold separately for high-temperature materials
- 86.8 lb weight and 28 inch footprint need a sturdy table
- Single nozzle means manual colour changes for multi-colour props
Scale is the whole argument here. At up to 500 x 500 x 500 mm, this is the largest machine in the roundup, and it changes what you can attempt: a full chest plate, a pauldron pair, an oversized weapon or a multi-section armour piece all go down in one job. On the r/3dprinter threads about cosplay armour, the recurring question is which printer lets you avoid splitting a file into six sections, and this is the clearest answer.
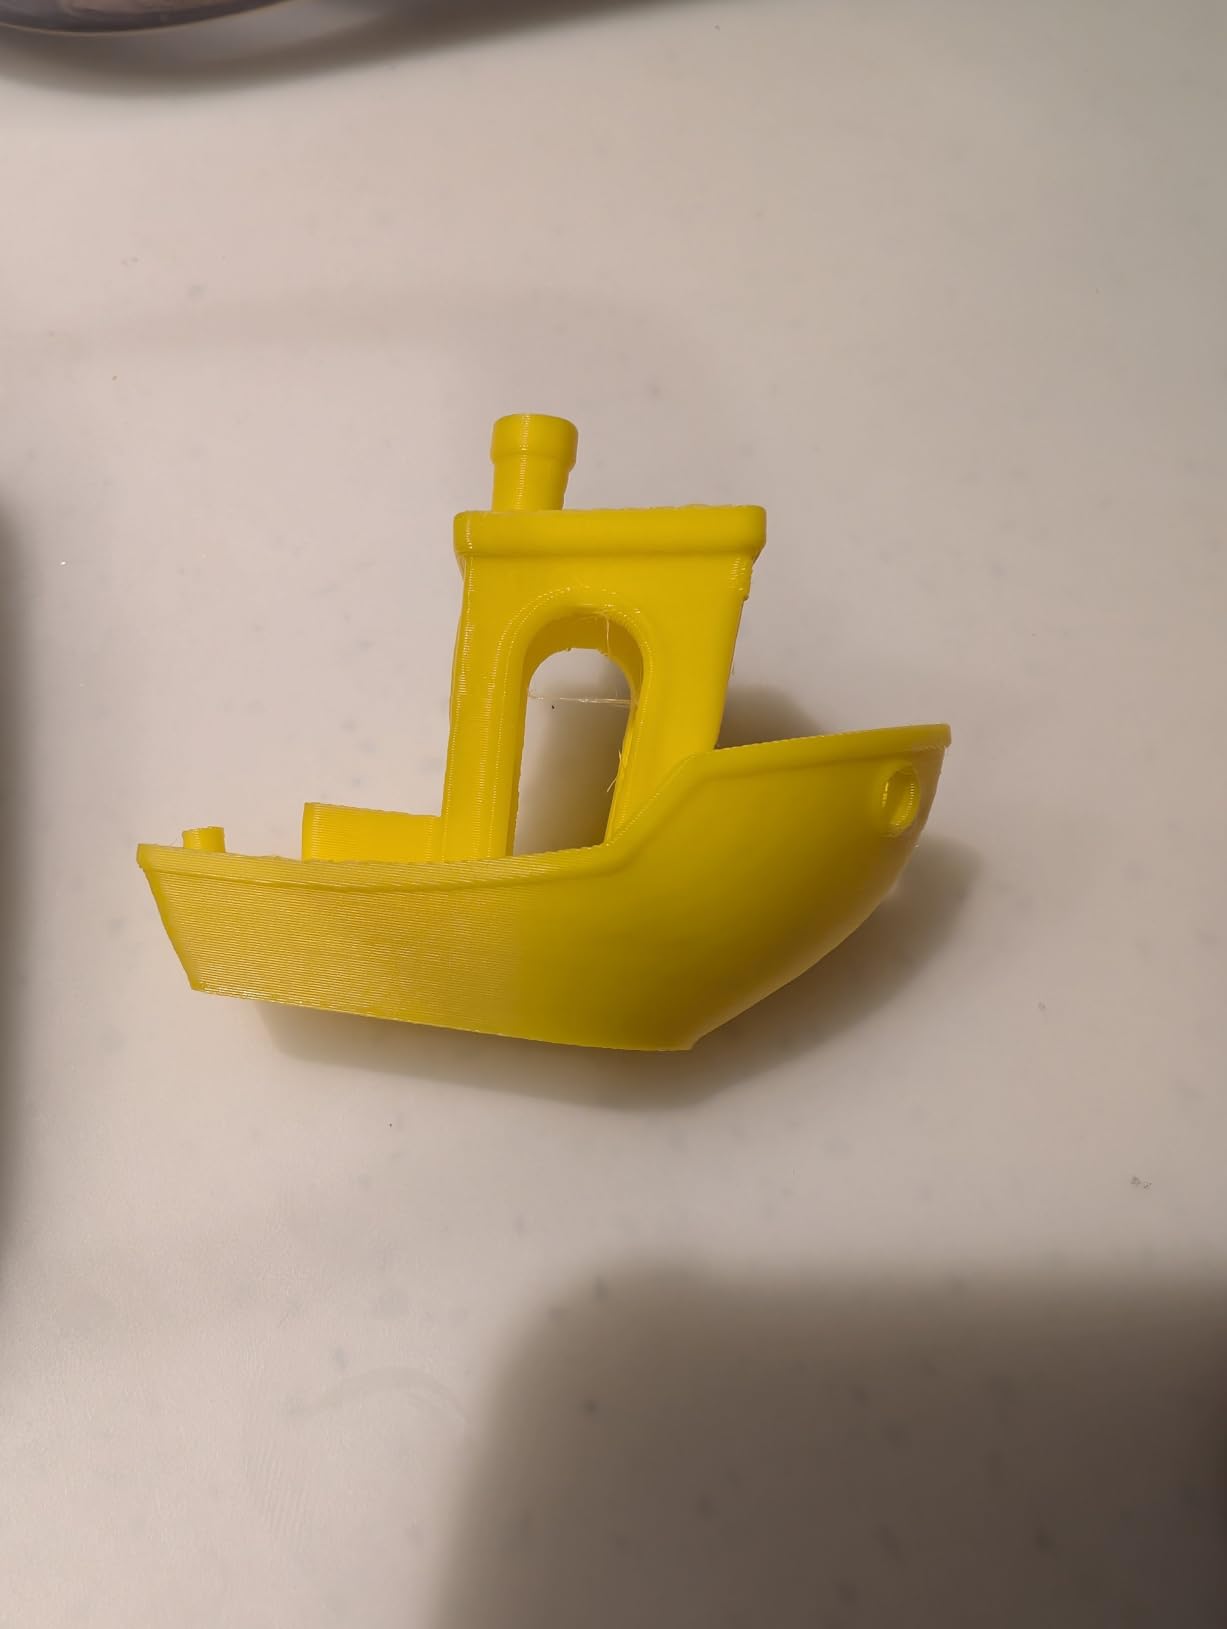
The Voron 2.4 CoreXY platform is the reason those big prints finish. CoreXY keeps the mass on a stationary gantry, so 700 mm/s and 40000 mm/s2 acceleration do not shake the toolhead into ringing artefacts across a 500 mm plate. Reviewers treat it as a large-format workhorse, and the 1422-review base makes it the second most proven machine in this group.
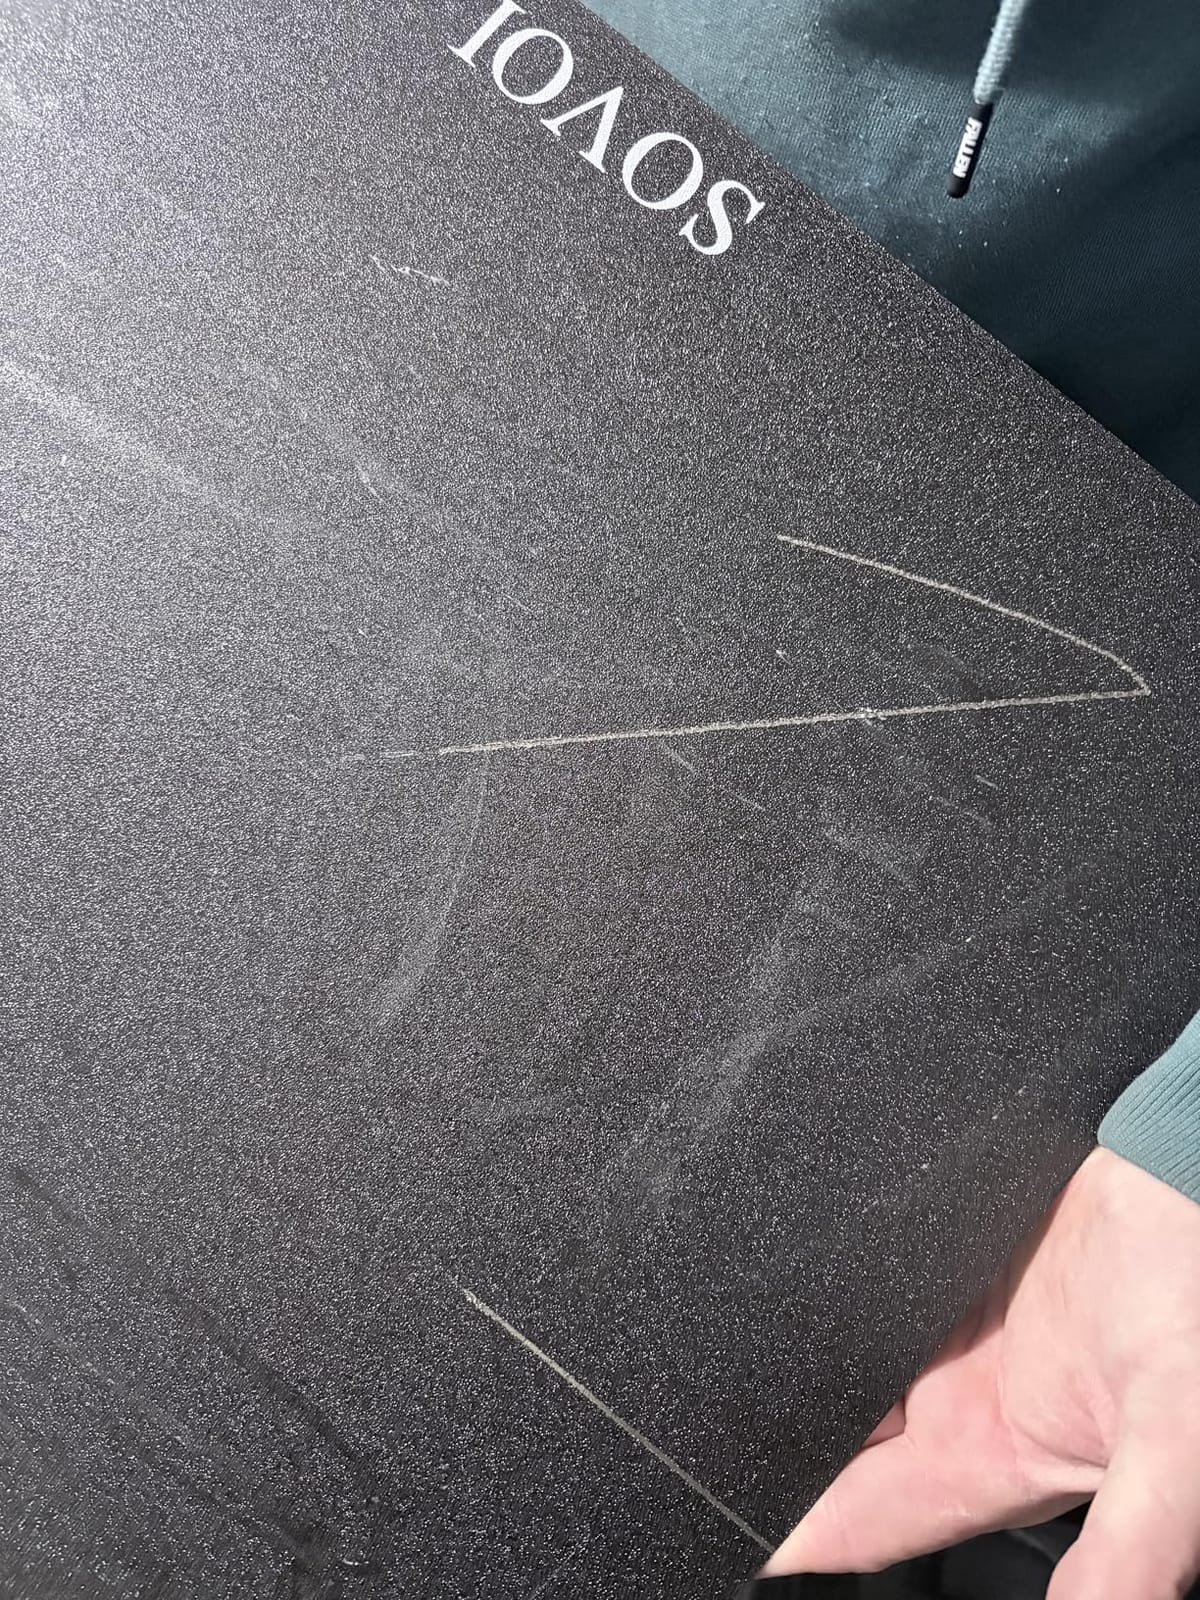
What the 700 mm/s and eddy current levelling actually buy you
On a chest plate that would take 40 to 60 hours on a slower bed slinger, the speed and acceleration figures translate to finishing the job in roughly half that. That matters at con season, when a build that lands two days before the event gives you time to fix a flaw and reprint. The eddy current sensor scans the bed without touching it, which is faster and more repeatable than nozzle-probe levelling across a plate that size.
Obico integration on the built-in camera adds time-lapse monitoring and failure detection over the network, so a 30 hour run can sit unattended while you sleep.
Where this machine disappoints
The heated chamber is the important one. It is upgrade-ready with a reserved interface, but the module is a separate purchase, so if you plan to print ASA or PC in a hot room you need to budget for it up front. The 86.8 pound weight and 28 by 27.6 by 29.5 inch body also need a table that will not wobble.
It is single-nozzle. Multi-colour props need manual filament changes or an add-on, which is a real step back from the four-toolhead machines further down this list. If your work is oversized single-colour pieces, that trade is worth it. If you print insignia and trim often, look at a four-tool machine instead.
3. Creality Ender 5 Max – Best 400 mm Cube for the Money
Creality Ender 5 Max 3D Printer 400×400×400mm Large Build Volume, 700mm/s Fast Printing Speed, 64-Point Auto Leveling, All-Metal Frame & Dual Gear Extruder, Multi-Printer Control Over WLAN
Build: 400 x 400 x 400 mm
Speed: up to 700 mm/s CoreXY
Levelling: 64-point with auto Z-offset
Bed: 1000W epoxy
Pros
- 400 mm cube handles oversized helmets and multi-part props
- CoreXY reaches up to 700 mm/s
- 64-point levelling plus auto Z-offset removes manual calibration
- Die-cast frame and X-axis linear rail hold tall models accurate
- Dual-gear direct drive described as reliable across PLA+ PETG ASA and HT-PLA
- WLAN print-farm grouping for studios
Cons
- No enclosure included so ABS and ASA need a add-on enclosure
- Some owners report warped beds and nonstick plates on early units
- Several reviews report breakage and loose hardware
- No native multi-colour
- Creality slicer presets criticised by some users
The Ender 5 Max sits in the sweet spot between bed size and machine size. A 400 mm cube is big enough for most helmet shells and chest plates in one or two pieces, but it is a 70.4 pound box rather than the 87 pound leviathan above, so it is easier to place in a home workshop. CoreXY motion at up to 700 mm/s is a big step up from the bed-slinger geometry most people start on.
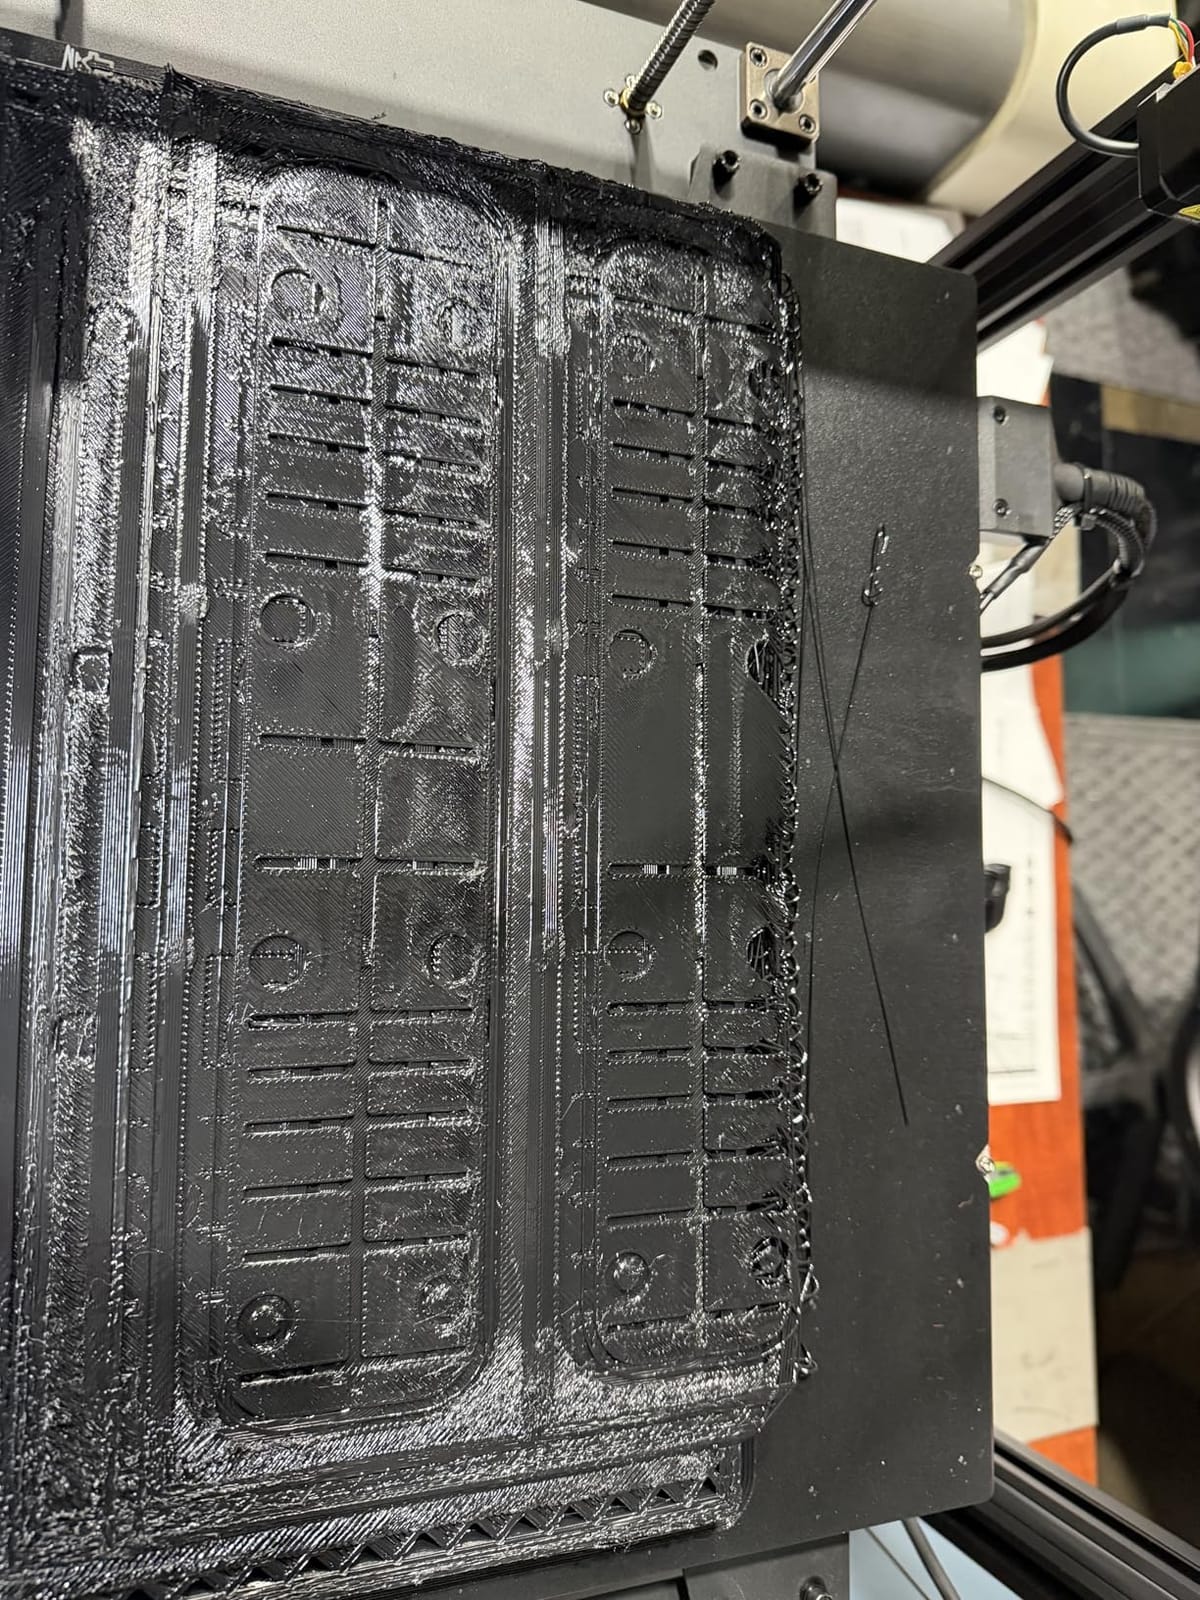
Owners who pair it with an enclosure describe it as a dependable large-format workhorse that runs consistently across many filament types, including PETG-CF and HT-PLA. For cosplay that matters: a dual-gear direct drive with hardened gears is what keeps a 30 hour chest plate printing overnight without a filament grind or a layer shift.
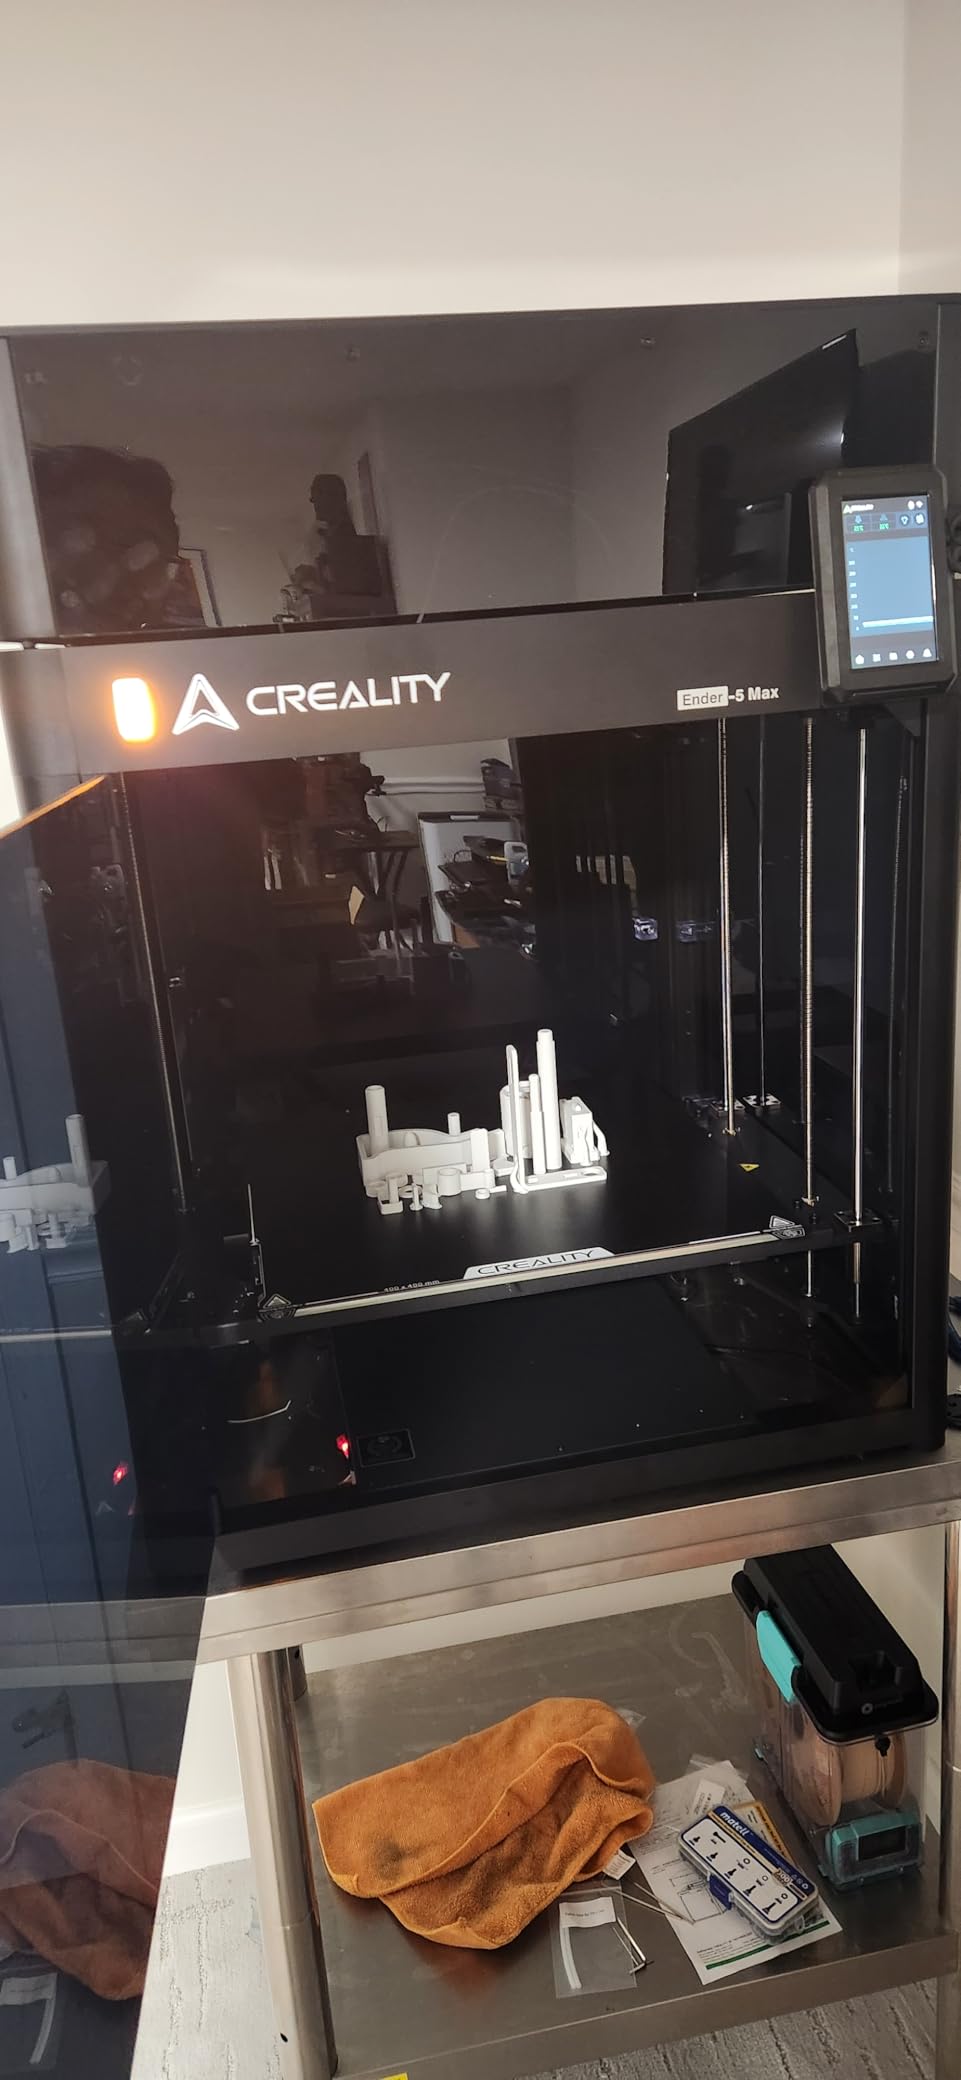
Why 64-point levelling matters on a big plate
On a 400 mm bed, a bed slinger-style mesh can leave you chasing flatness across a wide area, and a helmet shell that peels at one corner wastes the whole print. Sixty-four point levelling with automatic Z-offset removes the manual first-layer guesswork, which is exactly what beginners lose time to. The reinforced die-cast frame and X-axis linear rail keep a tall or heavy model accurate near the top of the Z axis, where resonance usually shows up first.
The WLAN multi-printer control is niche for cosplay but useful if you run a print farm – several units can be grouped and monitored together.
Where this machine disappoints
It arrives without an enclosure, so ABS, ASA and PA need an add-on chamber before you can print them reliably. There is no native multi-colour path, and Creality’s own slicing presets draw criticism from some users, so budget time for profile tuning.
The 117-review base is thin, and the review mix shows it: some owners report warped beds and nonstick build plates on early units, while several report breakage during normal use and loose hardware after light handling. It holds a 4.0 average, so the split experience is real. Test a tall calibration tower before committing a full armour set to it.
4. ANYCUBIC Photon Mono M7 MAX – Best Resin for Full-Size Masks
ANYCUBIC Photon Mono M7 MAX Resin 3D Printer, 13.6’’ 7K Large Resin Printer
Build: 298 x 164 x 300 mm
Resolution: 7K monochrome
Speed: up to 60 mm/h
Vat: 1300 ml heated
Pros
- 298 x 164 x 300 mm volume covers full-size masks and detailed props
- 7K LCD with LighTurbo 3.0 optics cuts layer lines
- 60 mm/h is double the previous generation
- Flip-open cover with hover angles speeds up part removal
- Temperature-controlled 1300 ml vat with auto-fill and recycling
- Anti-aliasing and lead-screw positioning give clean detail
Cons
- Resin still needs separate wash and cure steps and safety handling
- Some owners report quality control variability between batches
- Single-colour only so multi-part props need assembly or painting
This is where resin earns its place in a cosplay roundup. A 298 x 164 x 300 mm build volume covers a full-size mask in a single pour, and at 7K monochrome resolution the layer lines land far below the threshold where filler primer and paint will not hide them. FDM printers can be sanded and painted to look excellent, but resin gets you to a finished surface in a fraction of the time on curved visor and mask shells.
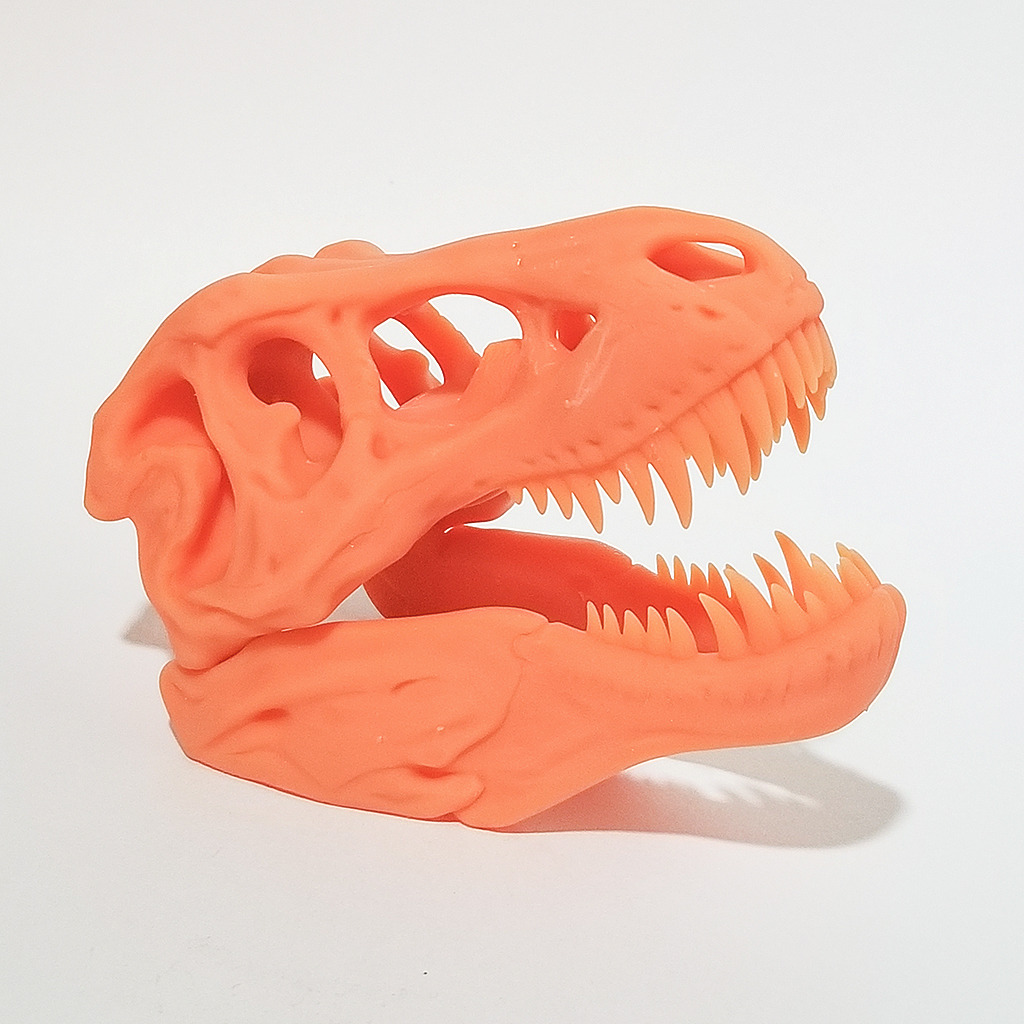
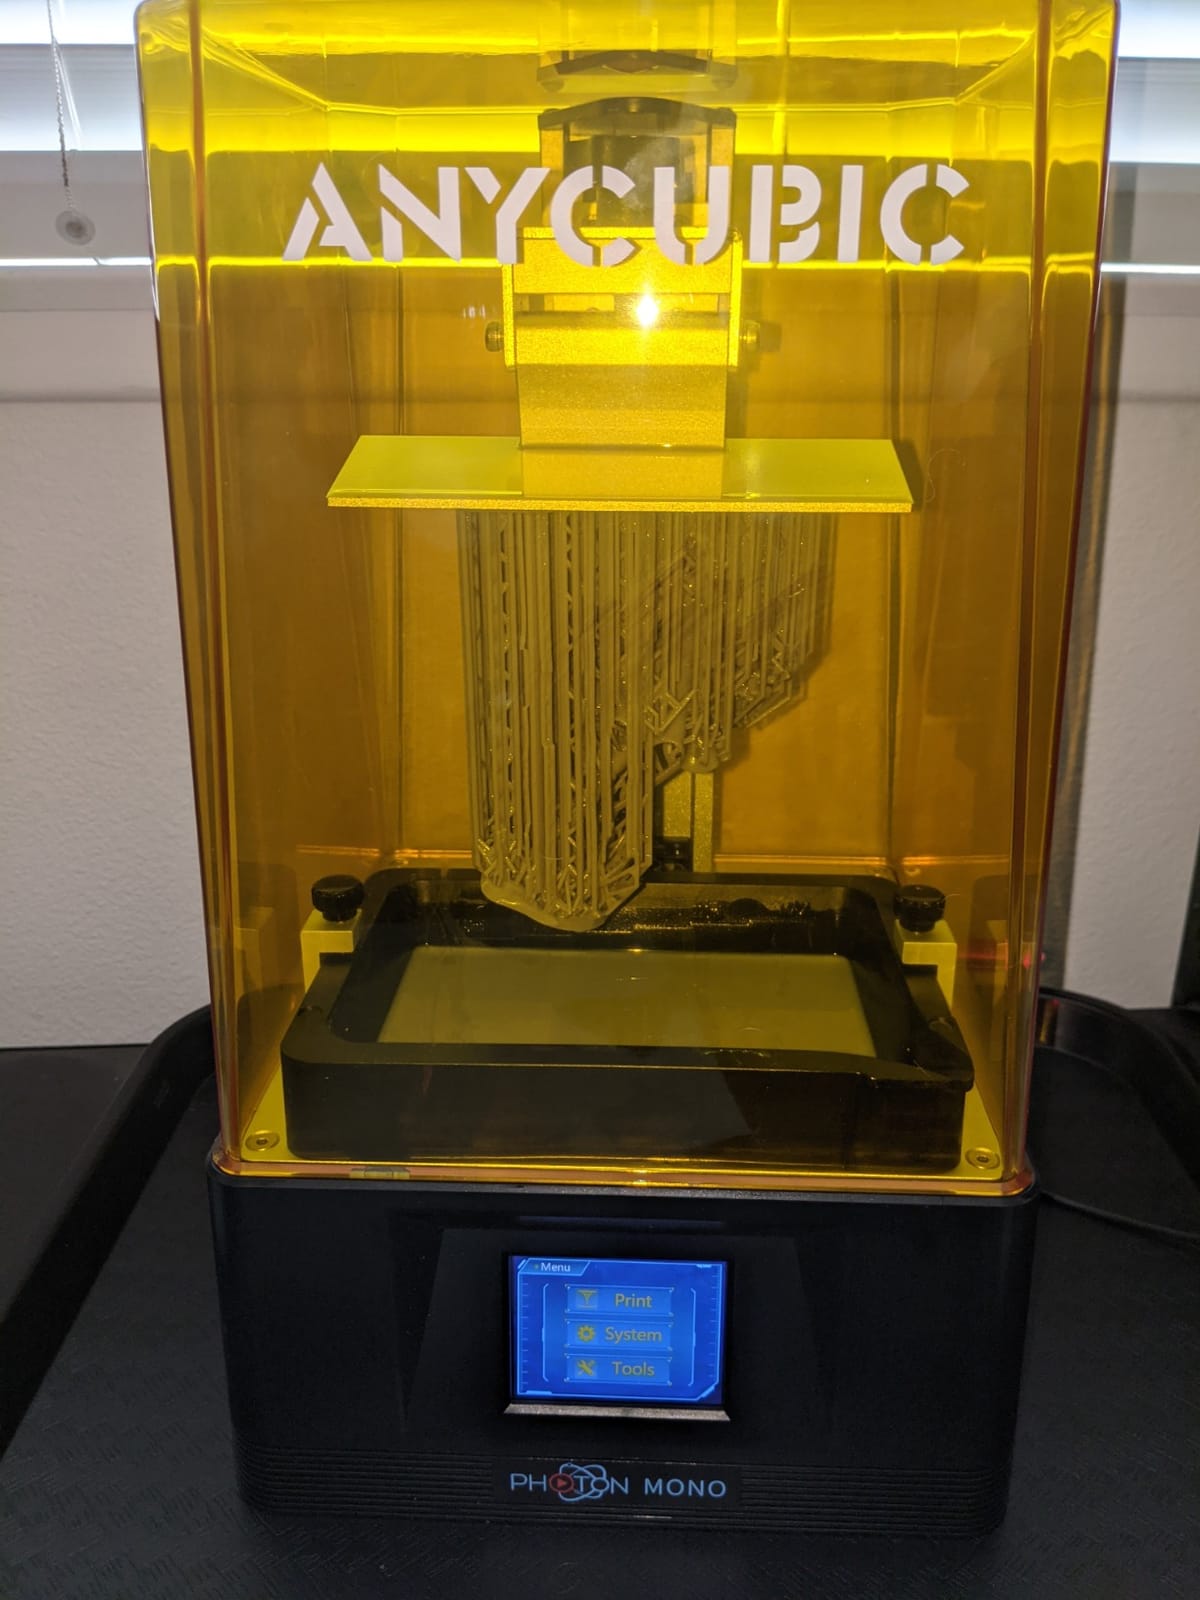
With 2063 reviews and a 4.3 average, this is the most proven resin machine here. Reviewers consistently name the 13.6 inch class build volume, the 7K resolution and the doubled print speed as the deciding factors for masks and detailed props, and the flip-open cover with hover angles above 45 degrees as the feature that makes vat access and part removal fast enough to run a batch.
When resin beats FDM for a cosplay piece
Rule of thumb: resin for anything with a curved, glossy or skin-visible surface – visors, lenses, mask faces, small insignias, clasps, buckles and trim. The 1300 ml temperature-controlled vat holding resin at a steady temperature reduces the bubbles and layer separation that plague cold vats, and the LighTurbo 3.0 COB light source with a Fresnel lens keeps the light angle within 3 degrees for even exposure.
You still need a wash and cure station, and you need nitrile gloves and ventilation. That overhead is real, and it is why this is a companion machine rather than a replacement for a filament printer.
Where this machine disappoints
Resin handling is the honest cost: separate washing and curing, plus a workspace you can ventilate. Some owners report variability in unit quality control between batches, which is a recurring theme with large resin machines. It is also single-colour, so a multi-part prop with mixed finishes still needs assembly and painting work.
If your build is armour rather than a mask, this is overkill. Pair it with an enclosed FDM machine instead of choosing one or the other – our miniature 3D printer guide covers the smaller detail end of the hobby.
5. FLASHFORGE Creator 5 Pro – Best for Multi-Material Props
FLASHFORGE Creator 5 Pro 4-Toolhead 3D Printer, Industrial Multi-Material & Color Printing, 65°C Active Heated Chamber, Near-Zero Waste System, CoreXY 600mm/s Printing
Build: fully enclosed, chamber to 65 C
Toolheads: 4 with 7-second swaps
Speed: up to 600 mm/s coreXY
Pros
- Four toolheads swap in seven seconds with no purge waste
- 65 C active chamber prints ABS PC and PA without warping
- Up to five times faster multi-colour than purge systems
- CoreXY with rigid frame holds accuracy at 600 mm/s
- Dual HEPA 13 and carbon filtration keeps particles down
- Automatic toolhead offset vibration and flow calibration
Cons
- Four-toolhead architecture and 39 lb body take up bench space
- Spool capacity limited to the four loaded toolheads
- Newer release with a 131-review base rather than a long history
The Creator 5 Pro is built around a single idea: four independent toolheads, each preloaded and preheated, swapping in seven seconds with no purging. For cosplay that is not a gimmick. A helmet with a hard visor mount, a flexible strap and a rigid trim stripe can use three materials in one print, and the PVA or water-soluble support you need for an overhang in the visor cavity does not have to be a separate manual job.
The 65 C actively heated enclosed chamber is what makes this usable for engineering filaments. ABS, PC and PA are the materials you reach for when a prop has to be thin, light and tough, and printing them in an unheated chamber means fighting warping on every corner. Dual HEPA 13 plus activated carbon filtration with continuous airflow also matters if you are running multi-day prints in a shared space.
Why four toolheads beat a purge-based system
A single-nozzle multi-material machine pushes hundreds of grams of coloured filament into the waste bin to change colour. Owners here report the tool-change architecture as the reason multi-colour cosplay work becomes practical rather than wasteful, and reviewers specifically call out the near-zero purge waste as the feature that makes the four-head layout worth the footprint.
Automatic toolhead offset, vibration compensation and dynamic flow calibration handle the mechanical complexity for you, and the built-in HD chamber camera with auto time-lapse keeps a 30 hour job visible from your phone.
Where this machine disappoints
Four toolheads and a 39 pound body is a lot of bench space for a home setup, and the machine has no separate multi-spool feed beyond the four loaded heads – if a build needs more than four colours you are back to manual changes.
It is also a relatively new release with a 131-review base, so the long-term reliability picture is not yet settled the way it is for the Adventurer 5M or the K1-series machines. Buy it for multi-material capability, not for name recognition.
6. Snapmaker U1 – Highest Rated Multi-Colour Pick
Snapmaker U1 3D Printer,4-Toolhead with 5s Toolchanger,Multi-Color Printing
Build: 270 x 270 x 270 mm
Toolheads: 4 with 5-second swaps
Speed: 500 mm/s CoreXY
Pros
- Four dedicated nozzles swap in about five seconds with almost no purge waste
- Reports of up to five times faster multi-colour and about 350 g less waste per comparable job
- 500 mm/s CoreXY with carbon fibre X rails holds quality at speed
- True multi-material mixes TPU with rigid plastics and soluble supports
- 270 mm cube is generous for a four-tool machine
- Setup reported under 20 minutes with levelling that works
- Open-source Snapmaker Orca slicer with AI print monitoring
Cons
- Open top with no enclosure included so a lid is needed for sensitive materials
- Less turnkey than Bambu since importing STL into Orca is an extra step
- STL-to-G-code guidance is less clear than the rest of the docs
- One review reports a motherboard fault on a day-old unit
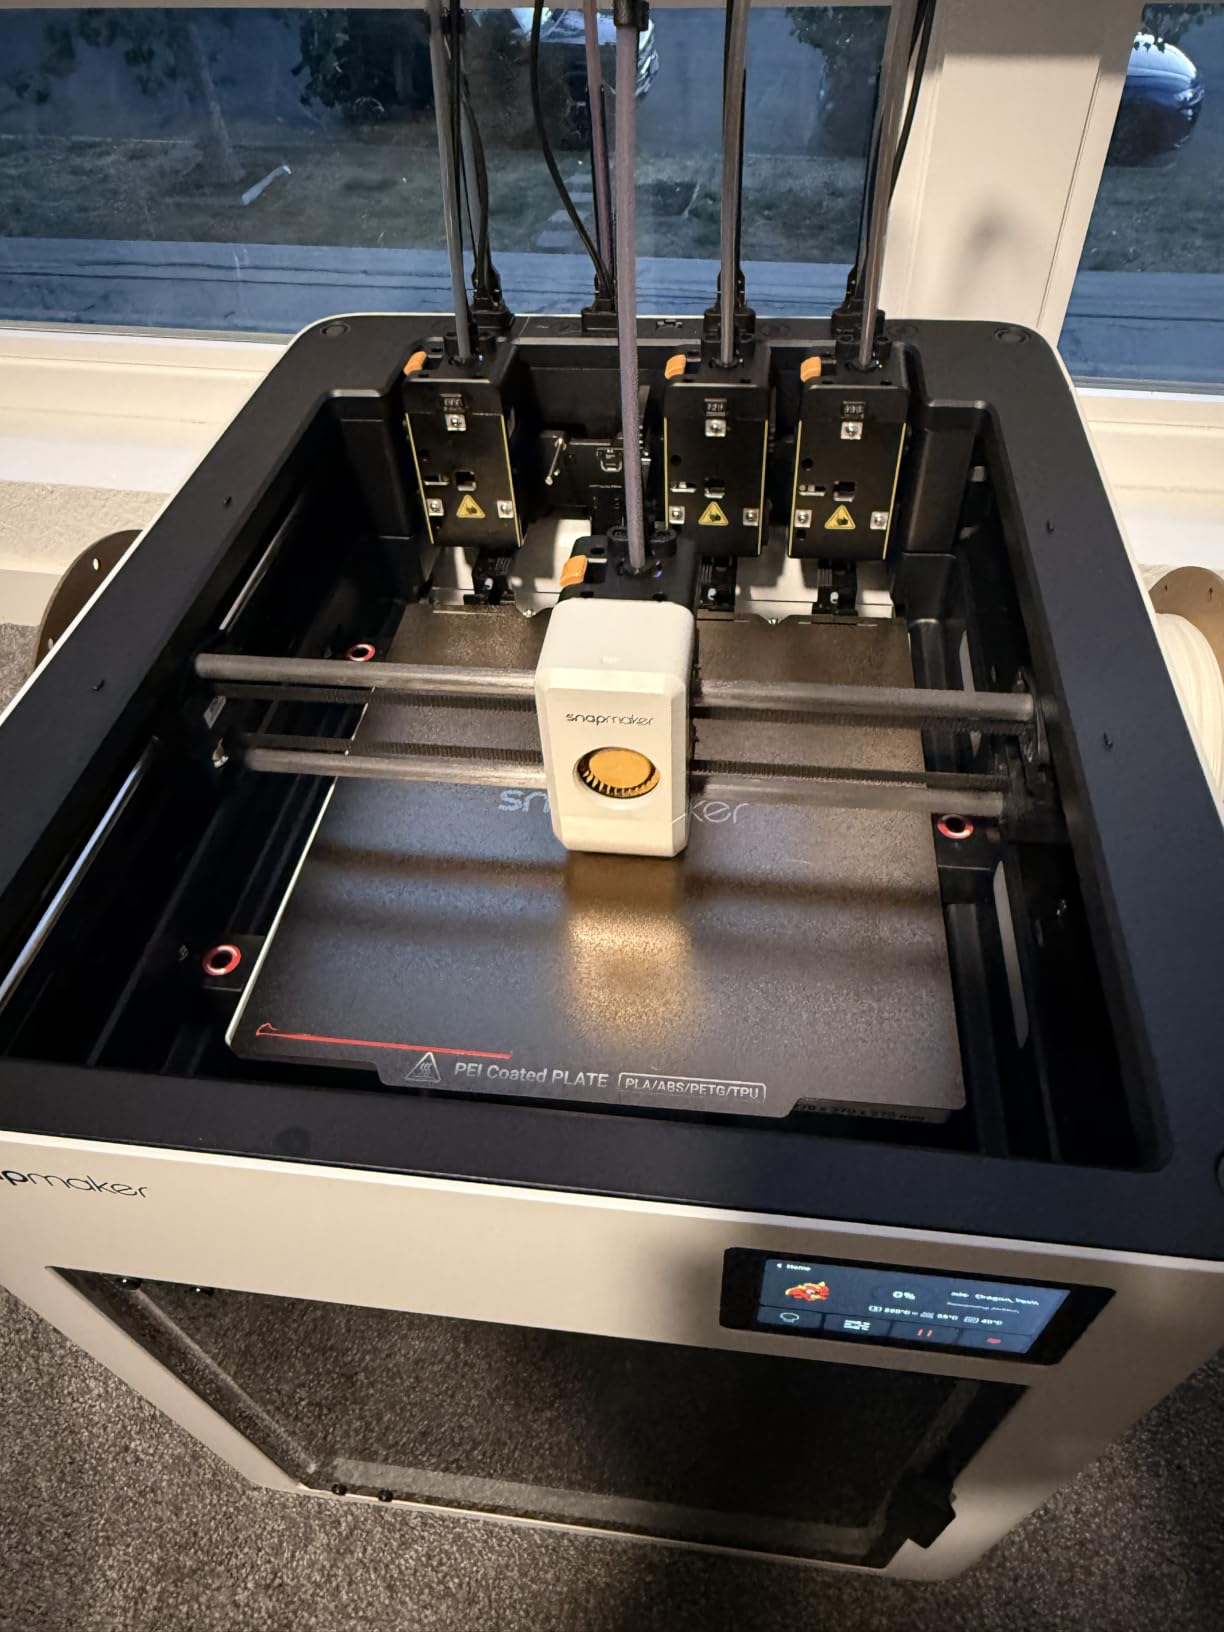
At a 4.5 average across 146 reviews, the U1 carries the highest rating in this group, and reviewers keep pointing to the same reason: four independent preloaded toolheads that swap in about five seconds with almost no purge waste. The changer is validated over 1,000,000 swaps according to the manufacturer, which is the kind of number that matters when your build is one job away from a convention deadline.
For cosplay specifically, the multi-material side is the draw. It prints true mixes – TPU 95A straps and grips alongside rigid PLA or PETG, plus water-soluble support for internal channels and visors. A 270 mm cube is on the smaller side for a helmet shell, but it is generous for a machine carrying four toolheads, and it handles gauntlets, bracers, buckles and trim in single jobs.
Why cosplayers like the open-source slicer
Snapmaker Orca is based on OrcaSlicer, and reviewers who dislike closed ecosystems single that out. Tree supports, wall thickness tuning and cosplay-specific infill settings are all easier when you can adjust them without waiting on a vendor. The 3.5 inch touchscreen, built-in camera and AI print monitoring cover the remote-check side, and owners report setup under 20 minutes with auto bed levelling that actually works.
It also arrives with four 500 g filament spools and thick glass front and rear panels, which softens the cost of getting started.
Where this machine disappoints
The open top is the main one. With no enclosure included, a lid or add-on is needed before you print ABS, ASA or anything warp-prone – and in a drafty room the first layer is at risk regardless.
It is not as turnkey as Bambu. Importing an STL into Snapmaker Orca is an extra step, and reviewers find the STL-to-G-code conversion guidance less clear than the rest of the documentation. One review also reports a motherboard fault on a day-old unit that could not finish the bundled test print, which is a single data point but worth knowing.
7. Bambu Lab P1S Combo – Best Value All-Round Printer
Bambu Lab P1S Combo, P1S 3D Printer and AMS, Multi-Color 3D Printing
Build: enclosed, 256 mm class
Colours: AMS, up to 16
Speed: 500 mm/s at 20000 mm/s2
Setup: about 15 minutes
Pros
- AMS included gives up to 16 colours and multi-material printing
- 500 mm/s with 20000 mm/s2 acceleration cuts long prints
- Enclosed body handles ABS and ASA better than open frames
- Automatic bed levelling and roughly 15-minute setup suit beginners
- Bambu Studio and MakerWorld make finding and printing models easy
- Print quality widely praised including tight-tolerance parts
Cons
- AMS generates purge waste and a waste chute accessory is commonly added
- Files saved to SD card do not work with the AMS and must print from the app
- Screen resolution and interface feel dated
- AMS needs desiccant in humid climates and can clog with soft filament
- Firmware update via the app has been reported to hang
If you already own an entry-level printer and want the single biggest quality-of-life jump, the P1S Combo is the step most cosplayers take. The enclosed body plus AMS combination is the deciding factor: enclosure handles ABS and ASA without a separate chamber, and the AMS turns multi-colour insignia from a painting task into a slicing option.
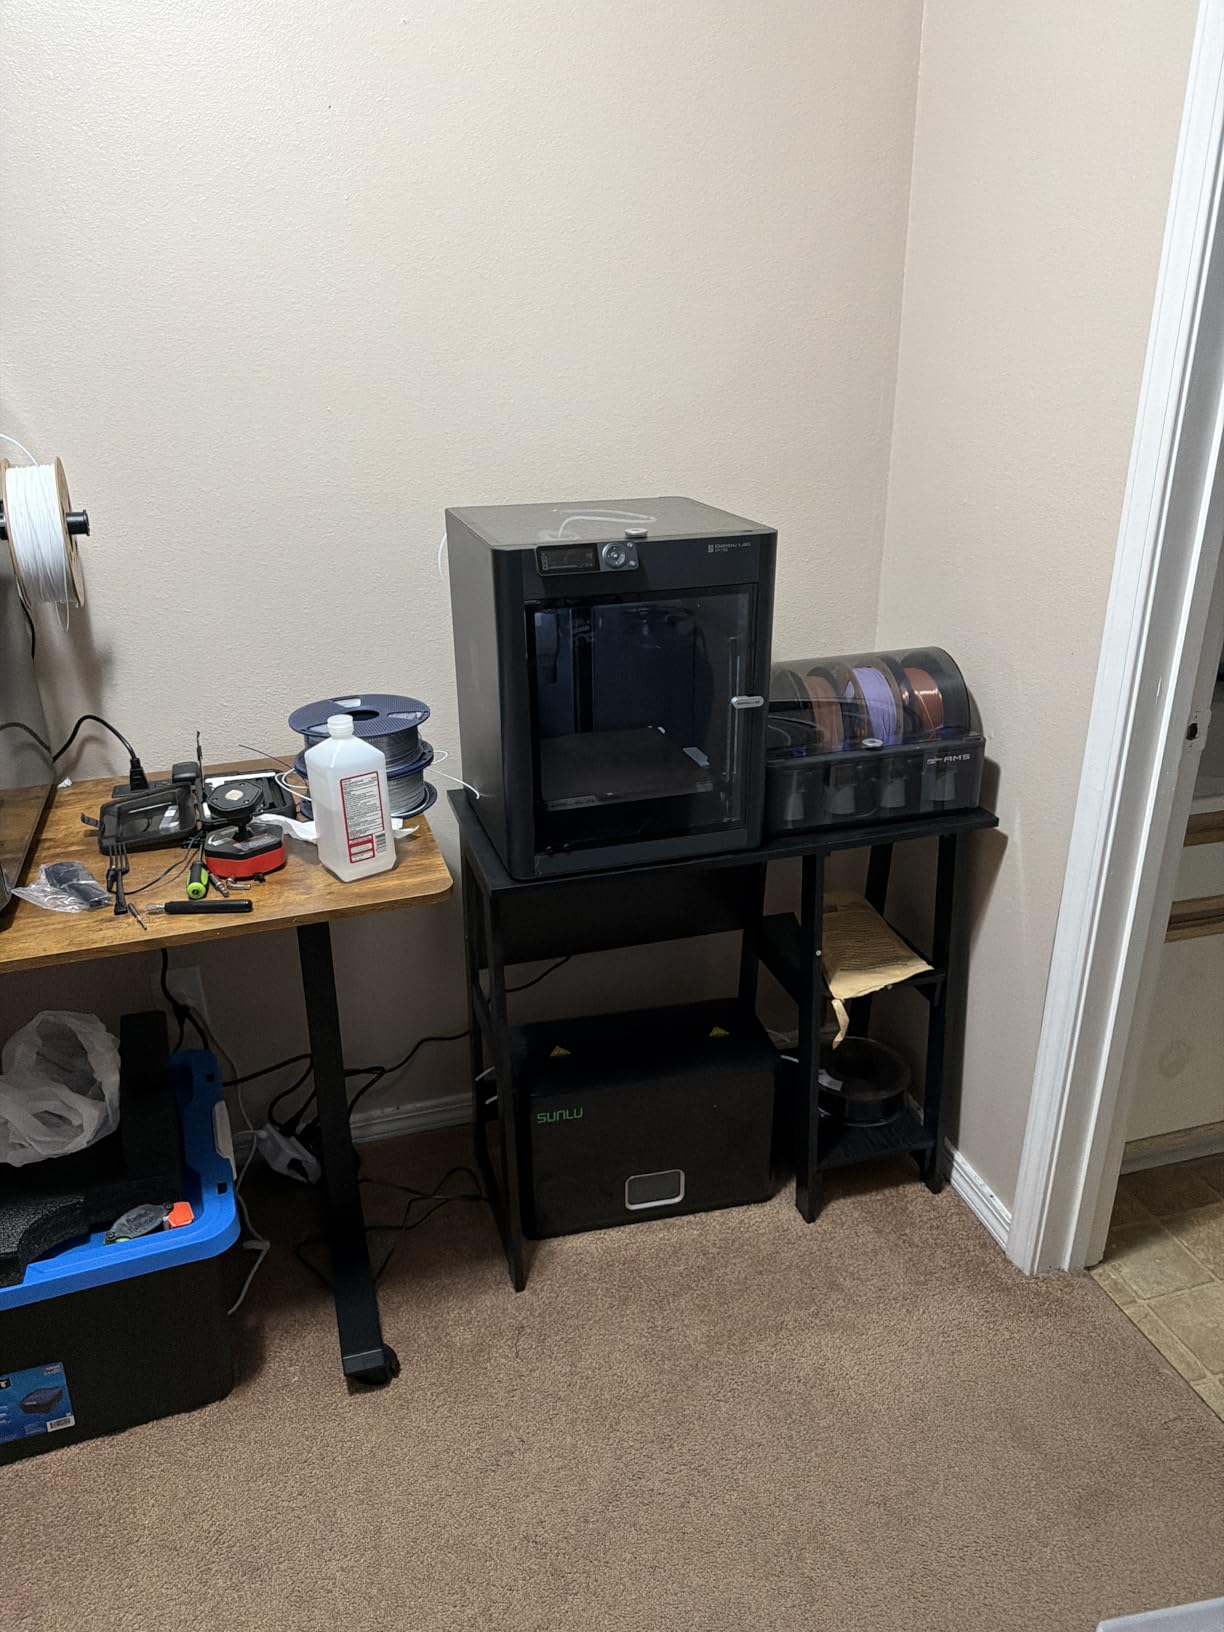
Speed is the quiet advantage on long builds. At 500 mm/s and 20000 mm/s2 acceleration, a chest plate or gauntlet pair that would run overnight on a bed slinger finishes well inside a day, and reviewers credit the print quality even for tight-tolerance mechanical parts. The #1 bestseller rank in the 3D Printers category also reflects how mature the ecosystem is – slicer, model library and support all exist.
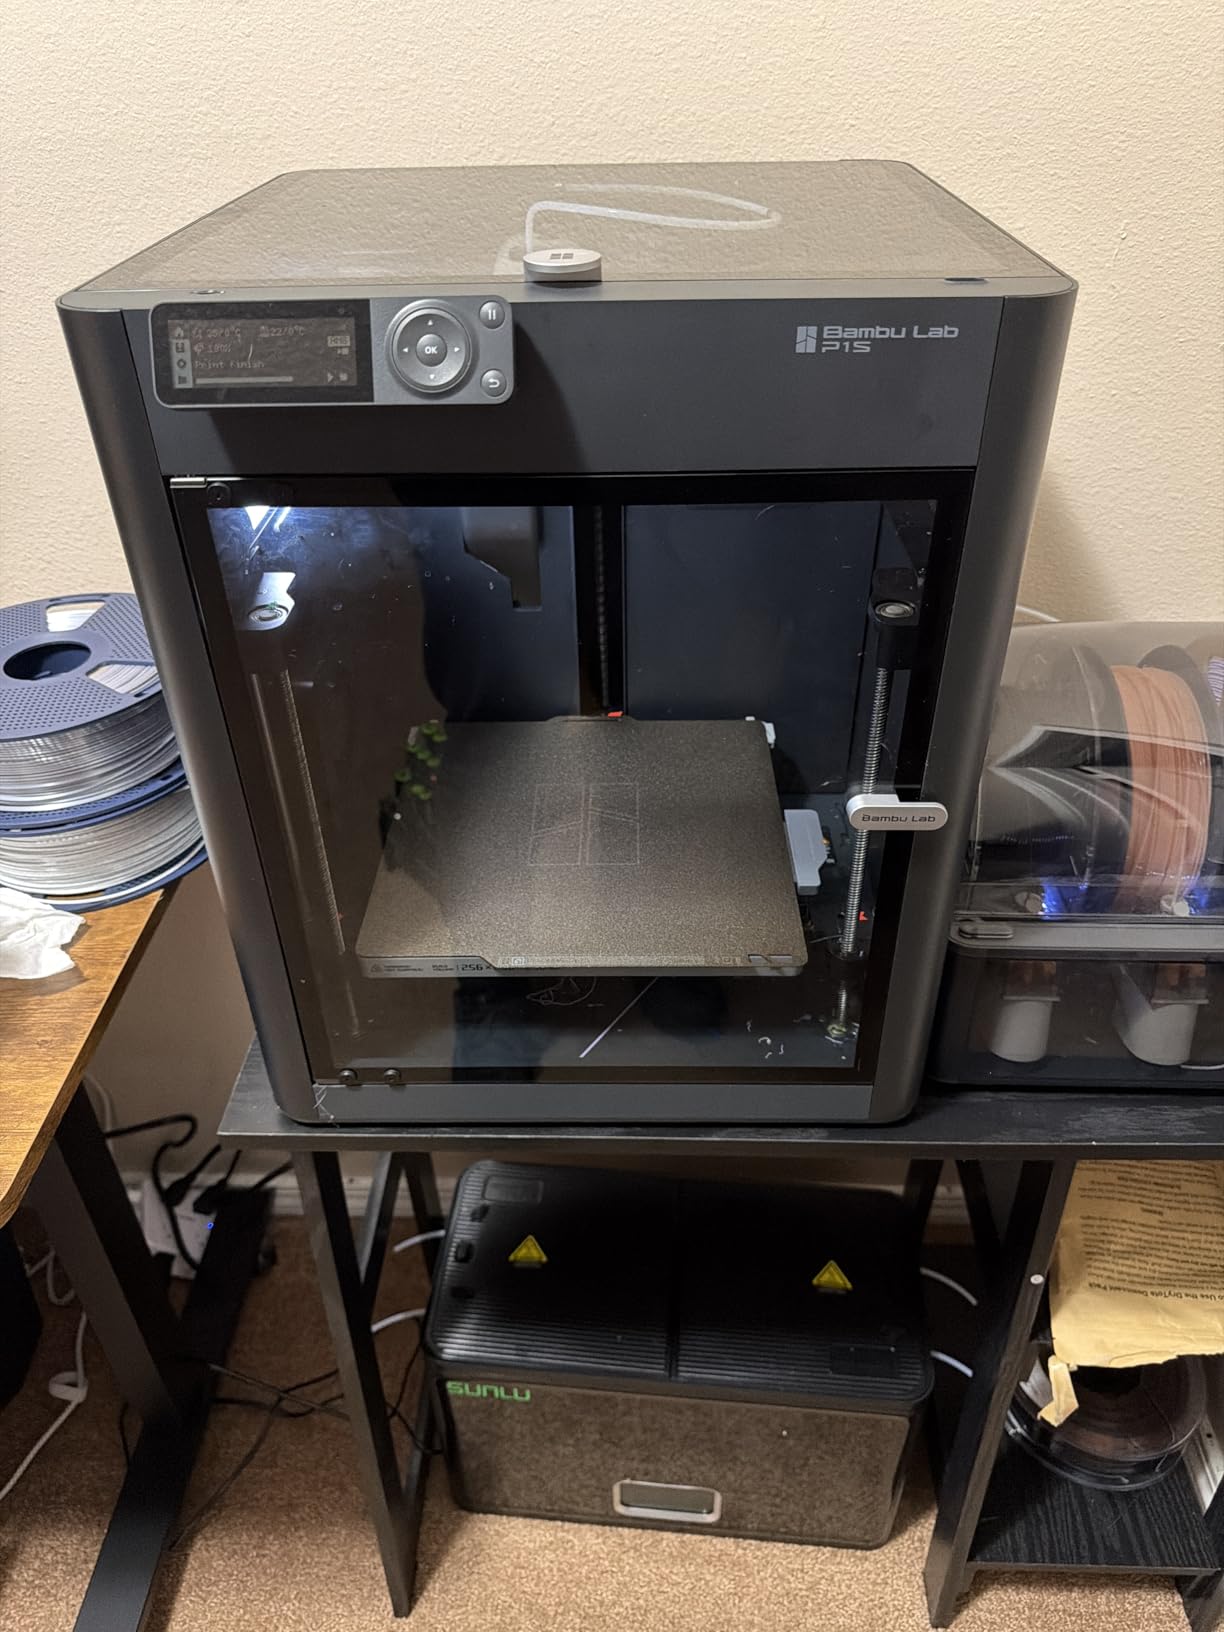
What the AMS actually changes about a cosplay workflow
Think of what AMS multi-colour removes from your schedule. An emblem, a rank stripe or a two-tone visor trim no longer needs masking, painting and a cure cycle – you assign filament colours in the slicer and it happens during the print. For a build with a deadline, that is worth more than any single speed number.
Automatic bed levelling and a roughly 15-minute setup also mean your first helmet is not preceded by an evening of calibration, and MakerWorld gives you a large library of tested models with support settings that already work.
Where this machine disappoints
The AMS purges waste on every colour change, and owners commonly add a waste chute accessory to keep it out of the way. Files saved to an SD card are not programmed for the AMS, so multi-colour jobs have to be started from the app – a friction point that surprises people mid-build.
The screen resolution and interface feel dated, the AMS needs desiccant in humid climates and can clog on soft or brittle filaments, and there are reports of app-based firmware updates hanging and requiring the update to be run from the LCD instead. The 4.2 average reflects heavy five-star use with a stubborn tail of workflow complaints.
8. IdeaFormer-3D IR3 V2 – Best for Extremely Tall Props
Official IdeaFormer-3D IR3 V2 Conveyor Belt 3D Printer, Infinite Z Axis Continuous Printing Belt Printer Large Format 250×250×∞mm for Cosplay, Prototyping & Production Auto Leveling 400mm/s Speed
Build: 250 x 250 mm with infinite Z
Print surface: PEI belt
Speed: up to 400 mm/s
Firmware: Klipper
Pros
- Infinite Z prints pieces as tall as the spool allows
- PEI-coated metal belt gives strong layer adhesion
- Klipper and Fluidd firmware makes customisation straightforward
- Runs unattended in print farms with failed parts carried off the belt
- One-click auto levelling with Y-offset strain sensor
- 45 degree gantry supports support-free complex overhangs
Cons
- 45 degree gantry has a steep learning curve and needs manual support settings
- Most downloadable models assume a traditional printer orientation
- Not designed for beginners or click-and-print workflows
- Belt adhesion degrades and sensor failures are reported within days
- Mid-tone clunking noise that some owners find disruptive
Nothing else on this list solves height. The IR3 V2 runs a 250 x 250 mm build plate on a PEI-coated metal conveyor belt with an effectively infinite Z axis, so a 1500 mm staff, a greatsword blade or a full backdrop element prints as one continuous piece rather than being sliced into sections and glued. The listing itself names cosplay and oversized props as the target use case.
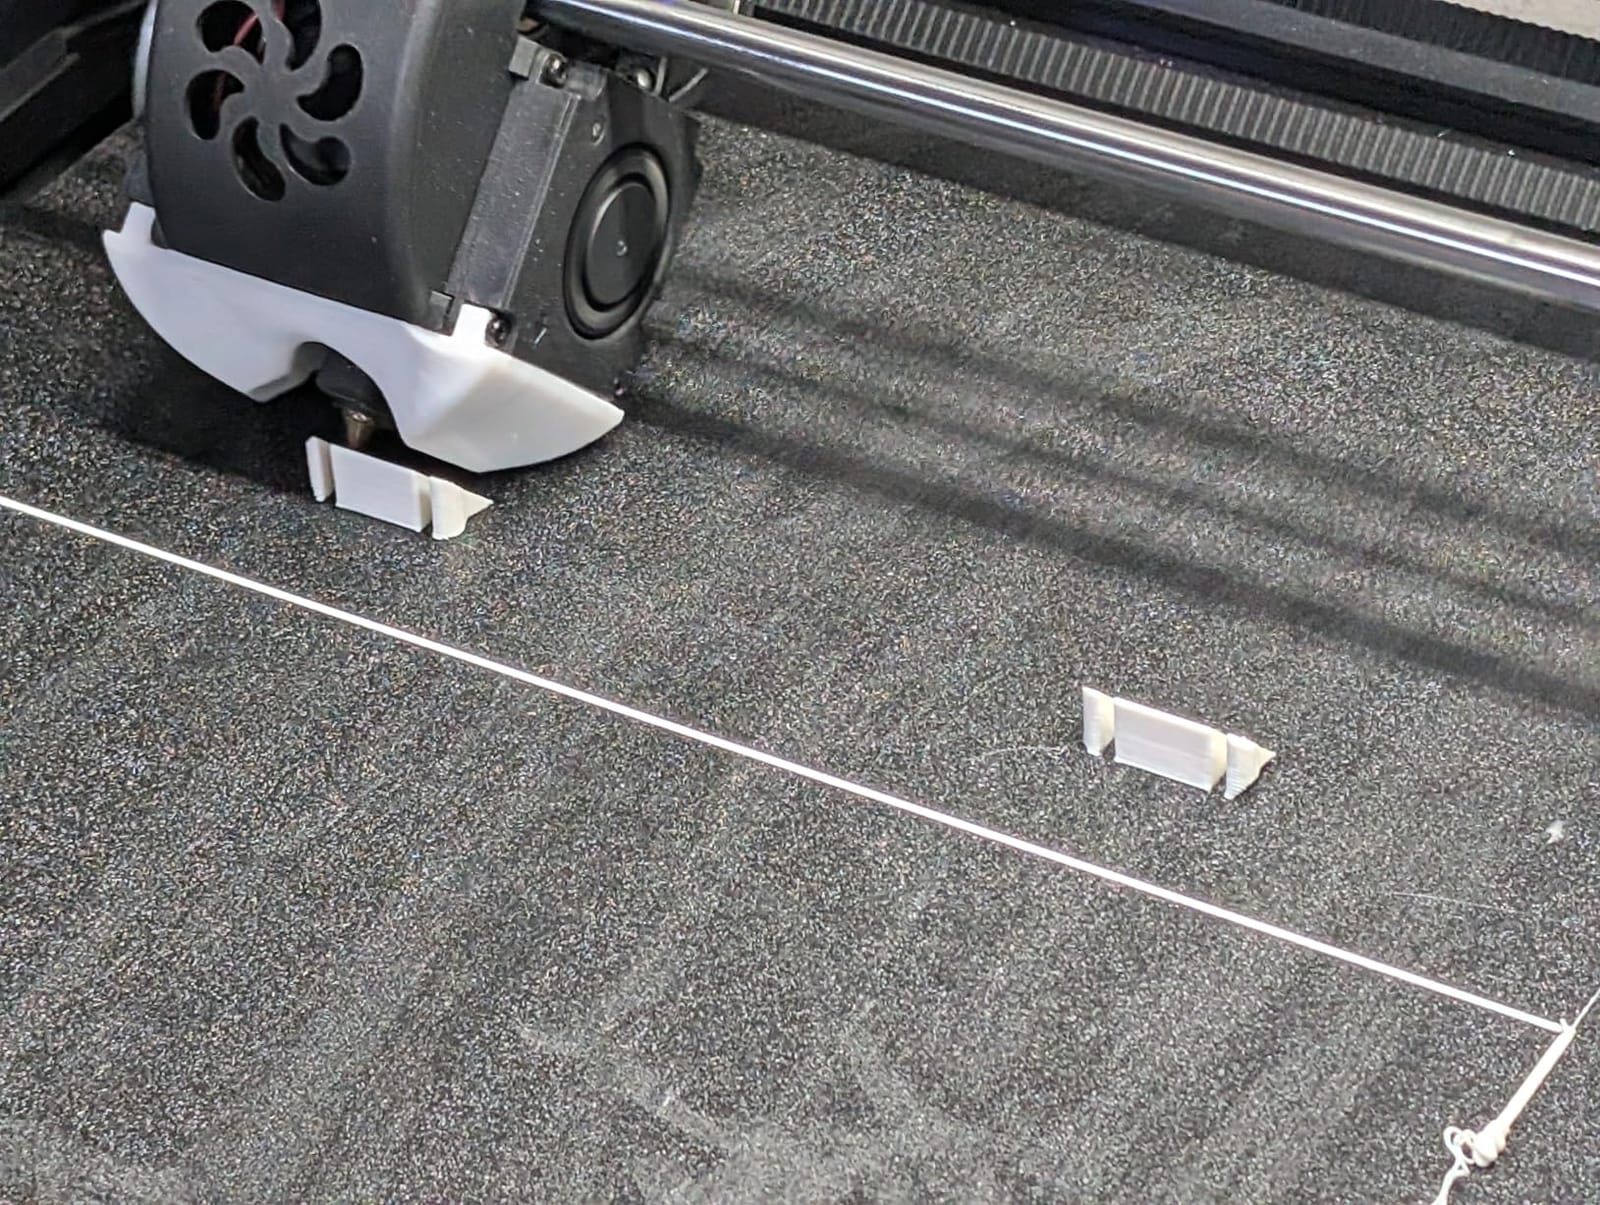
The 45 degree tilted gantry is the second trick. Because the nozzle keeps a constant angle to the bed, hollow parts and complex overhangs need far less support, which on a tall weapon means far fewer support scars to sand off. Support-free printing of hollow parts is exactly what large prop makers ask for in the r/cosplayprops threads.
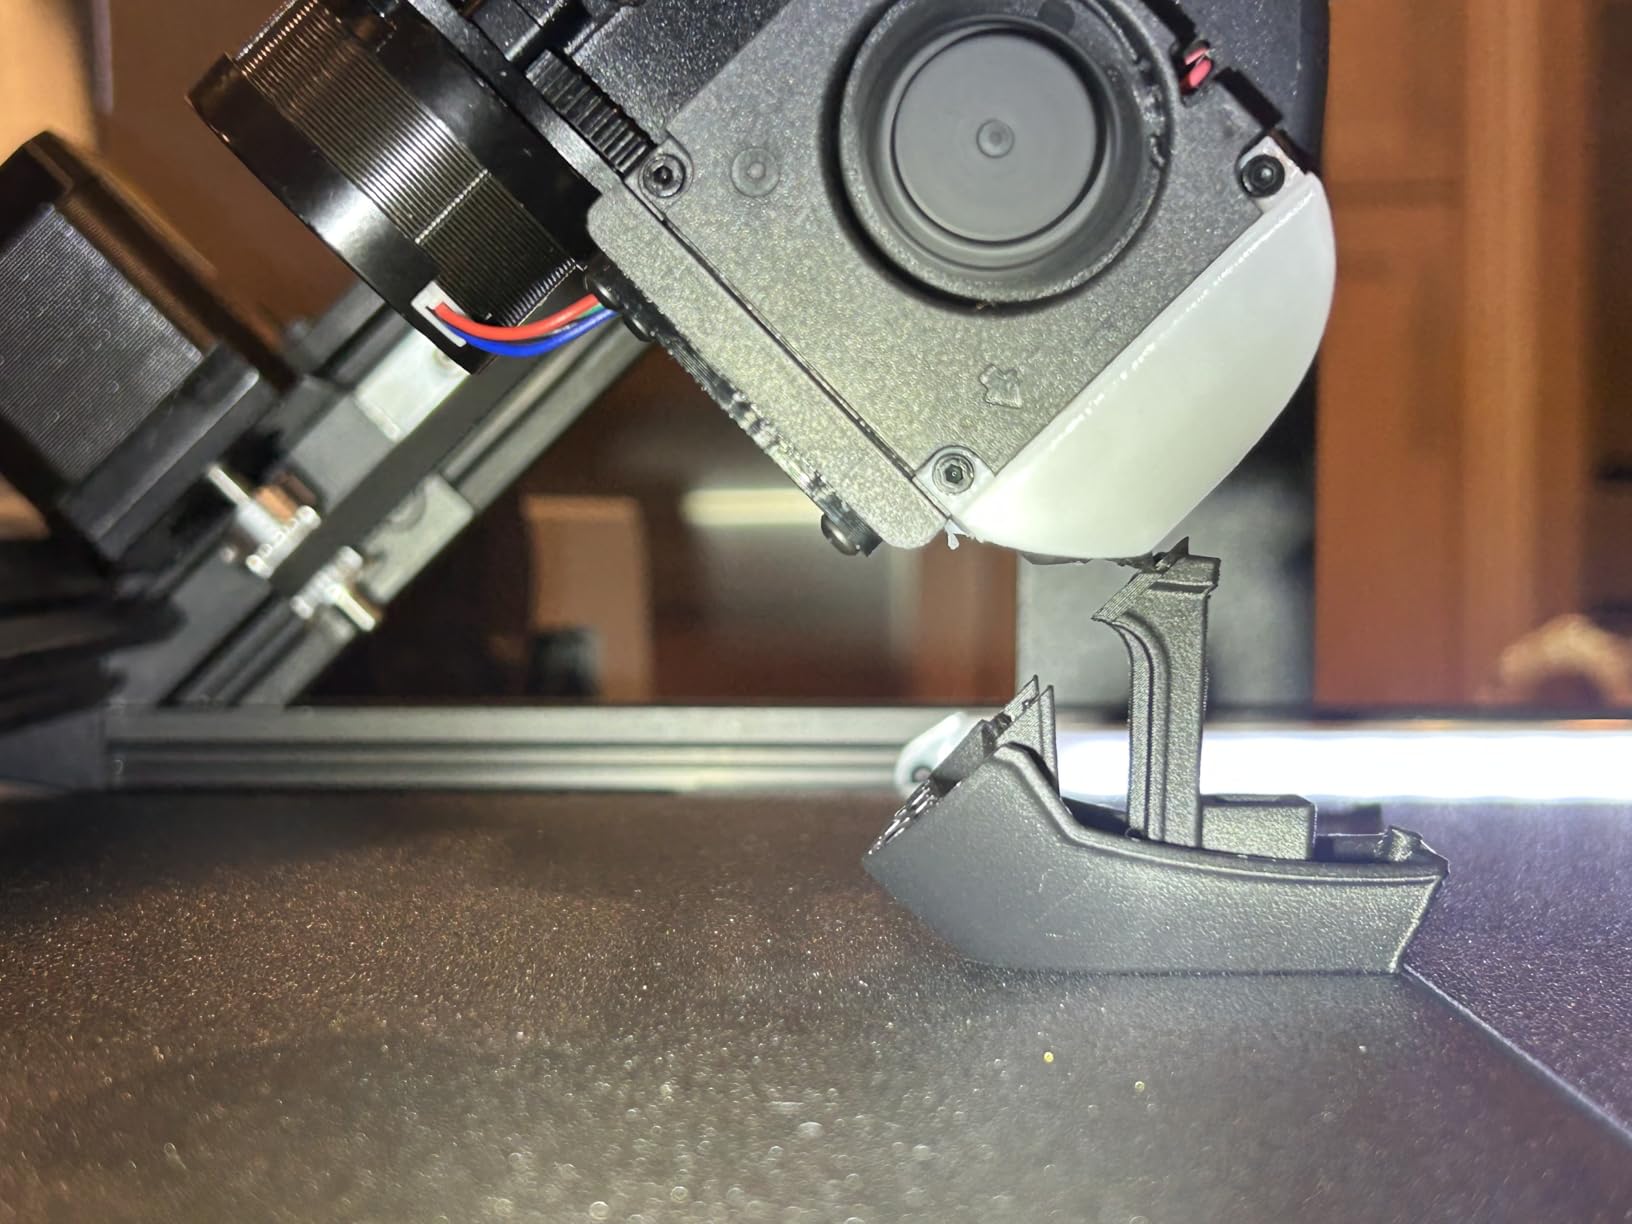
Why print farms and experienced makers love it
Owners running print farms describe the belt as a production advantage: parts finish, get carried off the end, and the next job starts without a manual bed clear. Klipper firmware with a Fluidd web interface means remote control, custom macros and community troubleshooting, which is a genuine advantage over closed vendor software. Filament sensors and a bundled webcam support unattended runs.
Compatibility is broad – PLA, PETG, ABS, TPU, ASA and PP – and the one-click auto levelling with a Y-offset strain sensor removes calibration cards from the routine.
Where this machine disappoints
It is not a beginner printer and the reviews split cleanly on exactly that. The 45 degree gantry means support angles must be set manually to zero and most models have to be reoriented, because nearly every downloadable STL assumes a traditional flat-bed machine. Belt adhesion degrades over time, some units arrive with damaged belts, and sensor failures within days are reported in reviews alongside a disruptive clunking noise.
With only 36 reviews, the long-term picture is thin. Windows also flags the bundled executables as malware for some users, which means a virtual machine or an antivirus exclusion. This is a specialist tool for people who have already printed enough to know what they want.
9. ELEGOO Saturn 4 Ultra 16K – Best Resin for Fine Detail
ELEGOO Saturn 4 Ultra 16K Resin 3D Printer
Resolution: 16K monochrome
Tilt release: up to 150 mm/h
Tank: heated to 30 C
Levelling: automatic
Pros
- 16K resolution captures fine texture and smooth prop finishes
- Tilt release reaches up to 150 mm/h far faster than lift-only printers
- Tank heating holds resin at 30 C to cut bubbles and layer separation
- Automatic levelling and guided setup suit first-time resin users
- AI camera with chamber light gives real-time monitoring and failure alerts
- Residue and resin shortage sensors protect the LCD and your material
Cons
- Resin workflow still needs separate washing and curing equipment
- AI detection accuracy varies with model resin and environment
- Monochrome single-colour printing only
The Saturn 4 Ultra is the detail specialist. A 16K monochrome LCD resolves features that an FDM nozzle physically cannot place, which is what makes it the right pick for insignia, clasps, buckles, weapon details, buttons and textured trim. Those small parts are where a costume reads as expensive, and they are also the parts an FDM layer line makes look soft.
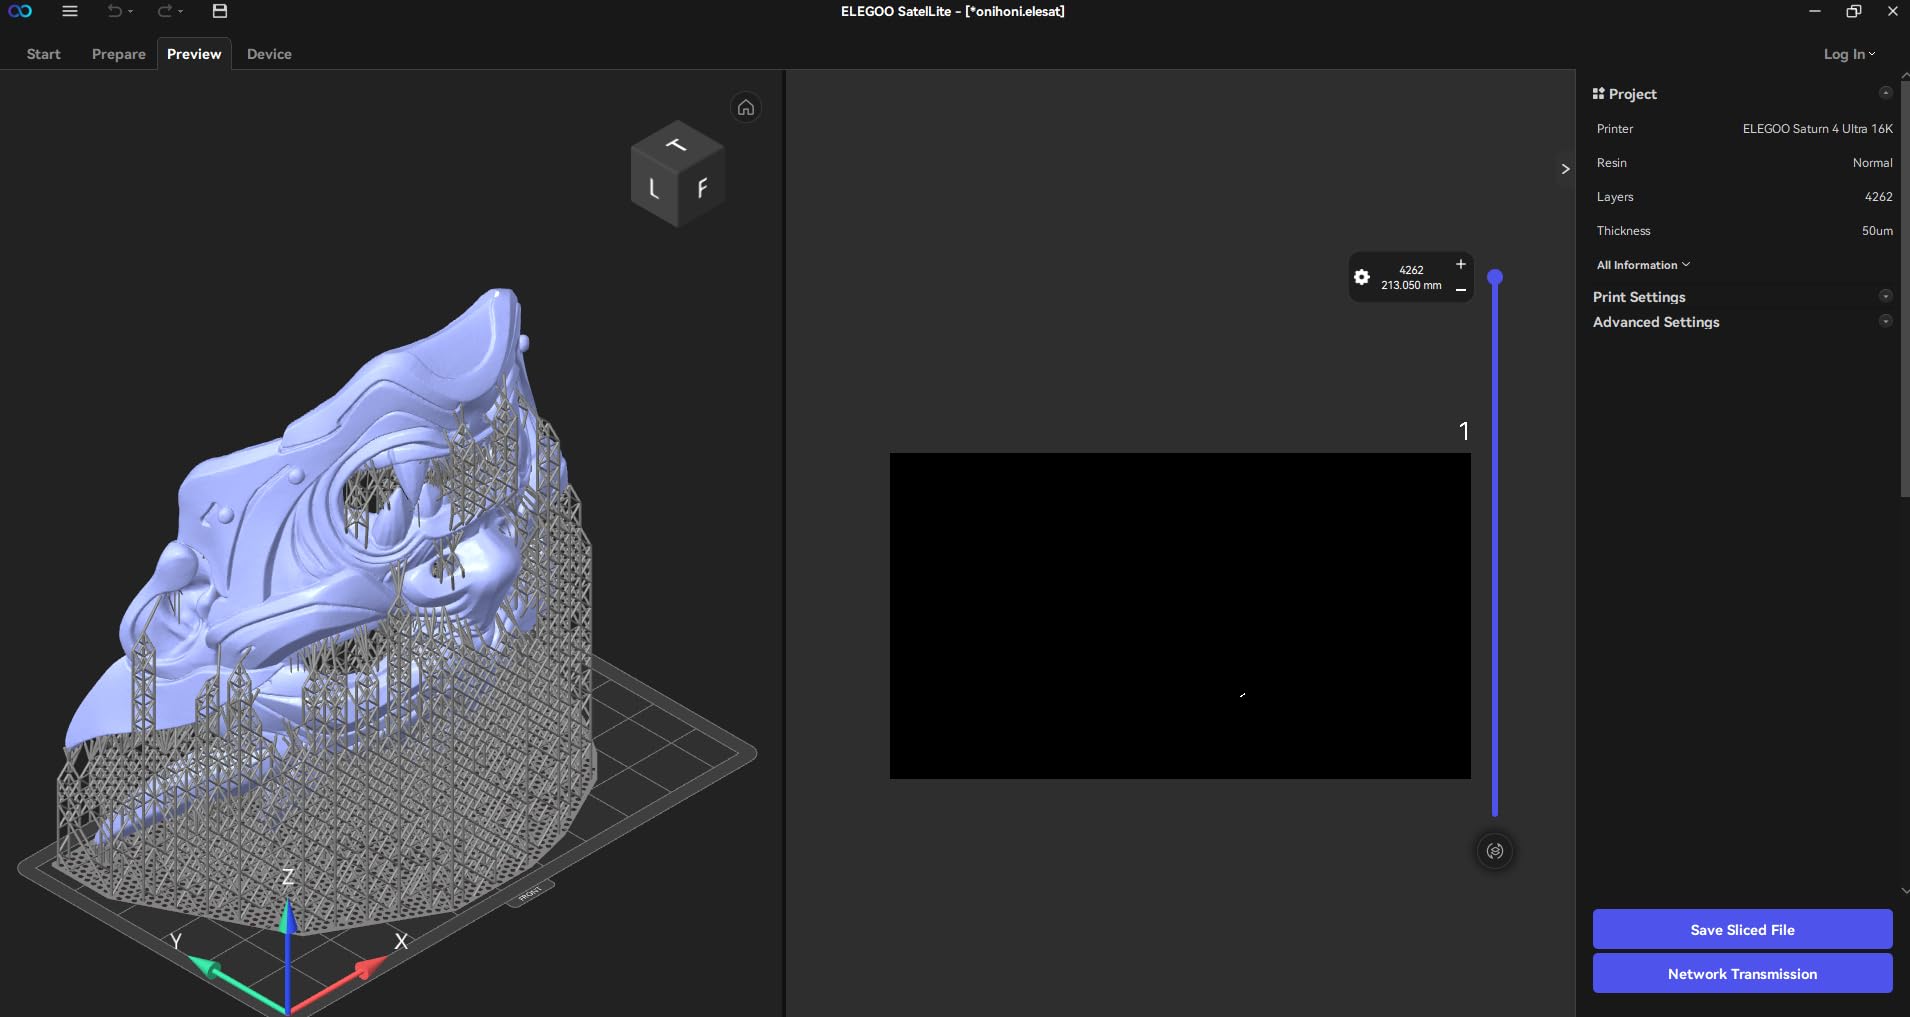
Two features do the heavy lifting. Tilt release technology reaches up to 150 mm/h, which is dramatically faster than lift-only resin printers, and smart tank heating holds resin at 30 C to reduce bubbles and layer separation failures – the two reasons resin prints go wrong. Reviewers point to exactly this combination when explaining why it is their resin pick for smooth prop surfaces.
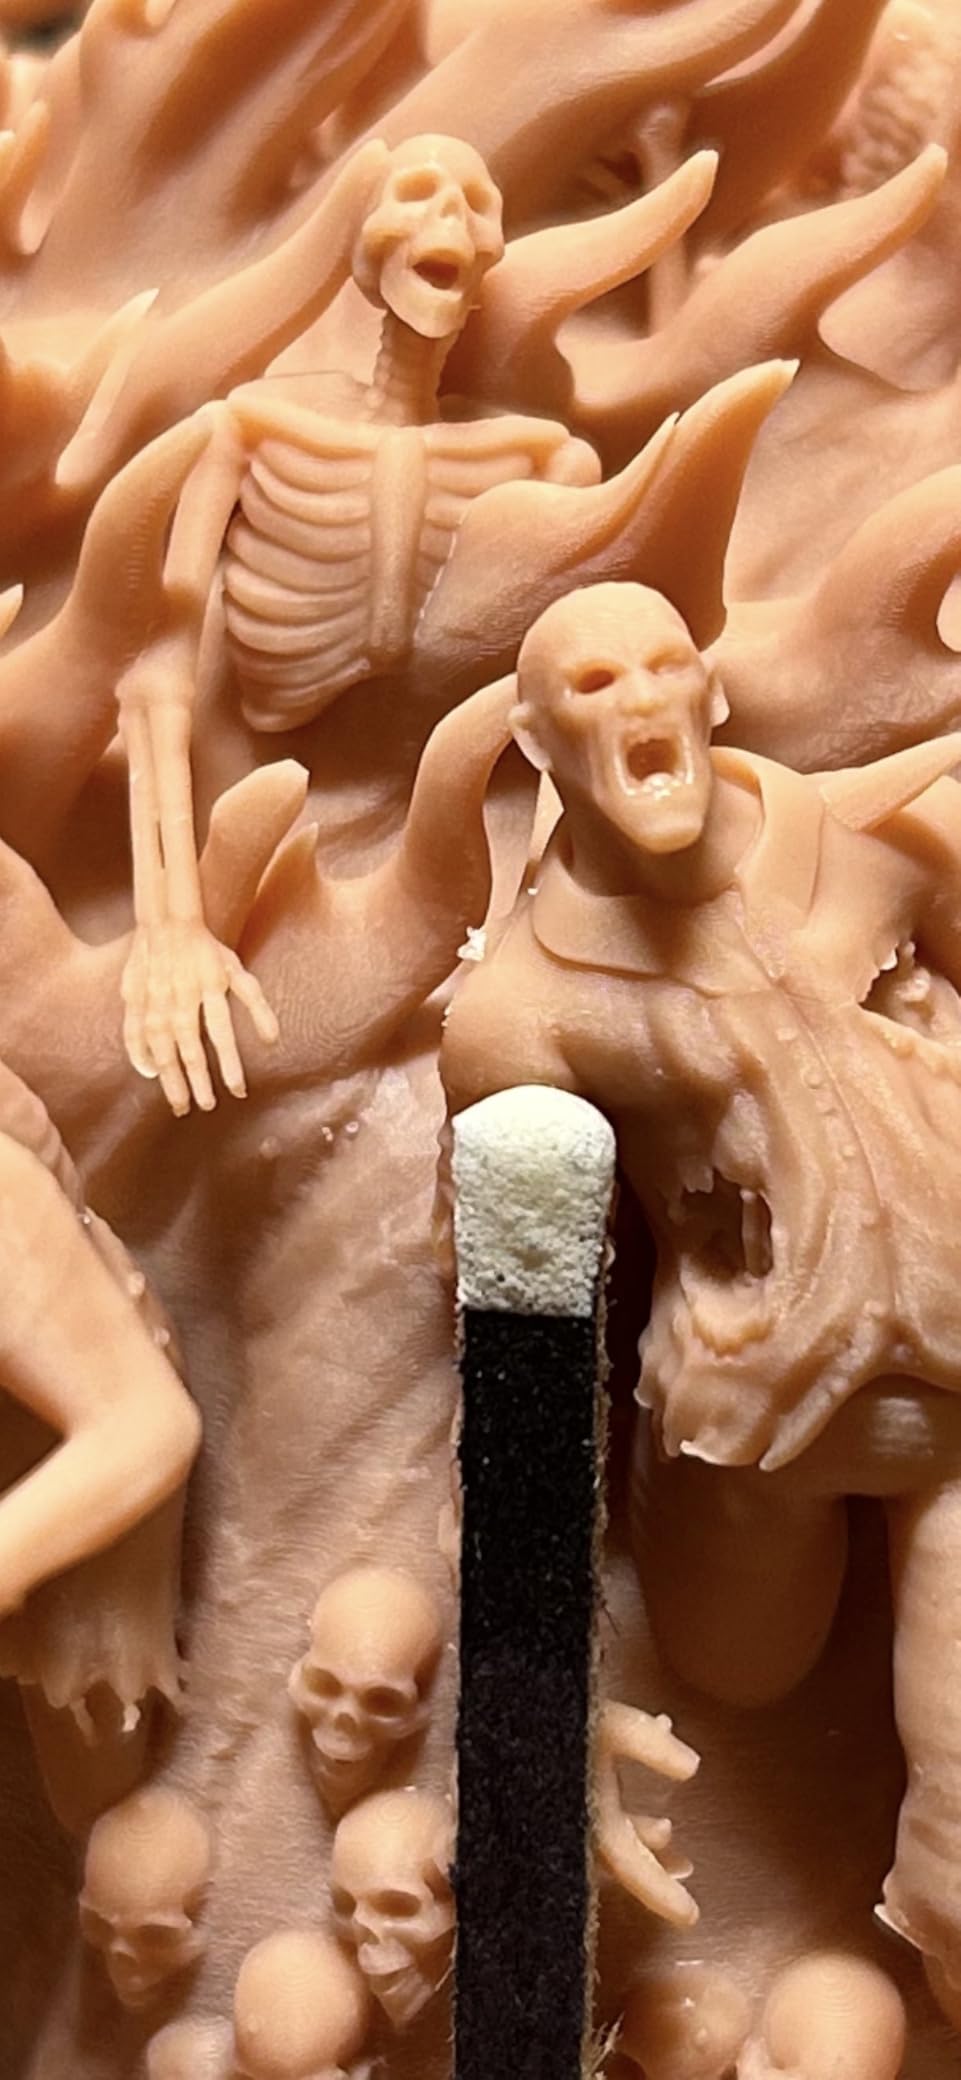
Where resin detail work pays off in a costume
Think of resin as the finishing layer of a build rather than the structural layer. Rank badges, cape clasps, shoulder trim, lens frames, control panel details and the small greebles on a sci-fi rifle are all resin jobs. The AI camera with a built-in chamber light gives you time-lapse and instant failure alerts, and automatic levelling means no manual adjustment before the first pour.
Mechanical sensors for residue detection, resin shortage and levelling failure protect the LCD – the most expensive consumable on any resin machine – and cut the waste from a failed long print.
Where this machine disappoints
It is monochrome, so single-colour only. A prop needing two resin colours in one piece has to be masked, printed separately and assembled, which pushes resin work back toward painting.
The resin workflow still requires separate washing and curing equipment, and the AI detection accuracy varies with environment, model and resin type, as the manufacturer states. A guided phone-style setup and out-of-the-box operation make it approachable, but resin safety handling is not optional.
10. FLASHFORGE Adventurer 5M – Best Budget CoreXY Entry
FLASHFORGE Adventurer 5M 3D Printer with Fully Auto Leveling, Max 600mm/s High Speed Printing, 280°C Direct Extruder with 3S Detachable Nozzle, CoreXY All Metal Structure, Print Size 220x220x220mm
Build: 220 x 220 x 220 mm
Motion: CoreXY all metal
Speed: 600 mm/s travel
Hotend: 280 C direct
Pros
- Affordable entry into CoreXY high-speed printing
- 600 mm/s travel at 20000 mm/s2 acceleration shortens prints
- Three-second detachable nozzle changes for 0.4 to 0.8 mm
- 280 C direct-drive hotend broadens filament choice
- Automatic levelling and 35-second warm-up cut setup friction
- Dual-sided PEI plate and 22 lb weight are easy to manage
Cons
- 220 mm cube is the smallest build volume in this list
- Open frame limits high-temperature and warp-prone materials
- 3.9 average with 18 percent one-star reviews
- No multi-colour capability in the base machine
The Adventurer 5M is the most battle-tested machine in this roundup, with over 2500 reviews, and it is the entry point I suggest to anyone who already has a small printer and wants CoreXY speed and rigidity without a large-format price. Owners repeatedly highlight speed, easy nozzle changes, quick warm-up and automatic levelling as the best value in CoreXY printing.
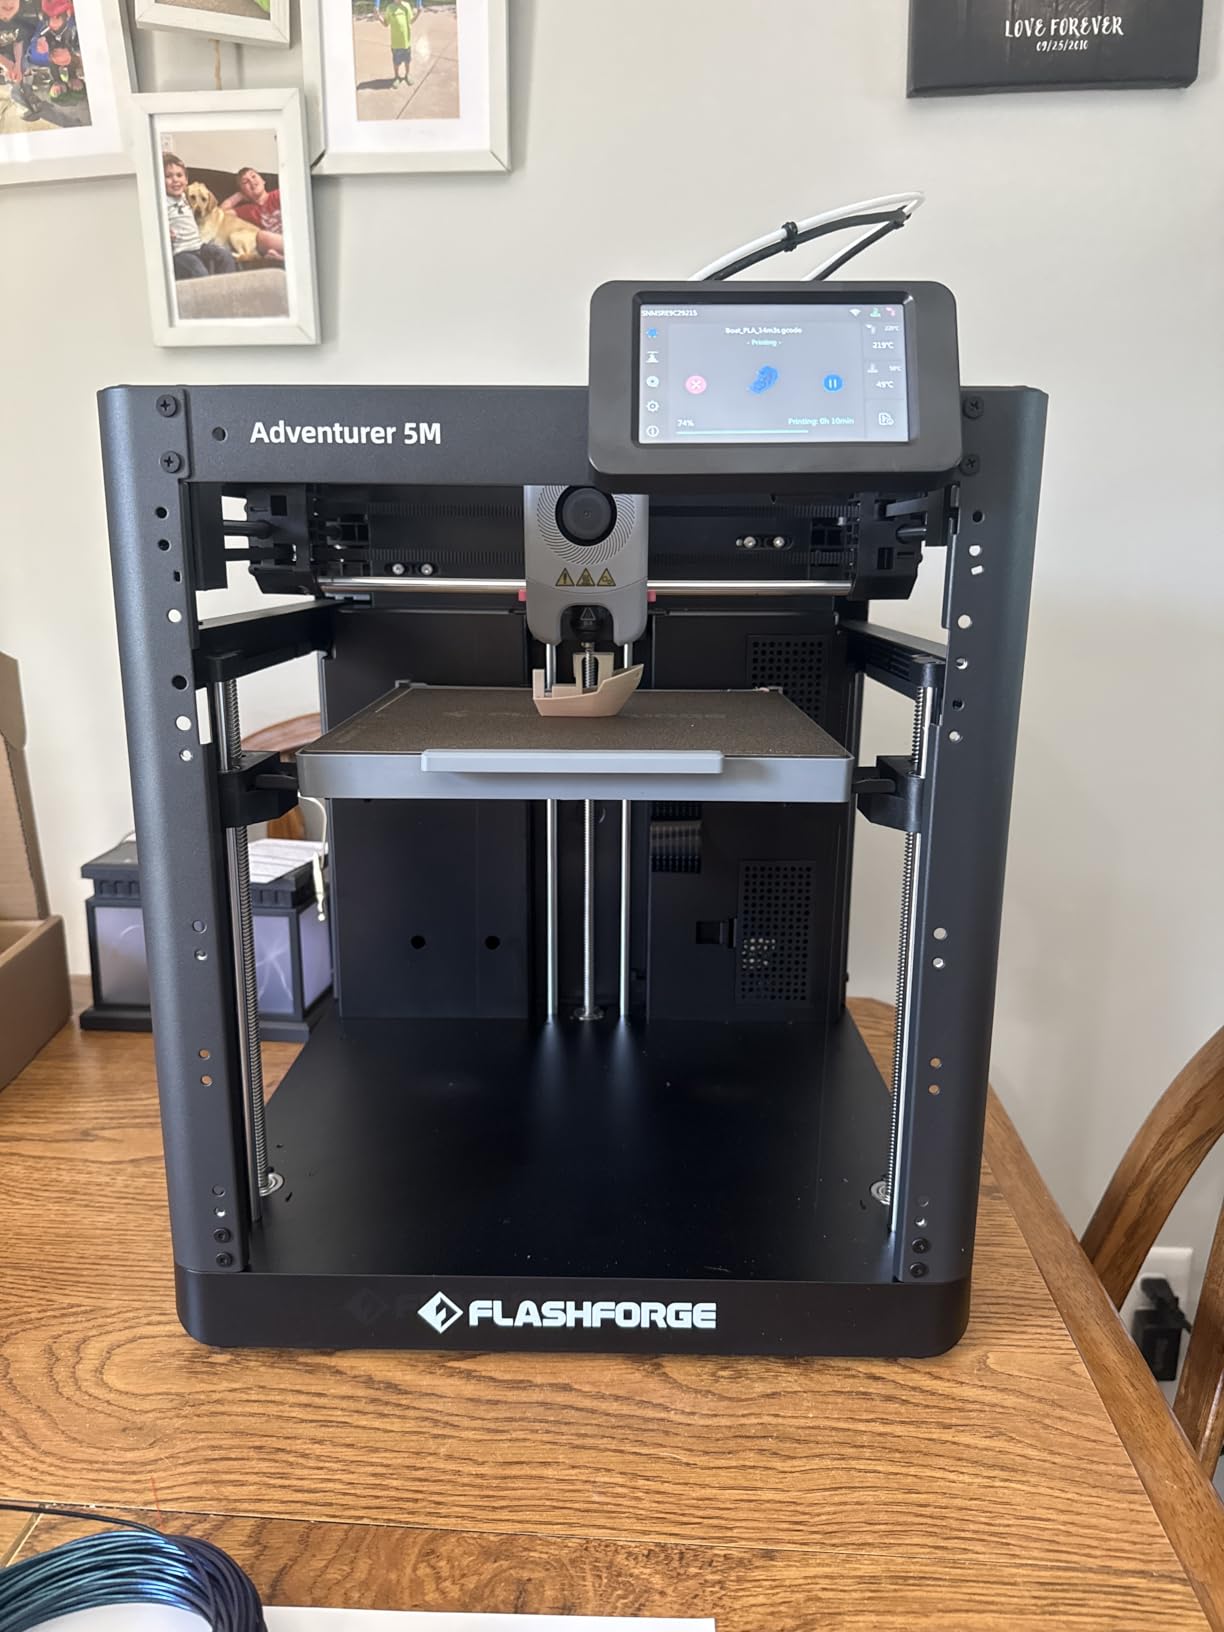
Those specifics matter for cosplay. The 280 C direct-drive hotend with a 32 mm3/s high-flow nozzle takes a wider spread of filaments than most entry machines, and three-second detachable nozzle changes let you swap from a 0.4 mm for a chest plate to a 0.8 mm for a fast draft print without a hot-swap procedure.
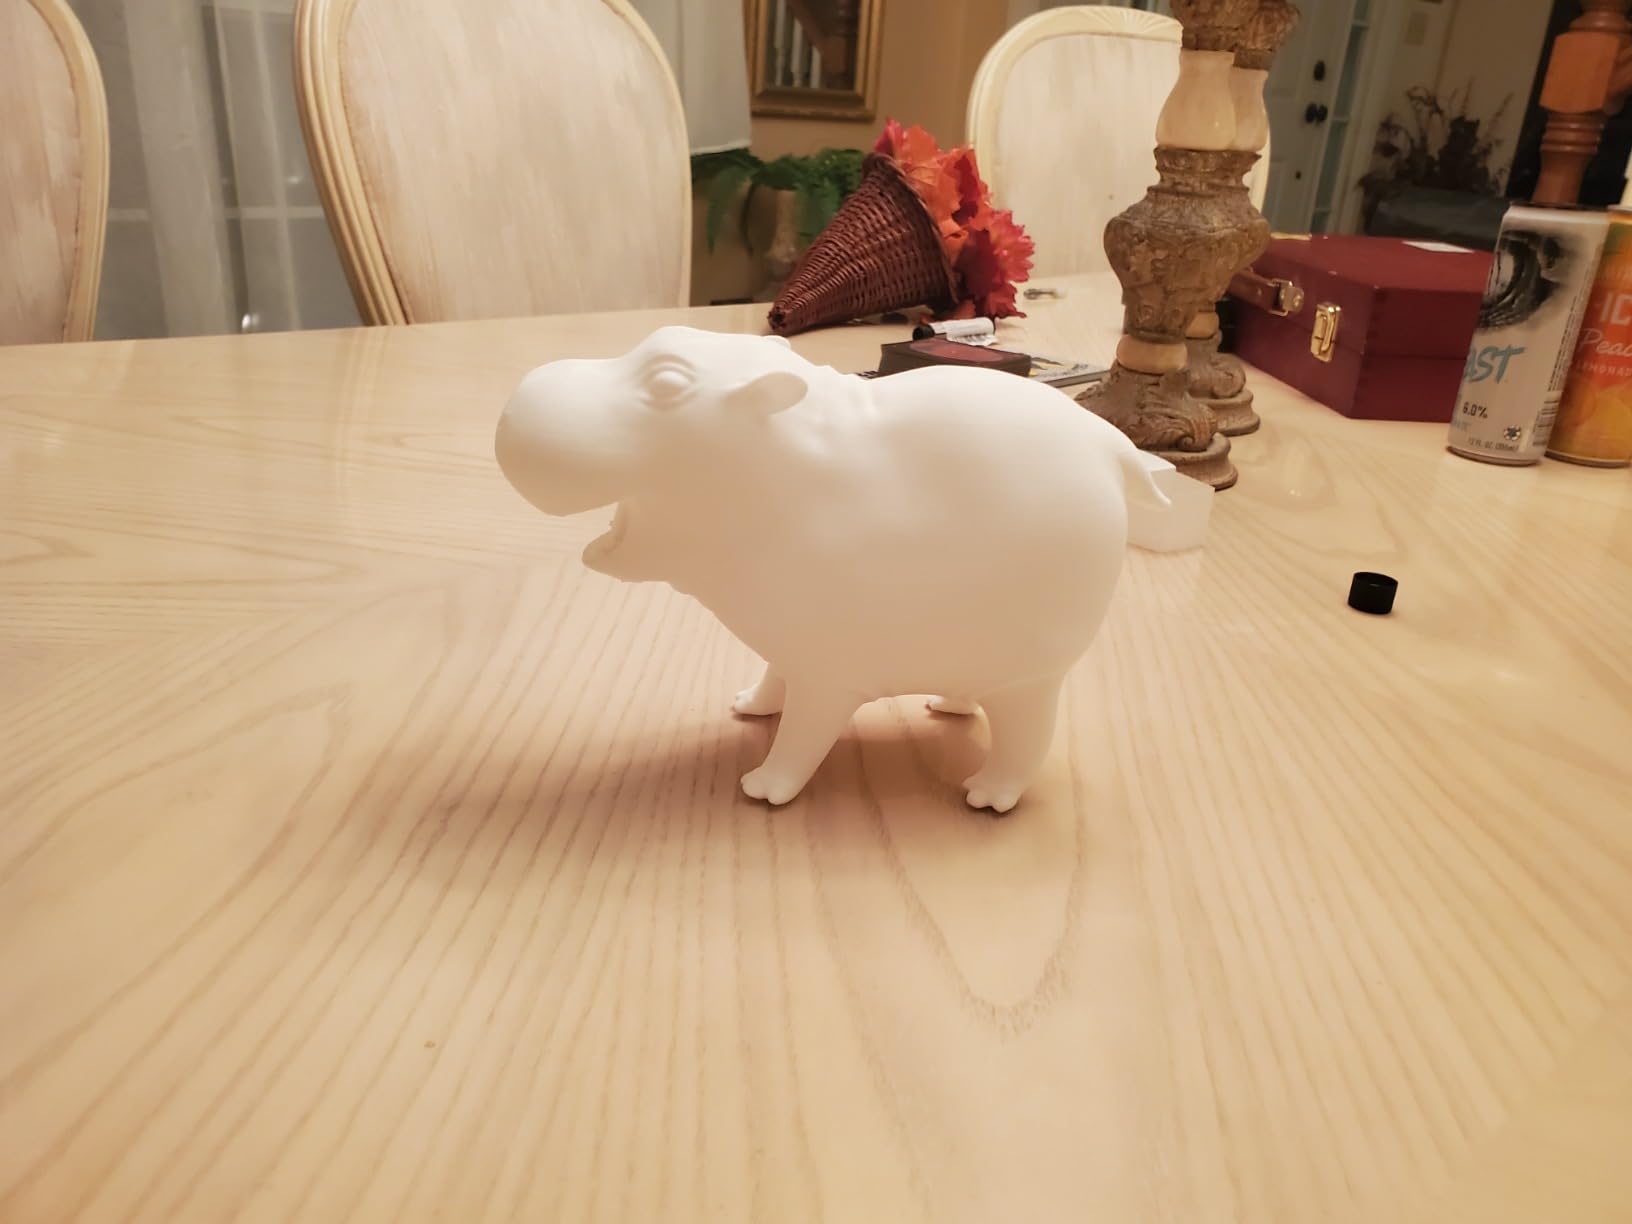
What you get for a first real build
At 220 x 220 x 220 mm, this prints gauntlets, bracers, buckles, helmets for a smaller character class, and armour sections that are meant to be split anyway. The dual-sided PEI plate helps part release, which matters more than it sounds when a curved shell is bonded to the bed after a 12 hour print.
Fully automatic bed levelling and a 35-second warm-up to 200 C mean you can go from opening the box to a first layer quickly, and the Flash Studio app handles remote monitoring and status alerts for overnight runs.
Where this machine disappoints
220 mm is the smallest build volume here, so you will be splitting files that a 350 or 400 mm machine would take in one piece – and every split is another seam to sand, fill and blend. The open frame also limits high-temperature and warp-prone materials compared with enclosed models, so PETG and ASA are the realistic ceiling for wear-critical pieces.
The 3.9 average with 18 percent one-star reviews reflects a spread of quality experiences, and there is no multi-colour capability in the base machine. Treat it as a capable single-colour workhorse, not a one-machine solution for a full multi-colour armour set.
11. LONGER LK5 Pro – Best Tall Build Volume for Small Workspaces
LONGER LK5 Pro 3 3D Printer, Open Source Mainboard, TMC2209 Silent Drivers, 11.8×11.8×15.7 Inch Large Size, Resume Printing, 95% Pre-Assembled, Perfect for Beginners, Home & School DIY FDM Printer,
Build: 300 x 300 x 400 mm
Speed: up to 180 mm/s
Drivers: TMC2209 silent
Resume: filament and power loss
Pros
- 300 x 300 x 400 mm volume suits tall armour and helmets
- Silent TMC2209 drivers keep noise low in shared rooms
- Open source mainboard and firmware allow customisation
- Filament exhaustion and power failure detection resume prints
- 95 percent pre-assembled so setup suits beginners
- Lattice glass plate improves flatness and part release
Cons
- 180 mm/s is far slower than modern CoreXY machines
- Open frame limits ABS ASA and other warp-prone filaments
- No multi-colour capability with a single extruder
- 28.6 lb body with dated mechanics against newer rivals
The LK5 Pro’s shape is unusual: 300 x 300 mm across with 400 mm of height. For cosplay that is genuinely useful, because helmets are roughly as tall as they are wide, and a tall chamber means a full helmet shell prints upright in one piece rather than being laid down and split along the side.
Its 4.4 average comes from owners who value exactly that combination at a modest outlay, plus three things you rarely get together: TMC2209 silent drivers, open source mainboard and firmware, and power failure detection with resume. On a 30 hour print in a shared flat, a resume function is the difference between a rerun and a re-sliced evening.
Why the quiet drivers matter in an apartment
Multi-day cosplay prints happen in bedrooms, and reviewers on the cosplay forums call out noise as a real constraint. TMC2209 silent stepper drivers on a reinforced triangular diagonal-bar frame take a lot of the rattle out of a tall print – it is still not silent, but it is the least intrusive open-frame machine here. The lattice glass build plate also improves flatness and makes parts easier to pop off after a long print.
Filament exhaustion detection pauses and resumes the job, so a spool running out at hour 20 is a two-minute pause rather than a ruined helmet.
Where this machine disappoints
180 mm/s is slow by modern standards, and on a 300 mm plate that difference compounds across a long chest plate. It is bed-slinger-class kinematics in a tall frame, so very long tall prints are where you would expect movement artefacts rather than on a CoreXY machine.
The open frame rules out reliable ABS, ASA and other warp-prone engineering filaments, which narrows your material options for worn armour. There is no multi-colour path at all, and the mechanics are dated next to CoreXY rivals. Buy it for quiet, tall, single-colour printing on a tight budget.
12. ELEGOO Jupiter 2 – Best for Batch Resin Runs
ELEGOO Jupiter 2 Resin 3D Printer, 16K Large MSLA 3D Printing Machine, Auto-Leveling, Smart Tank Heating, Auto Resin Feeding, Smart Mechanical Sensor, Wi-Fi Cluster, Build Size 302.4 × 161.98 × 300 mm
Build: 302.4 x 161.98 x 300 mm
Resolution: 16K class, 20 x 26 micron
Levelling: multi-point auto
Pros
- 302 x 162 x 300 mm volume is roughly 2.5x a Saturn 4
- 16K-class resolution with 20 x 26 micron pixels captures fine detail
- Enclosed light source prevents leaks for uniform exposure
- Vat heating to 30 C and auto resin feeding cut babysitting
- Quick-swap release film changes without tools
- Wi-Fi cluster management and HDR camera suit multi-machine shops
Cons
- Lowest average in this roundup at 3.6 with 27 percent one-star reviews
- Multiple reports of LCD failures scratched screens and ribbon cable damage
- Adhesion failures on one side of the build plate after repeated levelling
- Auto resin sensing and the auto-feed pump reported as unreliable
- Entire unit must be moved to reach the build plate
The Jupiter 2 is built for throughput. At 302.4 x 161.98 x 300 mm, roughly 2.5 times the Saturn 4’s volume, a single run can hold many small parts or several large props side by side, and the 16K-class panel with 20 x 26 micron pixels keeps detail high across that bigger plate.
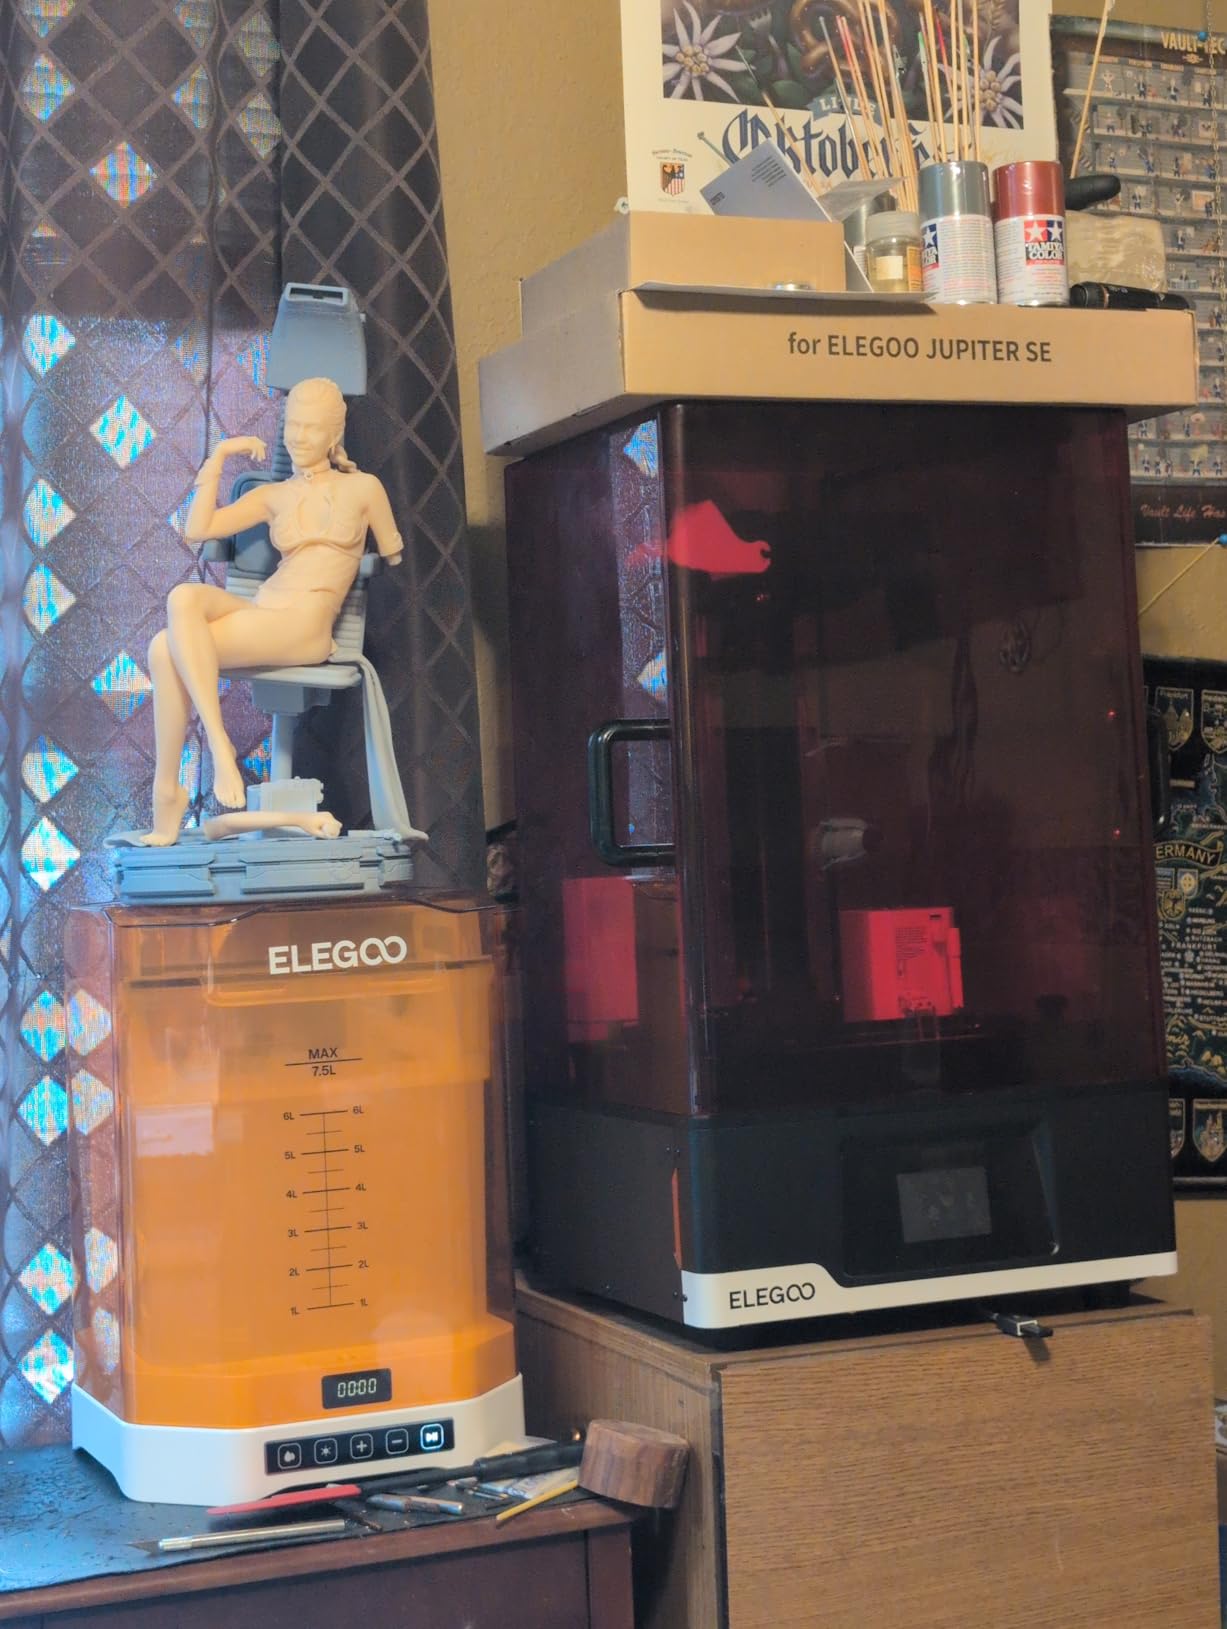
Convenience features lean towards multi-machine work: Wi-Fi cluster management, an HDR camera with time-lapse, OTA firmware, a 4.0 inch touchscreen, and a double-door chamber with a transparent window. Smart tank heating to 30 C plus automated resin feeding reduces the babysitting a big vat normally demands, and the quick-swap release film changes without tools with inexpensive PFA sheets.
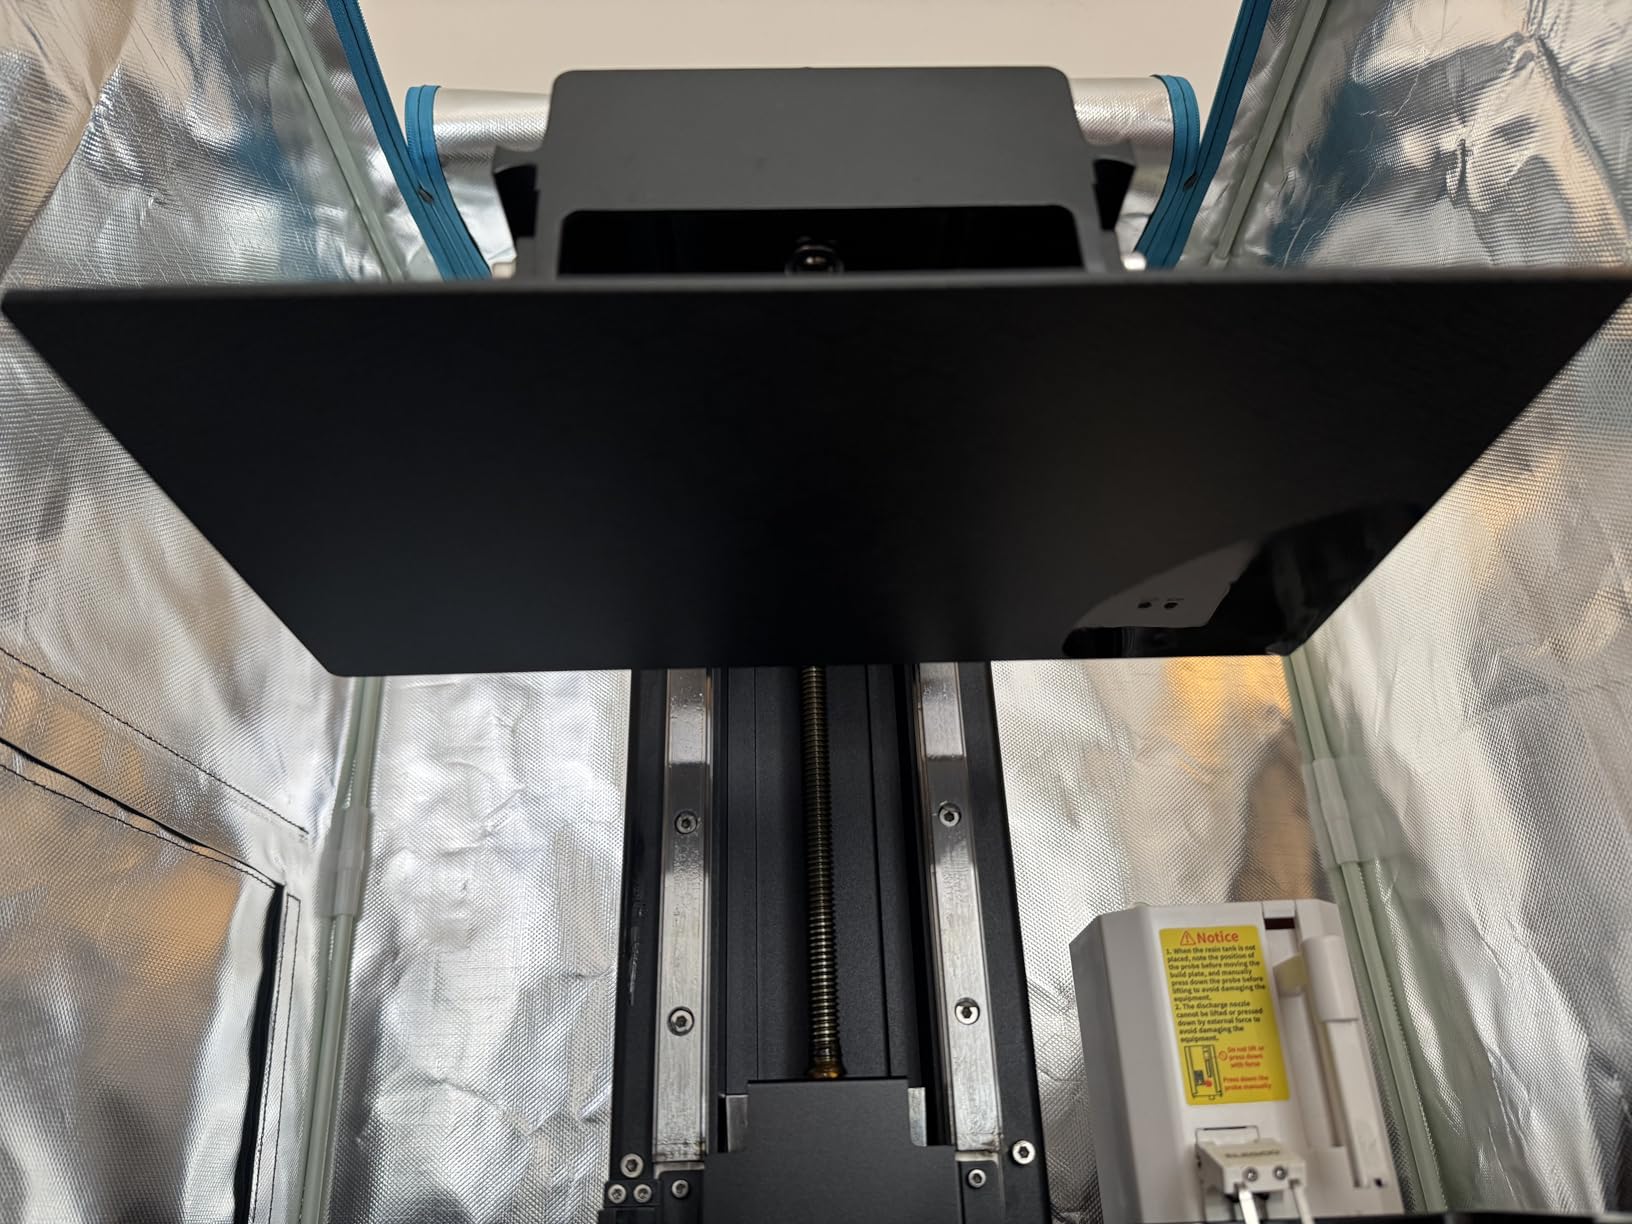
What the enclosed light source is for
Unwanted UV leaks are the classic cause of failed resin prints – part cures in the vat or the LCD fogs unevenly. A fully enclosed light source with multi-point auto levelling and real-time feedback manual levelling addresses both exposure consistency and the adhesion problems reviewers complain about. Owners also describe a simple, non-frills machine that works reliably out of the box when it works at all.
The catch is physical: on a machine approaching three feet tall, the entire unit has to be moved rather than a hinged lid opened to reach the build plate. Plan your shelf height before you commit.
Where this machine disappoints
This is the weakest-reviewed machine in the roundup, at a 3.6 average across 82 reviews with 27 percent one-star ratings. The complaints are specific and repeated: LCD screen failures, screens arriving scratched, ribbon cable damage from servicing, adhesion failures concentrated on one side of the build plate even after repeated levelling, and unreliable automatic resin level sensing and the auto-feed pump. The recycler and auto-fill system also only work with Elegoo bottles and can leave the vat stuck.
Several reviewers note that the smaller Saturn 4 Ultra delivers comparable results for far less money, and the instructions and slicer are criticised as underdeveloped for the price. Buy it for batch capacity, and only after testing adhesion on a small print.
What to Look for in a 3D Printer for Cosplay Props
Build volume comes first, and it is the only spec that directly determines how much finishing work you sign up for. A 220 mm cube means a mid-size helmet gets split into four or more sections; a 256 mm machine gets it to three; a 350 to 400 mm cube gets a helmet shell down to one or two pieces. Every seam you avoid is 30 to 60 minutes of sanding, filler and blending saved, and the forum consensus is that seam work is where the real hours go.
Match the bed to the piece. Gauntlets, bracers, clasps and trim fit anything. Chest plates and chest armour want 300 mm or more. Full helmets, pauldrons and oversized weapons want 350 mm and up – or a belt printer like the IR3 V2 if the limiting dimension is height rather than width.
Enclosure and filament: when you need a closed chamber
PLA is the default and it is fine for display props and detail work. For anything you wear, PETG is the consensus minimum in the cosplay communities – tougher, more heat tolerant, and far more forgiving of a print that gets dropped in a car. Beyond that, ABS and ASA give you outdoor and heat resistance but need a stable chamber, which is why every enclosed machine in this list matters more than the specification suggests.
The heat case is worth stating plainly: PLA softens and warps in a hot car above roughly 55 C, and outdoor conventions in summer involve a car boot. A finished ASA prop tolerates that. It also means ventilating where you print – the Creator 5 Pro’s dual HEPA 13 and carbon filtration is the clearest example of treating fumes as a design problem.
Top speed matters less than reliability at that speed. On a 20 to 40 hour helmet print, a machine that holds 500 mm/s without layer shifts beats one that advertises 700 mm/s and needs a babysitter. Input shaping, pressure advance, auto bed levelling, camera monitoring and power-loss resume are the features that protect a long print.
CoreXY versus bed slinger on long prints
Bed-slinger geometry, where the bed moves under a stationary gantry, is fine for small parts but is the usual source of ringing artefacts and Z-banding on tall, heavy models. CoreXY keeps the mass on the gantry and holds accuracy at high acceleration, which is why every large-format machine here uses it.
The extra consideration for cosplay is time horizon. A long print on a bed slinger accumulates small errors, so the piece most likely to show banding is a helmet shell printed over 30 hours – precisely the jobs cosplay produces. That is the practical argument for spending on CoreXY rather than chasing a headline speed number.
Multi-colour and multi-material: when it pays out
If your design is one solid colour that you are going to paint anyway, multi-colour adds nothing. If your design has an emblem, a stripe, a two-tone panel or a flexible strap, it changes your entire weekend. A purge-based AMS produces waste on every colour change; a four-toolhead system swaps in five to seven seconds with almost none, which is why the Creator 5 Pro and Snapmaker U1 are in this roundup.
Check spool capacity too. Four toolheads is four colours at a time. A design needing eight colours in one job is back to manual changes regardless of how clever the changer is.
Hollowing, wall thickness and wearable comfort
No competitor buying guide covers this properly, and it is the first question in every maker forum. A printed helmet has to be hollowed, cut at the neck, and given a finish that does not press into the wearer’s head. Hollowed pieces with a 2 to 3 mm wall and 10 to 20 percent infill are the common starting point; solid walls on a full helmet are unbearably heavy and trap heat.
The printer choice influences this more than people expect. Thin walls and clean perimeters need good first-layer adhesion and low ringing, so a rigid frame and reliable levelling matter more than layer height. Hollowing needs a drain hole, and the choice of support interface decides how much sanding comes after – tree supports leave fewer scars on curved shells than standard supports.
Collapsible or segmented design is the other half of the answer for large props. A prop that breaks into sections and reassembles with magnets or a bayonet joint is far easier to transport to a convention than a single 1.5 metre piece, and it prints better on a smaller bed.
Budget for finishing time as much as print time. A colour-accurate display makes matching paint, trim and screen-printed graphics far easier, and our monitor picks for 3D artists cover that side of the workflow.
Where to find files that are actually worth printing
Free STL files often arrive pre-split badly, with no tested support settings, and frequently cost more time than a paid file would have. Look for files that are already scaled and split for common build volumes, that include assembly guides, and that list tested support and wall thickness settings. The community trust signal is simple: makers read the print notes before they download.
Whatever you find, print a scaled-down test section first. Jumping straight to a full helmet is the most cited beginner mistake in the Halo costume communities, and it is the fastest way to lose a day of filament and a weekend of sanding. If you are still deciding whether you want to commit to full-size filament machines, our 3D pen guide covers the low-commitment way into the hobby.
What about selling printed replicas?
This comes up often enough to answer directly. Printing a character design for your own wear at a convention is personal use and is not the issue. Selling printed copies of a protected character is a different matter, because the character design, the costume design and the armour design are each someone’s intellectual property, and marketplace platforms do issue takedowns on that basis. For sale work, use your own original design or a design released with explicit commercial permission, and keep the licence terms that came with the file.
Five mistakes that cost cosplayers the most time
First, printing armour as your first test – scale it down or print a test section of the same file. Second, using PLA for a wearable piece you will transport in summer heat, when PETG or ASA would have survived. Third, under-thickening walls because the file was hollowed too aggressively. Fourth, leaving the enclosure off when printing ABS or ASA. Fifth, running a 30 hour job on a machine with no failure detection, no resume and a bed that has never been levelled by hand.
Wear a dust mask when sanding, and ventilate when printing engineering filaments. Both are cheap and both are mentioned in every safety-conscious maker thread.
Frequently Asked Questions
What is the best 3D printer for making cosplay props?
The Creality K2 Plus Combo is the best all-round choice for cosplay props, combining a 350 x 350 x 350 mm build volume, 600 mm/s speed, a chamber heated to 60 C and 16-colour multi-material printing. The Bambu Lab P1S Combo is the best value option and the Sovol SV08 MAX is the pick if you want the fewest splits on oversized pieces.
What size 3D printer do I need for cosplay?
Match the build volume to the largest single piece you refuse to split. A 220 mm cube suits gauntlets, bracers and buckles. A 256 mm machine handles mid-size helmets in three or more sections. A 350 to 400 mm cube prints a helmet shell or chest plate in one or two pieces. Choose 500 mm or an infinite-Z belt printer for oversized weapons and full armour.
Which filament is best for cosplay props?
PETG is the consensus minimum for wearable armour because it is tougher and more heat tolerant than PLA. PLA is fine for display props and detail work. ABS and ASA add outdoor and heat resistance but require an actively heated enclosed chamber, especially for props carried in a hot car. TPU 95A is the flexible option for straps, grips and trim.
Is FDM or resin better for cosplay?
Use FDM for structural pieces such as helmets, chest armour, pauldrons and gauntlets because it is lighter, safer and faster to print in volume. Use resin for curved skin-visible surfaces, visors, lenses, insignias, clasps and fine detail, where 7K or 16K resolution removes layer lines that would otherwise need heavy filler and sanding.
How long does it take to 3D print a cosplay helmet?
Cosplay makers report 14 to 40 hours for a single helmet depending on size, layer height, infill and printer speed. Wall thickness and infill matter more than anyone expects, because a solid helmet is far heavier to print and far worse to wear. Print a scaled-down section of the same file first to check adhesion and support strategy.
Is there anything illegal to 3D print?
Printing a character design for your own wear at a convention is not the concern. Selling printed copies is: character, costume and armour designs are each someone’s intellectual property, and marketplaces do issue takedowns. For sale work, use your own original design or one released with explicit commercial permission, and keep the licence terms that came with the file.
Which 3D Printer Should You Buy for Cosplay Props in 2026?
The Creality K2 Plus Combo is our pick as the best 3D printer for cosplay props in 2026, because a 350 mm cube, a 60 C chamber and 16-colour printing cover nearly every requirement a full armour set throws at you. The Bambu Lab P1S Combo takes the value slot if you want multi-colour and enclosure without a large-format footprint, and the Sovol SV08 MAX wins for anyone whose main problem is splitting oversized pieces.
Beyond that, match the machine to the job: the Flashforge Creator 5 Pro and Snapmaker U1 for multi-material work, the Longer LK5 Pro for tall builds in a quiet space, the IdeaFormer-3D IR3 V2 for extreme heights, and a resin machine such as the Anycubic Photon Mono M7 MAX or the Elegoo Saturn 4 Ultra for masks, visors and fine detail.
Whatever you choose, print a scaled-down test section of the actual costume file before you commit a weekend of filament to it.